Yes, you can train a bird to use a designated spot for droppings, but it works a little differently than a cat litter box. Most pet parrots and some other companion birds can learn to go on cue or head to a specific location when they need to eliminate. It takes observation, patience, and positive reinforcement, not a fancy box or a strict schedule. The result is rarely perfect, but it is genuinely useful.
Can You Train a Bird to Use a Litter Box? How To

Maya Harris
1 May 2026
Is litter box training for birds actually possible?
The honest answer is: yes, with caveats. Birds defecate frequently, roughly every 15 to 30 minutes for smaller species and somewhat less often for large parrots, and they do not have the same sphincter control mammals have. They cannot physically hold it for long periods without real health risk. Asking a bird to "hold it" until it reaches a box is not realistic, and pushing that too hard can actually cause cloacal problems over time.
What you can realistically train is a go-on-cue behavior: you learn your bird's elimination pattern, give a verbal cue like "go potty" right before they're about to go, and praise them when they do it in the right place. Over time, many birds associate the cue with the act and will go when you hold them over the designated spot. Some birds get surprisingly reliable at this. Others stay inconsistent no matter how well you train. Both outcomes are normal.
A true litter box in the cat sense, where the bird walks in, goes, and walks out, is uncommon for companion birds. What people usually mean when they say "litter box training" for a bird is either training them to eliminate in a specific cage location, training them to go on cue over a particular spot outside the cage, or both. That is what this guide covers.
Which birds can learn this, and what affects success?
Pet parrots and companion birds
Parrots are the best candidates. African greys, Amazon parrots, cockatoos, eclectus, macaws, cockatiels, and conures have all been successfully trained to go on cue or to a station. Budgies and lovebirds can learn too, but their very short elimination intervals make reliable use of a designated spot harder. The more time you've spent bonding with the bird and the more it trusts you, the faster training usually goes.
Rescued or wild birds
Wild birds in rehabilitation are a different situation entirely. The goal with wild birds is not training for convenience, it is habituation to handling and minimal human imprinting so they can be released safely. Attempting potty training with a wild bird is not appropriate and could compromise their wildness. If you are working with a native wild bird, check your legal obligations first: in most countries, including the US, keeping native wild birds without a federal permit is illegal. Focus on species-appropriate care, not behavior modification.
For birds that are rescues but long-term companions (like an adopted parrot with an unknown history), training is absolutely appropriate. The difference is that these birds may need more time in the observation phase before you can predict their timing reliably.
| Bird Type | Trainability for Designated Spot | Notes |
|---|---|---|
| Large parrots (African grey, Amazon, macaw) | High | Strong candidates; learn cues well with consistent positive reinforcement |
| Medium parrots (cockatiel, conure, eclectus) | Moderate to high | Good candidates; shorter intervals require more attentiveness |
| Small parrots (budgie, lovebird, parrotlet) | Low to moderate | Frequent elimination makes consistent use difficult, but partial success is common |
| Softbills (canaries, finches) | Low | Little documented success; high elimination frequency and limited handling |
| Wild/rehabilitating birds | Not recommended | Legal restrictions apply; imprinting risk; habituation is the priority instead |
Setting up a bird-safe designated spot
Location
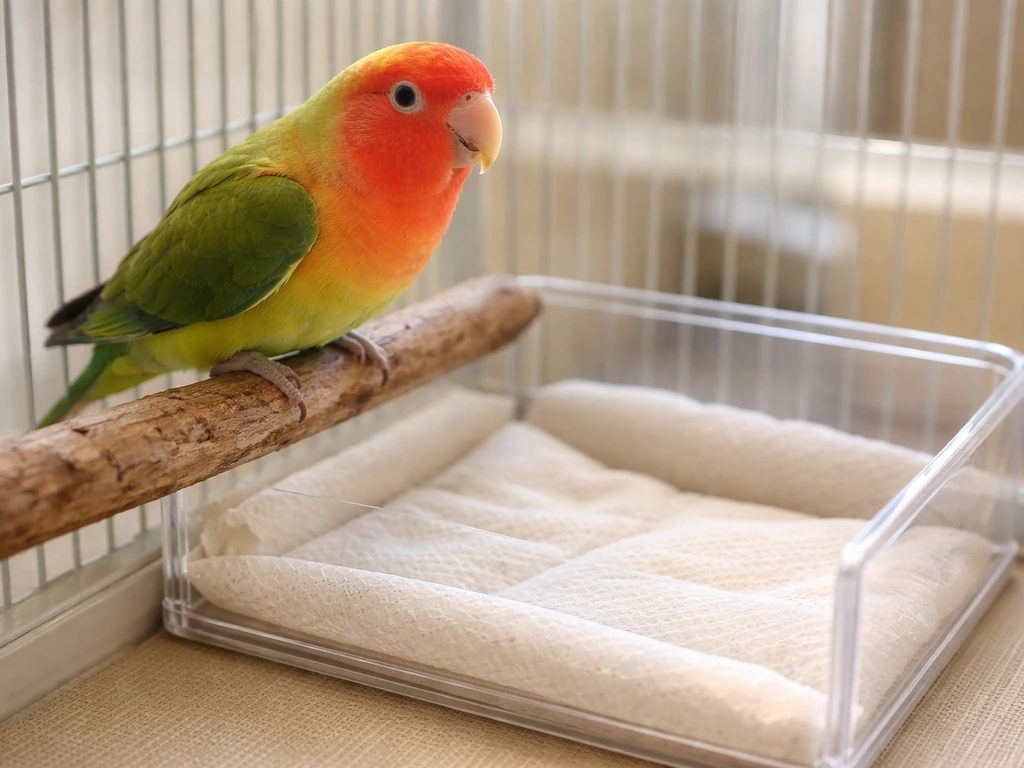
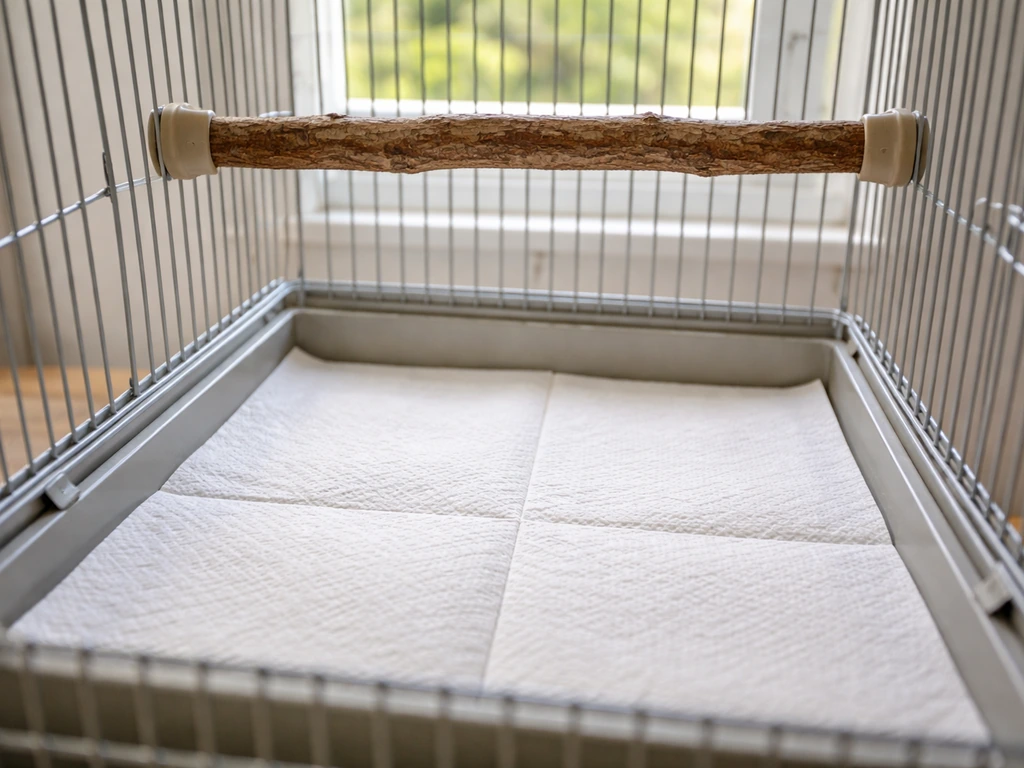
Inside the cage, birds naturally leave the most droppings under their favorite perch. Start there. Place your designated liner directly underneath that perch so the bird is already succeeding without knowing it. Outside the cage, pick a consistent location, a play stand or perch near their usual out-of-cage spot, that is easy for you to bring the bird to quickly.
Safe materials
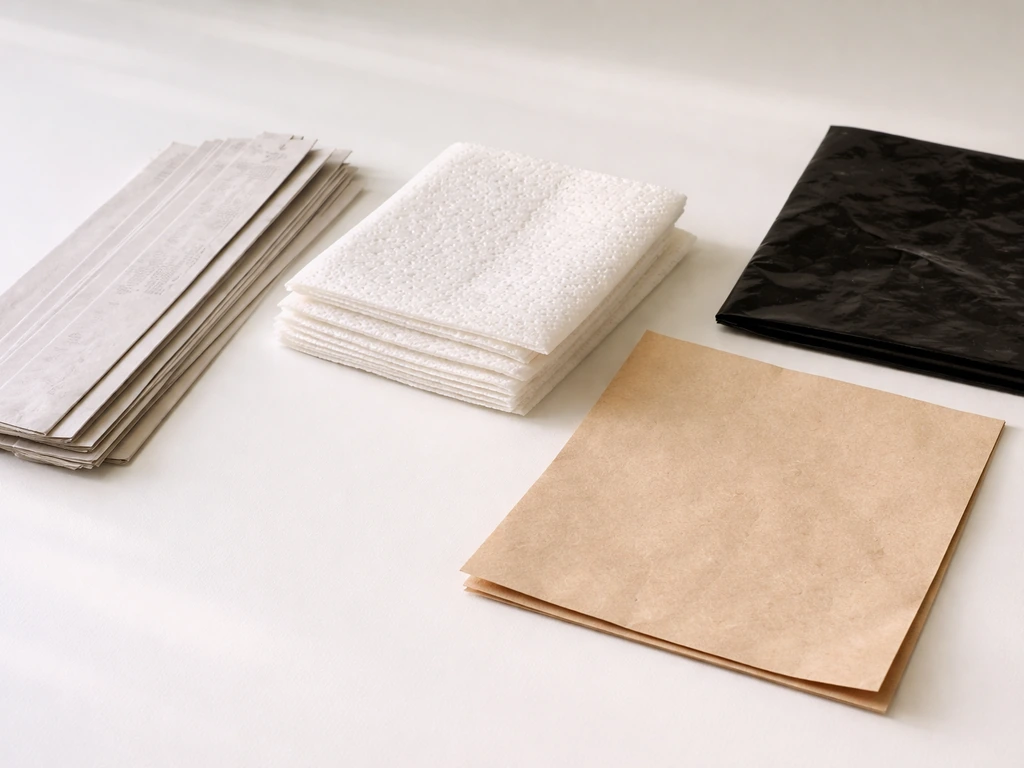
Plain newspaper, plain paper towels, or unbleached paper are the safest cage liner options. They are non-toxic, cheap, easy to replace, and let you clearly see dropping color and consistency, which matters for monitoring health. Avoid walnut shell, corn cob, sand, and wood shavings: these carry ingestion and impaction risks and can hide health changes in droppings. Do not use scented or colored paper products.
Hygiene and odor control
Replace liners daily, or more often if you have a large bird or multiple birds. Bird droppings contain uric acid and can build up ammonia smell and bacterial load quickly. If you are using a physical tray or shallow container as the designated spot outside the cage, line it with paper and swap the paper out after each use. Wash the tray itself with mild dish soap and water once a day. Avoid harsh chemical cleaners near birds, as their respiratory systems are extremely sensitive.
The training plan: step by step
Step 1: Observe your bird's pattern (Days 1 to 5)
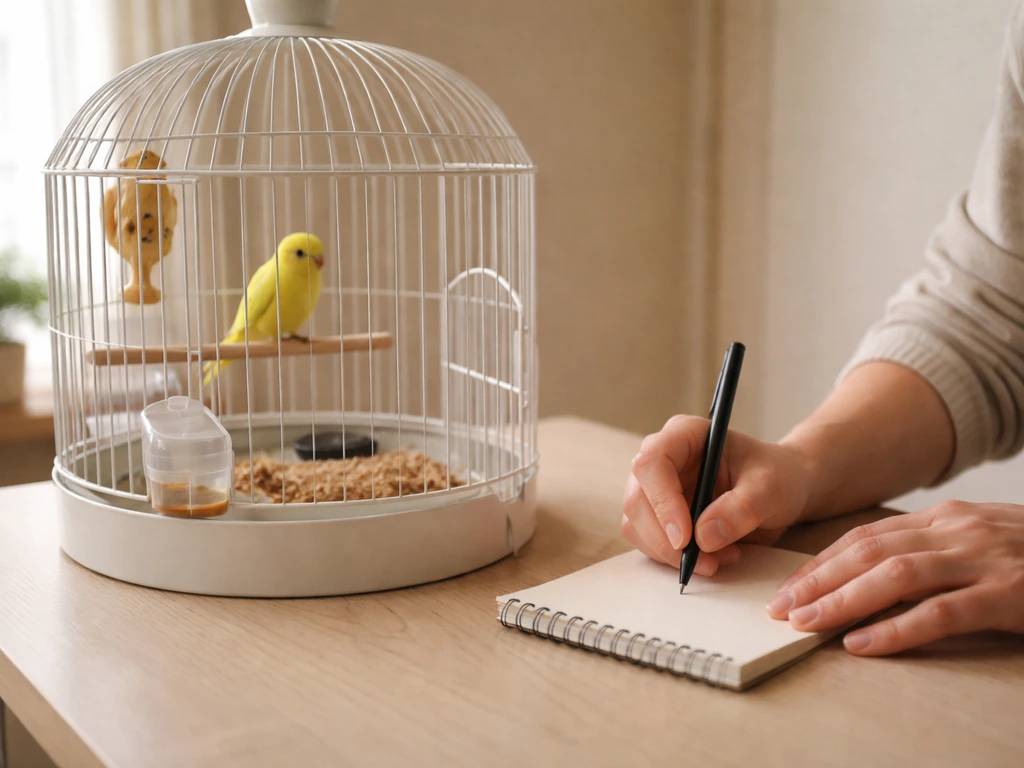
Before you introduce any cue, spend several days watching and noting when your bird defecates. Write down the time and what the bird was doing just before. Most birds give subtle pre-elimination signals: a slight squat or tail bob, shuffling the feet, looking slightly distracted. You will start to notice a timing pattern too, usually every 15 to 30 minutes. This observation phase is not optional; it is the foundation of everything that follows.
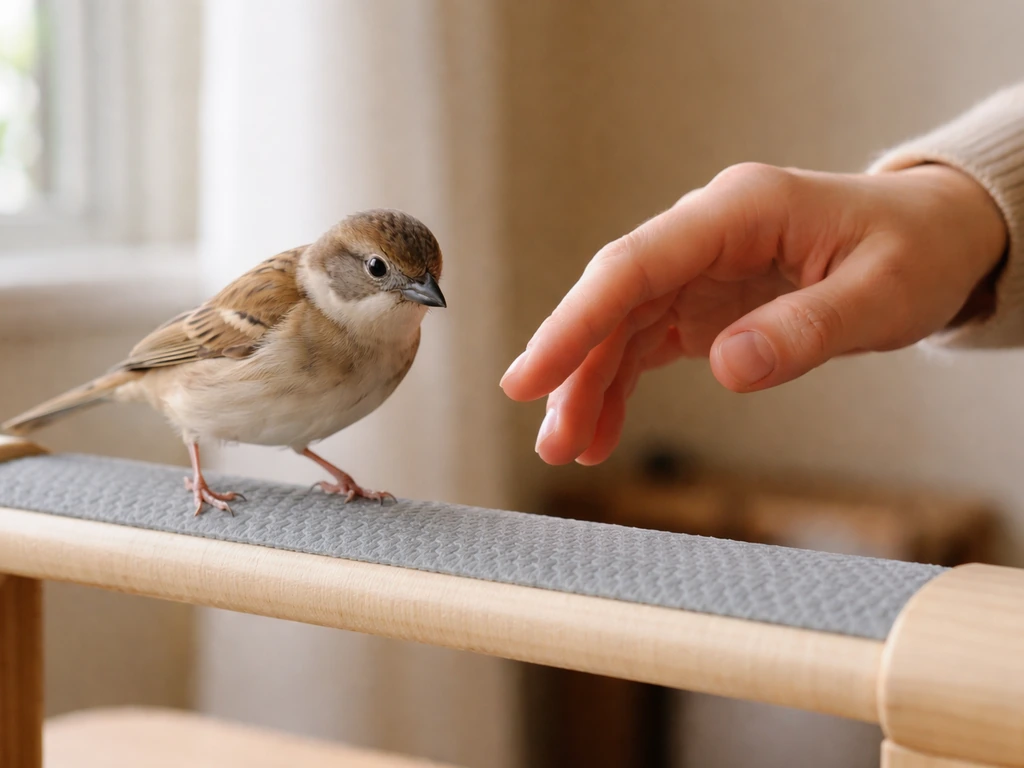
Step 2: Introduce the cue (Days 5 to 14)
Once you know roughly when your bird is about to go, hold them over the designated spot (or position them near it) right before the expected moment, and say your cue word clearly and calmly. Something short works best: "go potty," "go poop," or whatever phrase you'll use every time consistently. The key is saying it in the moment just before or as elimination happens, not after. Training to steal money is not something you should try, but the same general cueing and positive reinforcement skills can be redirected to safer behaviors not after. When the bird does go in the right place, immediately praise them with a warm "good bird!" and offer a small, preferred treat.
Step 3: Build the association (Weeks 2 to 4)
Repeat this every time you can predict elimination is coming. You are building a conditioned association: cue word, go to spot, eliminate, reward. Keep training sessions low-pressure and short. Never force the bird to stay over the spot if they are distressed. Some birds will start to hold a dropping briefly when they hear the cue, waiting until they are over the spot. That's a win. But remember: never reward or encourage holding for more than a few seconds, because extended holding is physically harmful.
Step 4: Shift to intermittent reinforcement (Week 4 onward)
Once the bird is reliably responding to the cue most of the time, you can begin moving from rewarding every single success to rewarding intermittently, every second or third success. Intermittent reinforcement actually makes behaviors more durable and consistent over time. Keep up the verbal praise every time so the bird always gets positive feedback, but save the treat for intermittent use. This also means a bird that doesn't always get a treat won't suddenly stop performing the behavior.
What not to do
- Never scold, tap, or punish the bird for accidents. It teaches fear, not behavior.
- Don't make the bird sit over the spot waiting. A few seconds is fine; minutes is not.
- Don't move the designated spot around. Consistency in location matters.
- Don't expect 100% accuracy. Even well-trained birds have off days and accidents.
- Don't interpret refusal as stubbornness. It may mean timing is off, the bird is stressed, or something physical is going on.
Troubleshooting common problems
The bird refuses to use the spot
If your bird consistently avoids the spot, check whether the location feels safe to them. Some birds won't eliminate if they feel exposed or off-balance. Try a different perch height, a different surface texture, or a quieter spot. Also revisit your timing: if you're taking them to the spot too late, they've already gone elsewhere and there's no learning moment happening.
The bird steps on the spot but doesn't go
This usually means your timing is off and the bird isn't actually close to needing to eliminate yet. Go back to the observation notes and look for more reliable pre-elimination signals. Also make sure you're not rushing the bird or creating anxiety around the spot, as that can inhibit natural elimination.
The bird goes everywhere except the spot
This is the most common complaint. It usually means the training hasn't yet built a strong enough association, or that out-of-cage freedom is happening in situations where you cannot intercept in time. Until training is more established, limit out-of-cage time to windows when you can actively supervise and intervene. A play stand positioned near the bird's usual out-of-cage locations can help because it gives a consistent target spot to bring the bird back to.
Regression after a period of success
Regression often follows a change in the household: a new person, a new pet, a moved cage, or a schedule disruption. Go back to basics, increase the frequency of rewards temporarily, and be patient. Also check in on health: sudden changes in elimination behavior or location can signal a physical issue, not just a training setback.
When the problem is medical, not behavioral
Elimination changes are one of the earliest signs of illness in birds, and it's easy to misread a health problem as a training failure. Before you assume your bird just isn't getting it, look at the droppings themselves. Healthy bird droppings are typically made up of feces plus urates and urine, which appears as clear watery liquid blank" rel="noopener noreferrer">droppings themselves. Healthy bird droppings have three parts: a dark solid portion, blank" rel="noopener noreferrer">white urates, and a small amount of clear liquid urine. Changes in color, volume, consistency, or frequency can all flag illness.
- Yellow or bright green urates can indicate liver disease or infection.
- Watery, voluminous droppings can be linked to stress, diet change, or kidney issues.
- Straining or posturing repeatedly without producing a dropping is a red flag.
- Visible tissue protruding from the cloaca is a veterinary emergency (cloacal prolapse), get to an avian vet immediately.
- A hen that is straining, fluffed, and lethargic may be egg-bound, another emergency.
If your bird suddenly stops using the trained spot, starts defecating much more or less frequently, or seems to be straining, that is a signal to stop training and call your avian vet. Trying to push through a training plan when the bird has a physical problem not only won't work, it can delay treatment and make things worse.
Getting real results: schedule, tracking, and knowing when to ask for help
Your first week action plan
- Set up the designated spot with safe paper liner under the bird's favorite perch inside the cage.
- Start a simple log: time, location, and any pre-elimination signals you notice for each dropping you observe.
- Do this for at least five days before introducing any cue.
- Choose your cue word and commit to it. Everyone in the household should use the same word.
- Begin practicing the cue-timing-reward sequence during supervised out-of-cage time.
What to track
Keep a simple log for the first four weeks. Track whether the bird used the designated spot, had an accident elsewhere, or was not offered the spot at the right time. You don't need anything fancy, a notes app or a paper tally works fine. After two weeks, patterns will start showing you whether training is progressing or where the gaps are. Tracking also makes it much easier to have a useful conversation with a vet or avian behavior consultant if you need one.
When to get professional help
If you've worked consistently for four to six weeks and seen no progress, or if the bird is showing any physical symptoms alongside the behavior issues, it is time to consult an avian vet. Ask whether your vet can refer you to a certified avian behavior consultant if the issue is purely behavioral. The British Small Animal Veterinary Association and many avian vets can direct you toward credentialed behavior professionals. This is not a failure; some birds need specialist support, and getting it early gets better results.
Training a bird to use a specific elimination spot connects naturally to broader house training goals. If you want the full picture of house training, including timing, cues, and cleanup routines, this guide will walk you through how to house train a bird. If you're working on where your bird goes when they're out of the cage more generally, that's a closely related skill set worth exploring alongside this one. If you want to go beyond litter box habits, you can also use targeting and station training to learn other delivery-like behaviors deliver mail. And if you're curious about what else birds can be trained to do with stations and targeting, the same positive reinforcement fundamentals here apply to a surprisingly wide range of behaviors. Can you brush a bird as a way to handle or bond, and how should you do it safely around their feathers and skin?
FAQ
Can a bird be trained to “hold it” until you take them to the spot?
In most cases, no. Birds cannot safely delay elimination the way some mammals can, and teaching prolonged holding can increase the risk of cloacal problems. Instead, focus on predicting the moment and positioning your bird over the designated liner or station just before they eliminate.
What cue should I use, and should I repeat it the whole time?
Pick one short phrase and use it once at the critical moment (right before or as elimination starts). Repeating it constantly can accidentally create pressure or distraction. If your bird seems tense, pause training and try again later, with a cue that is calm and brief.
Do I need a physical litter box, or is “station training” enough?
A cat-style box is usually unnecessary. Many birds do well with a lined tray, a shallow container, or a dedicated perch/station underneath the cage favorite area. The key is consistency of location and immediate reinforcement when elimination happens there.
How do I clean up accidents without making it harder to train?
Remove droppings promptly and avoid strong ammonia-based or strongly scented cleaners near the bird. Use mild soap and water for reusable trays, then ensure the area is dry. If you can still smell it, birds may treat the area as an elimination cue later.
My bird won’t eliminate when I hold them over the spot. Is the training broken?
Not necessarily. Some birds will pause briefly when hearing the cue, and that can still be a win. If they stay distressed or keep repeatedly withholding, slow down, check timing, and consider whether the surface or perch height feels unsafe. Never reward extended holding.
Can multiple birds share one designated elimination spot?
Sometimes, but it often slows progress because each bird has its own timing and comfort preferences. If you have more than one bird, consider giving each bird a consistent station (especially outside the cage) and line trays with fresh paper after each use to reduce overlap and contamination.
How often should I offer the spot if I am not sure when my bird will go?
Use your observation notes to estimate the next likely elimination window, then bring them to the station right before that window. If you miss the timing and they already eliminated elsewhere, do not chase them to the station immediately. Instead, wait for the next predictable cycle and resume low-pressure attempts.
Should I reward with food every time the bird goes in the right place?
Early on, yes, use a treat immediately after correct elimination to strengthen the association. Once the behavior is mostly happening in the right place, switch to intermittent treat reinforcement (every 2nd or 3rd success), while keeping verbal praise every time.
What droppings changes mean I should stop training and call an avian vet?
If droppings become significantly more frequent or less frequent, change color or volume dramatically, look watery beyond the usual clear liquid component, or the bird shows straining or obvious discomfort, stop training attempts and contact an avian veterinarian. Illness can look like “training failure.”
My bird learned inside the cage, but not outside. What should I change?
Outside-the-cage elimination is often inconsistent because the bird may prefer a different level or surface. Use a play stand or perch located near the bird’s usual out-of-cage spot, and keep out-of-cage time in supervised windows until the timing and location association are reliable.
How long does it usually take before it’s reliable?
Many birds improve within a few weeks, but reliability varies by species and by how consistent you are with timing and reinforcement. A simple log for four weeks helps you confirm whether the issue is cue association, timing, or a comfort problem with that specific station.
Next Article
How to Teach a Bird to Fetch Step by Step Guide
Humane, step-by-step training to teach your bird to fetch safely, with targets, rewards, troubleshooting, and gradual re