Yes, you can teach most bonded pet birds to play dead, and it's one of the more impressive tricks in any parrot's repertoire. The behavior involves the bird lying on its side or back, staying still, and snapping back to attention on a release cue. Trained using positive reinforcement and a shaping plan, it's safe, humane, and genuinely fun for birds that enjoy handling. Here's exactly how to do it.
How to Teach Your Bird to Play Dead Safely Step by Step

Maya Harris
15 Apr 2026

First, pick the right bird and make sure this is safe to try
Not every bird is a good candidate for play dead, and that's worth being honest about upfront. The trick requires a bird that tolerates being held, is comfortable with gentle restraint, and trusts you enough to stay calm in an unusual position. Cockatiels, budgies, conures, caiques, African greys, amazons, and most medium-to-large parrots that are already hand-tame can learn this with enough patience. Very small birds like finches or canaries are not good candidates because they stress easily under handling and the risk-to-reward ratio just isn't there.
Before you start, run through this checklist to make sure your setup is safe. Your bird should already step up reliably, have no recent illness or injury, show no signs of chronic stress (feather destruction, biting out of fear, or screaming when handled), and have a clean bill of health from an avian vet within the past year. If your bird is new to you, put play dead on hold and spend the next several weeks on basic taming and step-up training first.
One important note for anyone working with wild birds or rehabilitation patients: play dead is not an appropriate training goal in that context. Wildlife rehab organizations actively work to prevent birds from becoming comfortable with humans, because species-appropriate caution toward people is critical for survival after release. If you're rehabbing a bird, skip trick training entirely and focus on flight conditioning, foraging, and minimizing human contact.
Get the training basics in place before you shape anything

Play dead is an intermediate-to-advanced trick, which means your bird needs a solid foundation first. If you haven't already established a marker (a clicker or a short verbal cue like 'yes'), start there. The marker tells your bird the exact moment it did the right thing, and a reward follows within a second or two. AVSAB’s educational materials on positive reinforcement explain that marker timing tells the animal the exact moment the desired behavior occurred, followed by a reward shortly after marker tells your bird the exact moment it did the right thing. Without that communication bridge, shaping precise movements like lying still on one side becomes very slow and frustrating for both of you.
Bonding and handling comfort are equally important. Consent-based training means your bird should be choosing to participate, not being forced through movements. In practice this means: sessions happen when the bird is alert and engaged (not tired, hungry, or overstimulated), you watch for opt-out signals (turning away, puffing up, biting, or trying to fly off), and you stop immediately if you see them. This isn't just kindness for its own sake. Birds that feel coerced learn fear associations, which actively slows down training and can create lasting handling problems.
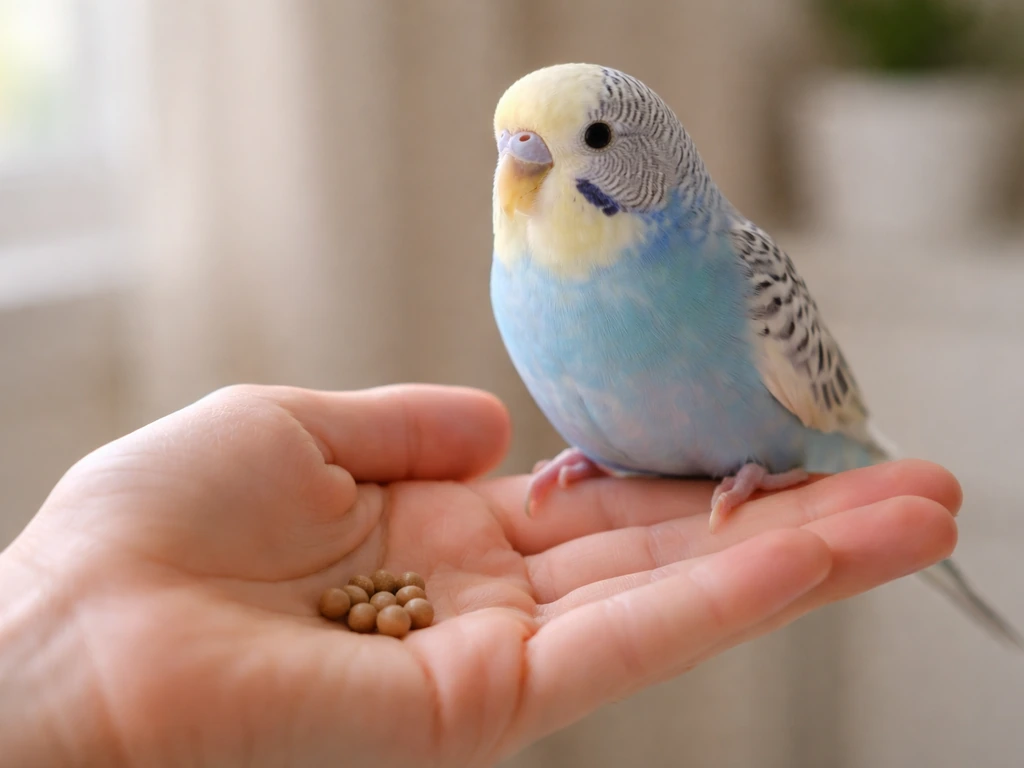
Keep initial sessions short: three to five minutes maximum, once or twice per day. Longer sessions lead to satiation and boredom. Use small, high-value treats your bird doesn't get any other time, things like a tiny piece of nutriberry, pine nut, or sunflower seed depending on your bird's preferences. If your bird already knows a few simpler tricks, that's a good sign it's ready. Learning how to teach your bird to spin first, for example, builds the kind of body-movement fluency that makes play dead much easier to shape.
Step-by-step: shaping play dead from scratch
Shaping means reinforcing successive approximations, small steps that get closer and closer to the final behavior. Do not try to force your bird into the finished position on day one. That approach creates fear and resistance. Instead, build up in stages over multiple sessions, sometimes multiple days per stage depending on your individual bird.
Stage 1: tolerance of gentle lateral tilt (days 1-3)

Hold your bird gently in your cupped hand or let it stand on your flat palm. Slowly tilt your hand about 15 to 20 degrees to one side. If your bird stays calm and doesn't immediately right itself, mark and reward instantly. If it panics, you've moved too fast. Go back to just holding your bird comfortably and reward that before adding any tilt. The goal here is simple: the bird learns that a gentle sideways shift predicts a reward, not something scary.
Stage 2: increasing the tilt (days 3-7)
Once your bird is consistently relaxed at a 20-degree tilt, start increasing it gradually toward 45 degrees and then closer to horizontal. Each time you increase the angle, watch your body language and the bird's. Tense grip, rapid breathing, or wide eyes mean you've pushed too far. Back up one level and consolidate before moving forward. Some birds sail through this in a few days. Others need a week or more per increment. That's fine.
Stage 3: full lateral position and stillness (days 7-14)
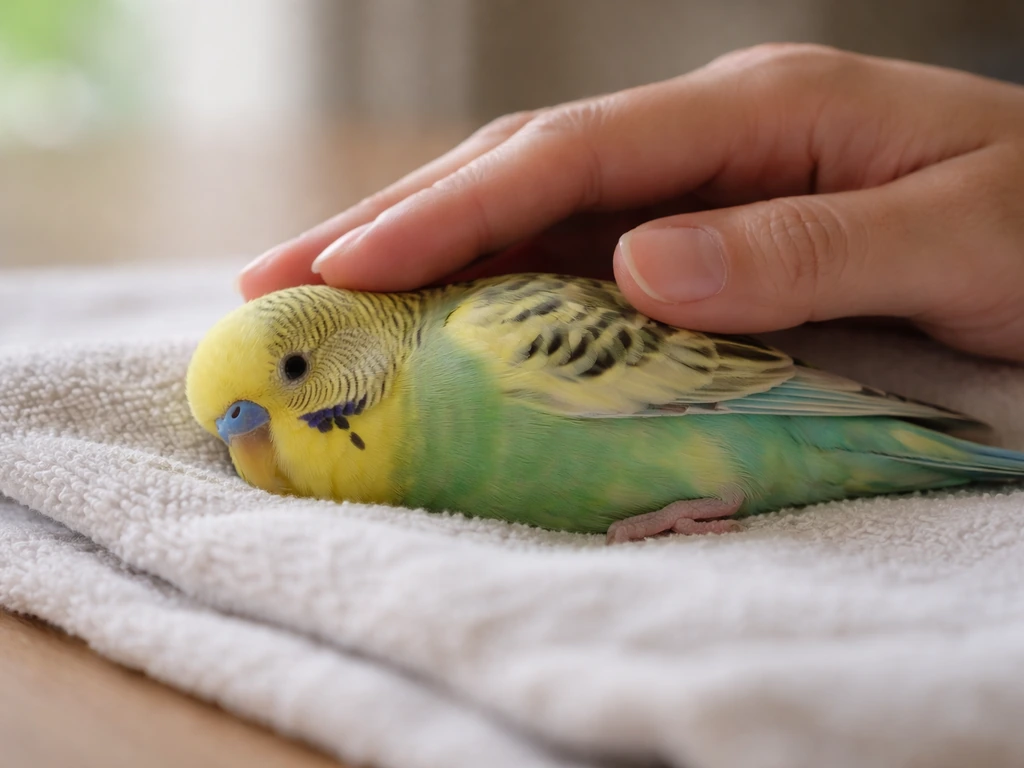
When your bird tolerates being tilted nearly horizontal, begin guiding it gently onto its side. Use a very light touch, placing one finger lightly over the top of its body (not gripping or squeezing) to help it understand the position. The moment it's on its side and not struggling, mark and reward. Initially you only need one second of stillness. Over the following sessions, gradually extend that duration by delaying the mark slightly. Build up to three to five seconds of calm stillness before adding your cue word.
Some handlers like to add a gentle verbal sound or a whispered 'shh' during the lying-still phase to help the bird settle. That can work, but keep it consistent. Whatever you use during training will become part of the bird's learned context for the behavior.
Stage 4: adding the release cue
Before you add the trigger cue ('play dead' or whatever word you choose), add a release cue first. This tells the bird when it's allowed to get up. Many trainers use 'okay' or 'up.' Say the release word, then let the bird right itself, then reward. Once the bird understands that staying in position earns the reward and the release word signals it's done, the behavior starts to look really clean.
Stage 5: attaching the cue word
Now you can attach your trigger cue. Say 'play dead' (or a dramatic 'bang' with a finger-gun gesture, which is a crowd favorite), then guide the bird into position, mark and reward while it's still. Repeat this many times until the cue reliably predicts the behavior. Eventually the bird will begin to anticipate and move into position as soon as it hears or sees the cue, at which point you can fade the physical guidance entirely.
Turning it into a real trick: cues, proofing, and generalization
A behavior that only works in one room at one time of day isn't really trained yet. Proofing means practicing the cue in different locations, with different handlers, and at different times so the bird performs reliably in varied contexts. Start by practicing in a second room once the behavior is solid in your usual training spot. Add mild distractions gradually. Have another family member give the cue while you coach from nearby.
Keep rewarding the behavior generously even after it's fluent. Many trainers make the mistake of fading treats too fast, and the behavior falls apart. Variable reinforcement (rewarding most but not every correct performance) maintains the behavior well once it's established, but get to fluency first before thinning the schedule.
It's also worth thinking about how play dead fits into your bird's larger trick repertoire. Birds that know several movement-based behaviors tend to be more flexible learners overall. If your bird enjoys this kind of physical trick training, you might enjoy building toward something like how to teach your bird to roll over, which uses a very similar shaping progression and complements play dead nicely as a paired sequence.
What to do when things aren't working
Here are the most common problems and exactly what to do about each one.
- Bird won't tolerate any lateral tilt: You're moving too fast. Go back to rewarding calm perching on your palm for several sessions before introducing any tilt. Build trust before asking for anything unusual.
- Bird tilts fine but immediately rights itself when horizontal: You haven't built duration yet. Mark and reward the instant it reaches horizontal, even for a fraction of a second. Gradually extend the time before marking. Don't chase duration before you have the position.
- Bird appears fearful (dilated pupils, panting, biting, trying to fly off): Stop the session. This means the current step is above your bird's comfort threshold. Drop back two stages and rebuild trust. Consider doing a few sessions of purely enjoyable interaction with no training demands before returning to play dead.
- Bird performs at home but falls apart elsewhere: You haven't proofed the behavior. Practice in new locations starting with very easy versions (shorter duration, lighter distractions) and work back up. Bring extra-good treats for generalization sessions.
- Bird gets stuck in the lateral position or seems confused: Your marker timing may be off. Make sure you're marking at the exact moment the bird is correctly positioned and still, not a second or two after.
- Bird begins to dislike training sessions overall: Sessions are probably too long or too repetitive. Cut to three minutes, increase the variety of tricks in each session, and end every session on a success.
One thing worth flagging: if your bird seems interested in physical tricks but play dead specifically creates strong resistance, try an easier physical behavior first to build confidence. Teaching how to teach your bird to lay on its back follows a very similar shaping path and can serve as a gentler stepping stone for birds that are hesitant about the full play dead position.
How to compare the options for your situation
| Situation | Recommended approach | Expected timeline |
|---|---|---|
| Beginner bird owner, tame parrot, no prior trick training | Start with step-up and marker training, then begin Stage 1 tilt after 2-4 weeks of foundation work | 4-8 weeks to reliable play dead |
| Intermediate owner, bird knows 2-3 tricks already | Jump to Stage 1 tilt immediately, move through stages based on bird's response | 2-4 weeks to reliable play dead |
| Advanced owner, bird is fluent in multiple physical tricks | Can attempt shaping play dead in full within 1-2 weeks if bird is physically comfortable with lateral positions | 1-2 weeks to reliable play dead |
| Rescue or rehomed bird with handling anxiety | Delay play dead entirely; prioritize trust-building and basic handling comfort for months before attempting | Months of foundation work before attempting |
| Wild or rehabilitation bird | Do not train play dead; minimize all human habituation to preserve release suitability | Not applicable |
Welfare, safety, and what's different for wild or rehab birds
For pet birds, welfare-first training means everything described above: consent-based participation, short sessions, watching for stress signals, and never using force or restraint to achieve a position. Positive reinforcement isn't just the nicest option, it genuinely produces better-trained, more confident birds than coercive methods. A peer-reviewed study in laboratory macaws found that positive reinforcement training facilitated voluntary participation with veterinary procedures when training was delivered in 10-minute sessions twice a day for 8 weeks. Towel training and cooperative care in avian veterinary practice follow the same principles: gradual exposure, positive associations, and respecting the bird's threshold. The same logic applies to every handling behavior you train.
For wild or rehabilitation birds, the calculus is completely different. The entire point of wildlife rehab is to return birds to the wild with appropriate wariness of humans. Any habituation to human handling, including positive trick training, works directly against that goal. Ethical wildlife care means minimizing all non-essential contact, using disguises or coverings when handling is unavoidable, and never seeking a bond with the animal. Legal constraints also apply: most wild birds are protected under federal law in the US, and handling them without proper permits is illegal regardless of intent.
Even among pet birds, it's worth noting that some species carry additional considerations. Large parrots trained improperly for handling behaviors can develop learned aggression or chronic stress that manifests later as feather destruction or self-injury. Always prioritize your individual bird's wellbeing over trick performance. If your bird genuinely hates being held or tilted no matter how slowly you progress, play dead may simply not be the right trick for that animal. There are plenty of rewarding trick options that don't require physical handling at all.
Where to go from here
Your first training session should look like this: gather your marker, your high-value treats, and your bird at a calm time of day. Spend one minute just rewarding your bird for being on your hand calmly. Then introduce a 15-degree tilt, mark and reward three times if your bird stays relaxed, and end the session. That's it. Don't rush to the next stage until your bird is clearly comfortable and expecting the reward at the current level.
Signs your bird is comfortable: it orients toward you when training starts, shows no stress signals, eats treats readily throughout the session, and doesn't try to leave. Signs to slow down: refused treats, fluffed feathers during the session, increased biting, or avoidance when you reach for it. Trust those signals every time.
Play dead pairs beautifully with other performance behaviors once your bird has it down. If your bird is thriving on this kind of training and you want to keep building, check out ideas like how to teach your bird to play basketball for a great next physical trick, or explore rhythm-based enrichment by learning how to make your bird dance for something that works well even for birds that prefer less hands-on interaction. And if your bird already loves following musical cues and moving to a beat, you might also enjoy the step-by-step breakdown in how to teach a bird to dance, which covers rhythm training from the ground up. The more your bird practices learning new behaviors, the faster new tricks tend to come.
FAQ
My bird looks calm for a moment during tilting, then panics. What should I do?
If your bird freezes and then suddenly struggles or tries to escape after a tilt, treat that as an overload signal. Back up to the last angle where it could stay calm, reward calmness for several short reps, then re-try the next increment only after the bird starts expecting the reward at that easier level.
What if my bird tries to pop back up before I’m ready to release it?
Use the release cue to end the behavior only after the bird is actually still. If the bird tries to right itself early, do not release yet. Instead, wait for a brief moment of calm stillness, mark it, reward, and then cue release. This teaches that calm performance earns safety and end-of-trick timing.
Can I teach play dead without a clicker or a marker cue?
If you do not have an established marker, you can start with a consistent yes, click, or other marker the moment the bird shows the target approximation, then immediately deliver the treat. Avoid using the trigger word early, because the bird needs the marker to learn timing before it learns the cue-behavior link.
How do I tell the difference between normal nervousness and a real welfare problem?
Screaming, frantic wing flutters, or repeated refusal of treats during sessions are stronger “stop” signs than occasional reluctance. If these appear, pause training that day and reassess comfort with step-up and handling first. Persistent signs also warrant an avian vet check for pain or illness.
Is it okay to fast my bird before training so it will focus better?
Do not practice with food deprivation. If treats are a scarce resource, the bird may appear motivated while feeling stress or urgency. Keep sessions short, and give treats in a way that does not create hunger before training.
My bird resists when I pick it up, but tolerates training once it’s already on my hand. Should I still practice?
For very small hands-on gaps, you can use a “rest” rep rather than ending the entire session: reward calm standing on the palm, then resume at the last successful tilt. If the bird shows avoidance when you approach, end for the day rather than repeating attempts.
How long should proofing take, and how do I do it without overwhelming my bird?
Yes, but use low-intensity proofing. Start by changing only one variable at a time, like moving to a different corner of the same room, then later a second room. When you add a new handler, expect slower progress, and keep treats and marker timing identical for consistency.
My bird performs for me but not for other people. What’s the best fix?
If your bird learns the cue but won’t perform when another person cues it, the issue is usually inconsistency. Make sure everyone uses the same trigger cue, same release cue, and the same hand approach. Have the second person cue while the first handler supports body position calmly only as needed.
How can I increase the time my bird stays still without making it panic?
If the bird performs reliably but the “play dead” duration is very short, extend the stillness slowly. Don’t ask for longer on day one after increasing the angle, delay the mark by tiny increments (for example, an extra half-second at a time) only when the bird stays calm.
What if my bird “wants tricks,” but strongly hates the play dead position?
Some birds may benefit from an easier prerequisite like lying on its back or another low-tilt behavior, but the key decision point is whether play dead triggers fear every time. If it repeatedly triggers refusal or escape attempts even at the earliest stages, switch to a less physically intense trick or focus on enrichment that does not require full handling.
How do I know when it’s time to thin rewards, and how aggressive can I be?
You can keep the trick reliable by using a variable reward schedule only after fluency. A practical approach is: in early sessions reward most correct reps, then later reduce treat frequency to every few successful performances, while still delivering a treat at least occasionally and keeping sessions short to avoid satiation.
My bird does the trick only at certain times or in one room. How do I fix that?
If you only practice in one daily routine, the bird may associate the trick with that exact setting. Include a quick “micro session” at a different time of day once it’s fluent, even if it’s just one or two cue reps with successful stillness.