Yes, you can teach your bird to whistle a specific phrase, and it doesn't require any special equipment or prior training experience. The method is straightforward: pick one short whistle, repeat it consistently in short daily sessions, reward any sound that moves toward the target, and gradually raise the bar until your bird nails the exact version. That's the whole loop. The rest of this guide gives you the specifics to make each part of that loop actually work. If you want to go beyond whistles and explore broader vocal goals, see how to teach a bird to sing for a related approach to shaping natural sound.
How to Teach Your Bird to Whistle: Step by Step Guide

Maya Harris
22 Mar 2026
Pick the Right Bird and Whistle Target
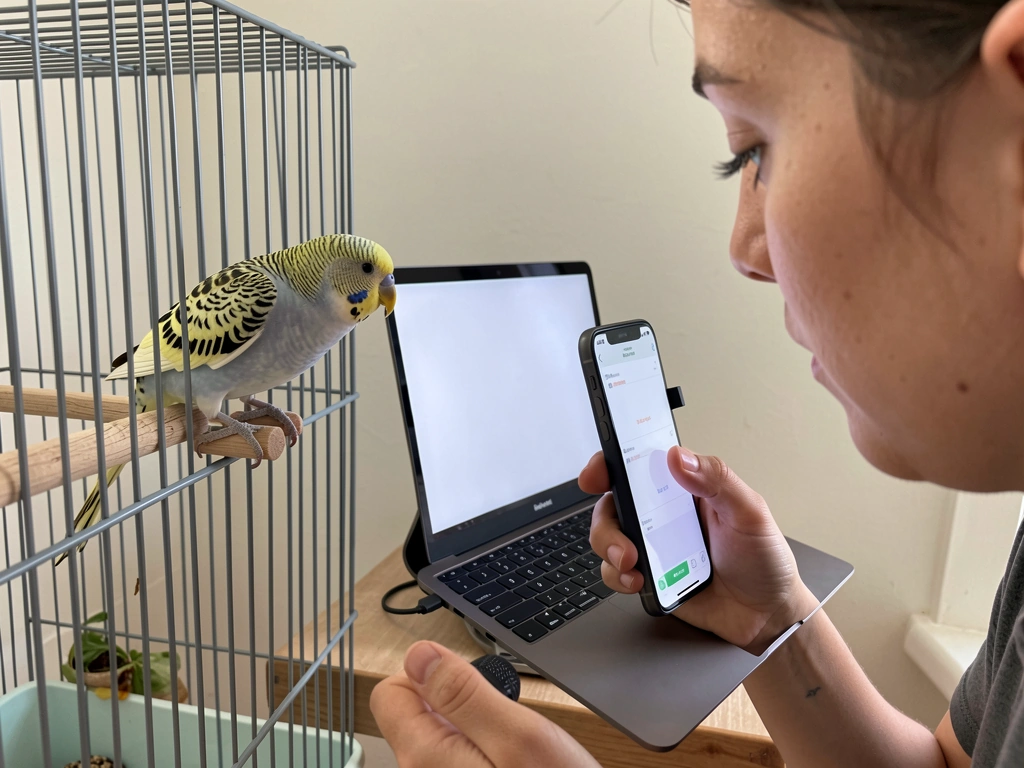
Not every bird is equally likely to become a whistler, so starting with honest expectations saves a lot of frustration. Budgerigars (budgies), cockatiels, African greys, Amazon parrots, and Indian ringnecks are among the strongest candidates. Budgerigars in particular have been studied extensively for vocal imitation, and research confirms they are capable of copying novel vocalizations when they have the opportunity and reinforcement to attend to a sound model.
Cockatiels are arguably the easiest starting point because whistling is already a core part of how they communicate. African greys and Amazons can produce incredibly precise mimicry, but they tend to do it on their own schedule. If your bird already makes varied sounds, experiments with tone, or mimics household noises, that's a great sign.
Individual variation matters more than species alone. A budgie that watches you closely, responds when you talk, and seems curious about sound is a better candidate than a cockatiel that is skittish and rarely vocalizes. Birds that are bonded to you and comfortable in their space learn faster because they are paying attention to you rather than monitoring for threats.
Choosing your target whistle is just as important as choosing the right bird. Pick one short phrase, no longer than four or five notes. A simple two-note wolf whistle, the first few notes of a familiar tune, or a short melodic phrase all work well. Avoid anything with fast runs or wide pitch jumps at the start. The shorter and simpler the target, the faster you will get your first real approximation, and early wins are what keep both you and the bird engaged. Write it down or record yourself doing it so you whistle the exact same version every single session. Consistency in your model is non-negotiable.
Set Up the Environment, Timing, and Training Plan
The training environment does a lot of the heavy lifting. Your bird needs to be able to hear your whistle clearly and without competing stimulation pulling its attention elsewhere. Turn off the TV, the radio, and any loud fans before a session. Do your sessions in the room where your bird is most comfortable and already associates you with positive interactions. Avoid training right after a stressful event like a vet visit or a scare from a predator shadow outside the window.
Timing matters a lot. The two best windows are mid-morning, after your bird has settled from the morning routine but before midday rest, and late afternoon, when many parrots naturally get more vocal. Avoid training within an hour of lights-out, and skip sessions when your bird is molting heavily, appears fluffed, or seems lethargic. A healthy, alert bird absorbs new information. A tired or stressed one does not.
Keep sessions short: two to five minutes maximum per session, once or twice a day. That feels very short, but birds lose focus quickly, and ending on a positive moment before engagement drops is one of the most reliable ways to accelerate learning. Plan for at least two to four weeks of consistent daily sessions before expecting a recognizable imitation. Write your plan down: what your target whistle is, what time of day you will train, how many sessions per day, and how you will track progress. That structure is what separates owners who actually teach their bird to whistle from those who try for a week and give up.
The Imitation Foundation Your Bird Needs First
Before diving into whistle shaping, it helps to understand how birds learn sounds. Vocal imitation in birds is not magic or random. It depends on the bird perceiving the sound clearly, forming a motor pattern to produce something similar, and getting feedback that the attempt was correct. Research on budgerigars shows that disrupting the auditory or vocal-motor pathways can impair vocal imitation, which tells you two things practically: your bird has to be able to hear the model clearly, and it has to be physically capable of producing sounds. A healthy bird with a good relationship with you already has both of those conditions met.
The other foundation is operant conditioning with a marker signal. A marker is a sound that tells your bird, in real time, that what it just did earned a reward. A clicker works perfectly. If you don't have one, the word "yes" said in a short, bright tone works almost as well.
The marker is important because there is always a small delay between the behavior and the treat reaching the bird. Without a marker, the bird gets reinforced for whatever it happened to be doing when the treat arrived, not necessarily the sound you wanted.
Condition the marker first: click (or say "yes"), then immediately give a treat. Do that ten to fifteen times across one or two sessions until your bird perks up at the marker sound. Once that association is solid, you are ready to use it for shaping.
Step-by-Step Whistle Training: Easy to Exact
This method uses shaping, which means you reward incremental progress toward your target rather than waiting for the perfect final version. Think of it as a staircase: each step gets you closer to the top, and you reward your bird for climbing each step before raising the bar to the next one.
- Get your bird's attention. Make sure your bird is alert and looking at or near you before you start. You can do this by briefly making eye contact or saying its name. You want it focused, not distracted by something across the room.
- Whistle your target phrase clearly. Do it once, then pause and wait five to ten seconds. Resist the urge to whistle again immediately. The pause is where the bird processes and attempts a response.
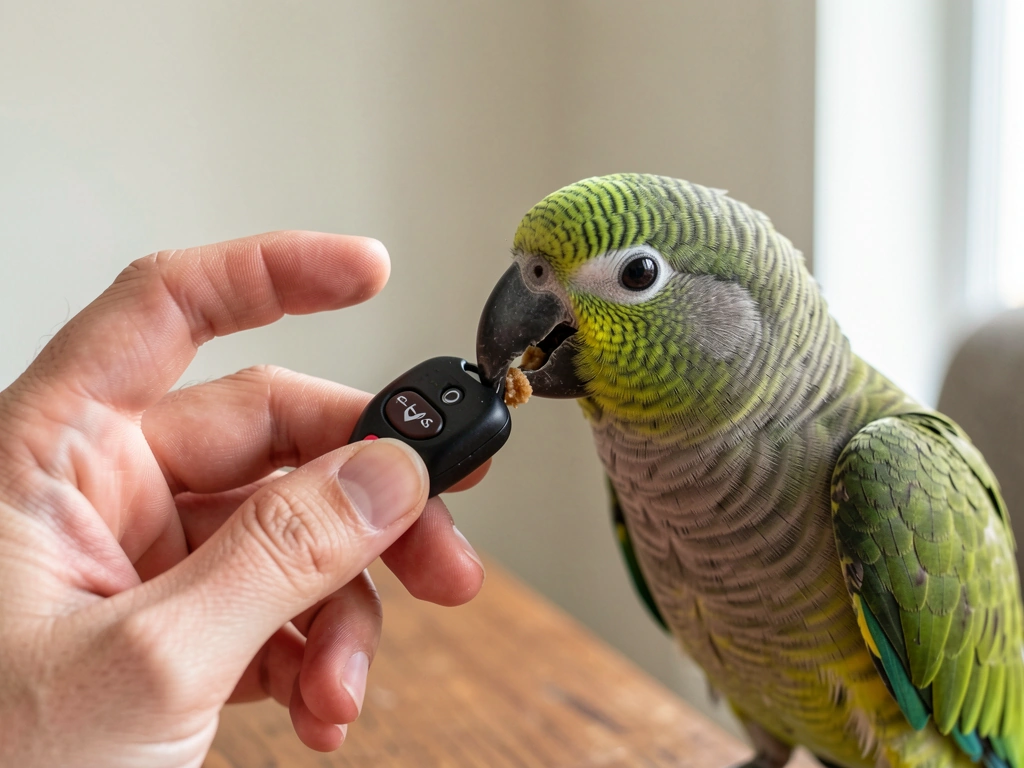
- Reward any vocalization that moves toward the target. In early sessions, any sound your bird makes in response to your whistle gets a marker and treat. You are reinforcing the concept of 'make a sound when I make a sound.' Don't hold out for perfection yet.
- Gradually raise the criterion. After a few sessions where your bird is regularly vocalizing in response, start marking only sounds that resemble the pitch or rhythm of your target, even loosely. Ignore random unrelated sounds. Mark and treat the closer attempts.
- Shape toward the exact whistle. Over subsequent sessions, keep narrowing what you mark and reward. First reward any attempt, then only attempts with roughly the right pitch, then ones with the right rhythm, then ones that combine both, until you are only rewarding the full target whistle.
- Add a cue once the behavior is reliable. Once your bird produces a close approximation most of the time after you whistle, you can start using a visual cue, like a small hand gesture, just before you whistle. This builds toward your bird performing on cue rather than just mimicking spontaneously.
- End every session on a win. If your bird nails the whistle, that's a perfect moment to end, give a big reward, and stop. If the session is going poorly, ask for something easy the bird already knows, reward that, and end there. Never end a session on frustration.
One common mistake is repeating the model whistle over and over in rapid succession. That turns your whistle into background noise and removes the contrast that makes the bird pay attention. One clear whistle, a pause, then a reward if the bird responds. That rhythm is the engine of the whole method.
Reinforcement, Rewards, and When Things Aren't Working
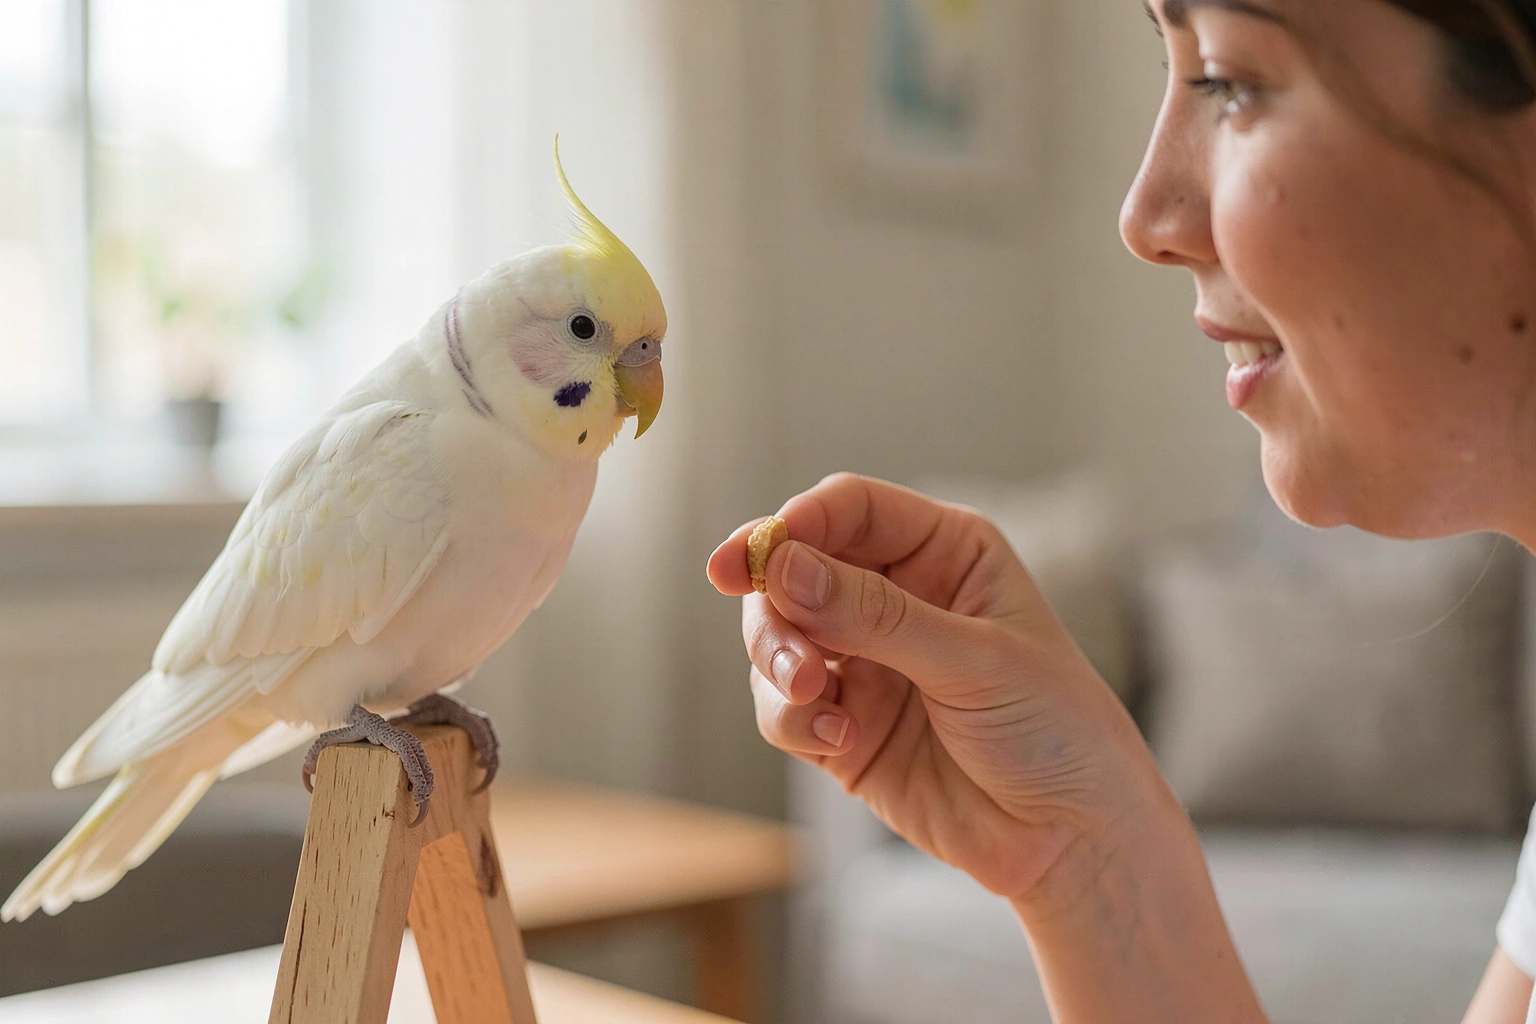
Your reward needs to be something the bird actually wants in that moment. Small pieces of a favorite food work best: a sliver of millet, a tiny bit of fruit, a single safflower seed. The treat should be small enough to eat in two seconds so the bird is immediately ready for the next repetition. If your bird ignores a treat, it either isn't hungry enough, doesn't like that food, or is too stressed to eat. Switch the treat and try again. Training just before a meal (when the bird is mildly hungry) tends to produce faster results than training right after a full feeding.
Timing is everything. The marker, whether a click or "yes," must happen within one second of the desired sound. Even a two-second delay significantly reduces how well the bird connects that specific vocalization to the reward. Practice clicking in response to sounds quickly. You can even practice at home by clicking every time you hear a specific sound on a podcast to sharpen your reflexes before training.
If your bird is not responding at all, go back a step. Instead of waiting for a whistle attempt, reward the bird just for looking at you attentively when you whistle. Then reward any vocalization. Then get more specific. There is no shame in going back to an earlier criterion. It just means you moved up the ladder too fast.
If your bird was making progress and then suddenly stops vocalizing entirely or sounds different, take that seriously. Veterinary sources note that a sudden change in vocalizations, including stopping sounds the bird used to make regularly, can be an early sign of illness rather than a training problem. If your bird goes quiet, sounds hoarse, or shows labored breathing alongside the silence, contact an avian veterinarian promptly rather than assuming it's a training issue. Avian veterinary guidance notes that rapid or labored breathing, with or without wheezing or clicking, can indicate critical illness and is a reason to contact an avian vet promptly hoarse. Do not wait more than a day or two to check this out.
How to Structure Sessions, Fix Common Problems, and Track Progress
A Simple Session Structure
- Spend thirty seconds getting the bird's attention and letting it settle.
- Run five to eight repetitions of your whistle-pause-reward sequence.
- Give a bigger reward (a favorite treat plus verbal praise) if the bird produces its best attempt of the session.
- End the session and leave the training space. Don't linger and keep trying.
That whole sequence should take two to four minutes. Twice a day at consistent times produces faster results than one long, irregular session.
Common Problems and Fixes
| Problem | Likely Cause | Fix |
|---|---|---|
| Bird doesn't respond at all | Criterion too high, not hungry, or distracted | Reward any sound, reduce distractions, train before meals |
| Bird vocalizes but won't whistle | Still in early imitation stage | Keep rewarding any vocalization, then gradually shape toward whistle sounds |
| Inconsistent whistle attempts | Criteria shifting too fast or reward too weak | Hold the current criterion longer before raising it, try a higher-value treat |
| Bird gets distracted mid-session | Session too long or environment too stimulating | Shorten to two minutes, remove distractions, re-establish attention first |
| Bird whistles but not on cue | Cue hasn't been fully conditioned yet | Add the cue earlier and more consistently, reward cued responses more than spontaneous ones |
| Progress stalls completely | Plateau, boredom, or health issue | Take a two-day break, then restart; if the bird also seems unwell, see an avian vet |
Tracking Progress
Keep a simple log. After each session, write down the date, how many attempts you did, whether the bird responded, and how close the best attempt was to the target. A rough one-to-five scale works: 1 means no attempt, 3 means roughly similar sound, 5 means nailed it. This takes thirty seconds and it immediately tells you whether your criteria are moving in the right direction or whether you need to adjust. Most birds show measurable progress within seven to ten days of daily consistent sessions. If you aren't seeing any improvement after two weeks, revisit your treat value, session timing, and environment, all three, not just one.
What You Can Do Starting Today
Here's a realistic first-week plan you can start right now. Today, record yourself whistling your chosen target phrase so you can listen back and make sure you will whistle it the same way every time. Choose your treat and confirm your bird likes it by offering a small piece. Then do your first marker-conditioning session: click or say "yes," give the treat, repeat ten times, done. That is enough for day one.
Tomorrow and through day four, continue marker conditioning for the first half of the session (five reps), then introduce your whistle and reward any vocal response for the second half. From day five onward, move into the full shaping sequence described above. By the end of the first week you should have a bird that reliably vocalizes in response to your whistle, even if it doesn't sound like your target yet. Once your bird reliably responds to your whistle, you can shape that response into a fun peekaboo routine. That's real progress.
If you are also working on other vocal behaviors, like getting your bird to say specific words or say specific words, keep those sessions separate from whistle training. If you are also working on other vocal behaviors, like getting your bird to say specific words, use the same marker-reward approach and consider how to teach my bird to talk alongside whistle training. Mixing too many vocal targets in one session slows progress on all of them.
If you want your mynah bird to talk too, use the same marker-reward approach but focus on spoken word shaping rather than whistles. If you want your Martinez bird to talk, target short spoken word shaping with the same marker-reward timing and consistent daily practice. Whistle training in the morning, talk training in the afternoon, with clear separation between the two.
If you want a fuller, step-by-step guide for getting consistent whistling, use these bird-whistle training steps and keep refining the target over time whistle training in the morning.
Stick with the plan for at least three weeks before deciding it isn't working. Vocal learning in birds is gradual, and the biggest mistake most owners make is giving up right before the bird was about to make a breakthrough. Consistency over time beats any single training trick, every time.
FAQ
What if my bird keeps making a different whistle every time, how do I avoid reinforcing the wrong version?
Start with the simplest version your bird can reliably approximate, then tighten details only after consistent responses for several days. For example, if the target has multiple notes, reward the first note first, then require the second note, then the exact pitch order (and only last, the exact rhythm). This prevents “almost” sounds from getting reinforced.
Why does my bird sometimes get worse after a few good sessions?
It can happen if you reward any sound that occurs near your whistle, your timing for the marker is late, or the environment is too noisy. Do two quick checks, first make sure your marker happens within about one second of the exact sound, then reduce distractions (no TV, fans off). If it still drifts, drop back one shaping step and reward closer attention or earlier approximations for a few sessions.
Can I teach using a recording instead of whistling live every time?
Yes, but keep the “model” stable. Record yourself whistling the exact target phrase and play it at low volume only during training, otherwise the audio device becomes the sound model and your voice timing is irrelevant. If you use a speaker, keep it in the same spot each time and avoid changing volume between sessions.
My bird listens to my whistle but never vocalizes, what should I do first?
If your bird seems interested but never produces any sound, switch to a sound discovery step, reward for looking at you, then reward any vocalization that occurs immediately after the model whistle. Do not wait for a perfect whistle. Also confirm the bird is physically able to vocalize, if it is fluffed, lethargic, or hoarse, pause training and consider a vet check.
Can I use both a clicker and “yes” as the marker signal?
Use only one marker during whistle shaping, either clicker or the spoken “yes,” and always pair it with the treat right away. Mixing markers (click sometimes, “yes” other times) can slow learning because the bird needs a single reliable cue that predicts reward.
My bird whistles on its own sometimes, can I shape it into the specific phrase?
If the bird is already whistling spontaneously, you can still teach the exact phrase by treating spontaneous approximations as candidates only when they match closely. Start at the bird’s closest current sound, then narrow criteria gradually. Keep the training phrase consistent so the bird learns which variation earns the reward.
Can I train whistling and other sounds in the same day without slowing progress?
Yes, but only if you manage attention. After the initial marker conditioning, you can offer the model and then reward vocalizations that occur after it, but avoid overlapping other training cues. If you want to teach multiple targets, schedule them at different times of day and never use different whistles back to back in the same session.
How do I know whether a lack of progress is training-related or just that my bird is not in the right mood?
Watch for two signs: the bird stops participating (no approach, no ear/eye attention) or the bird refuses treats. In those cases, reduce session length (down to one or two minutes), switch to a more preferred food, and train when the bird is mildly hungry. If the bird is also quiet or sounds hoarse, treat it as a health question before continuing shaping.
What if my bird responds to the whistle but never gets closer to the target?
If your bird responds at first but the sound quality never improves, it usually means the criteria are being raised too slowly or too randomly. Use the log, rate the best attempt each day, and raise the bar only when the score stays steady for several sessions. If scores plateau for two weeks, revisit the target complexity and possibly shorten the whistle further.
Is there a specific time of day I should choose to get the fastest results?
Plan for sessions to happen when the bird is alert, but also keep the bird’s rest cycle in mind. Avoid training right after a scare or immediately following a stressful handling event, and do not train late in the evening when many birds are settling down. Consistent timing helps both attention and reinforcement predictability.