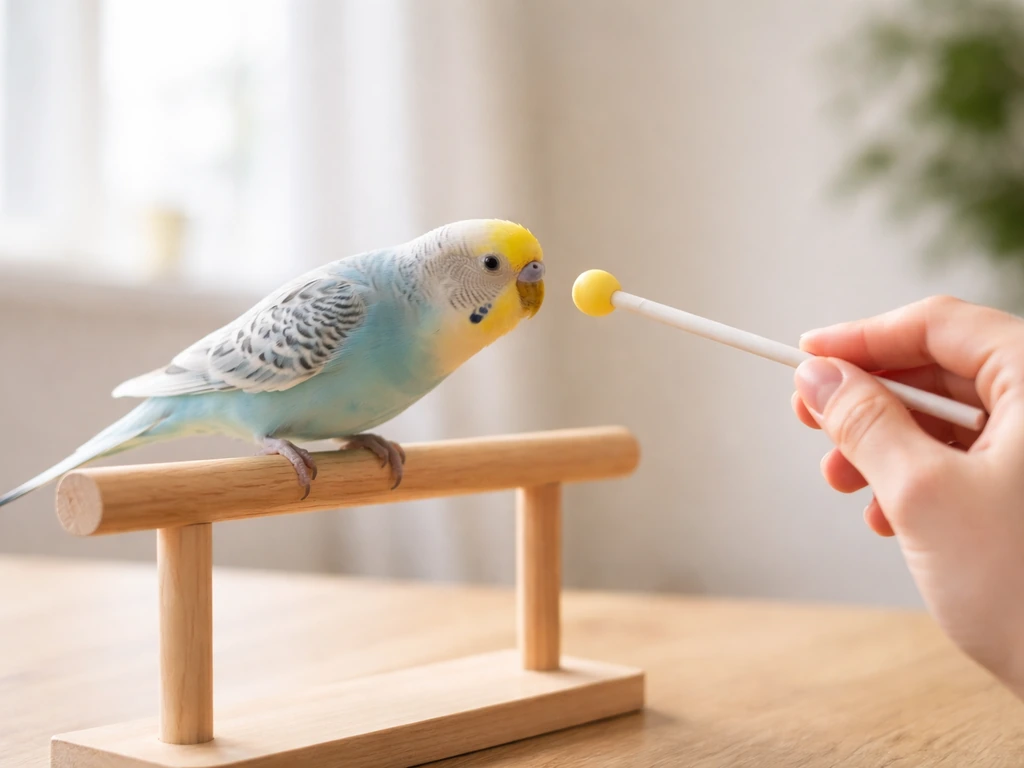
Stick training a bird means teaching it to touch or follow a target stick with its beak, then using that stick to guide the bird toward you, across a perch, or into a new position. It is one of the most practical foundation skills you can teach any bird, and it works whether you have a nervous budgie, a bold cockatoo, or a wild bird you are rehabbing. A good next step is learning how to move from simple targeting to reliable approach and recall on cue how to target train a bird. Done right, the bird is always choosing to engage. You are never poking, chasing, or forcing. Here is exactly how to do it.
How to Stick Train a Bird: Humane Step-by-Step Guide

Maya Harris
19 Apr 2026
What stick training is (and what it isn't)
Stick training is another name for target training with a stick-shaped tool. The goal is simple: the bird learns that touching the tip of a stick with its beak earns a reward. Once that association is solid, you can move the stick to guide the bird anywhere you need it to go. It is the same principle used by professional trainers at zoos, aviaries, and wildlife rehabilitation centers to move animals safely without physical contact.
What it is not: stick training is never about using a stick to push, tap, or herd a bird. It is not about waving something at a scared animal until it gives up and complies. That kind of approach causes fear, triggers defensive biting, and breaks trust. Research from the Fear Free veterinary program is clear that blank" rel="noopener noreferrer">positive punishment increases aggression, intensifies fear responses, and can shut a bird's behavior down entirely. Merck Veterinary Manual notes that punishment and overly confrontational approaches are more likely to increase fear, avoidance, and aggression rather than produce safe, cooperative behavior blank" rel="noopener noreferrer">punishment and confrontational approaches increase fear, avoidance, and aggression. You want the opposite: a bird that actively moves toward the stick because doing so has always paid off.
Stick training is closely related to clicker training and target training more broadly. If you have already explored clicker training or target training with your bird, stick training slots right in as the physical tool version of those methods. The mechanics are identical: mark the moment of contact, then reward.
Gear and setup: choosing a target stick, treats, and a safe space
Picking the right target stick
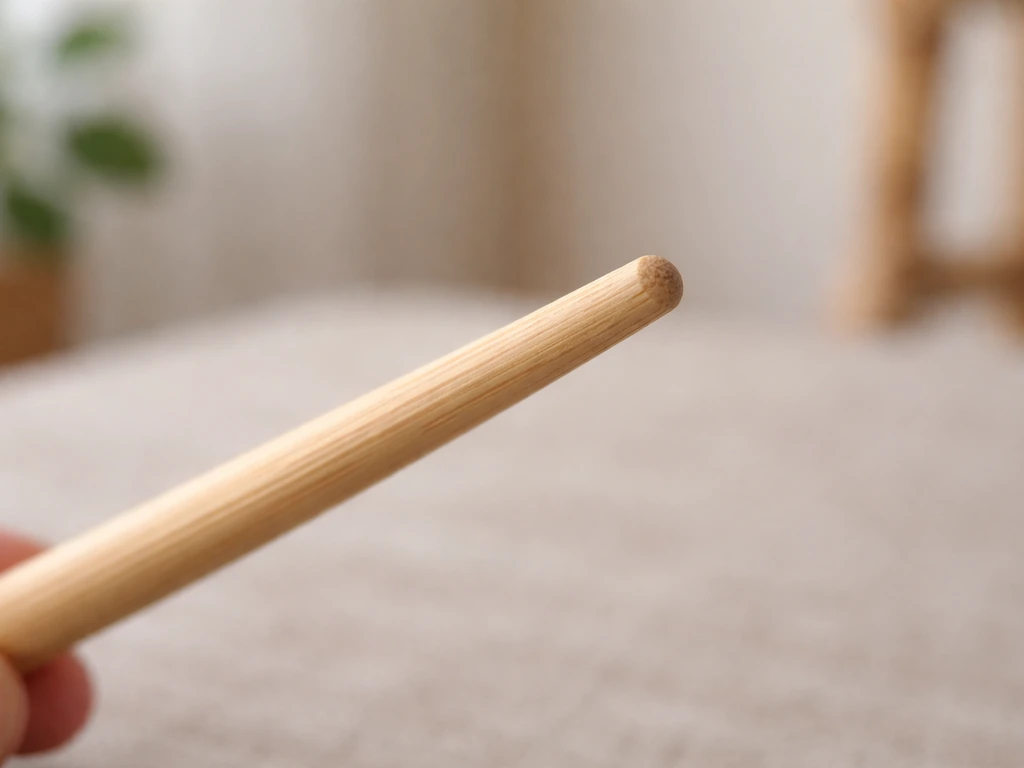
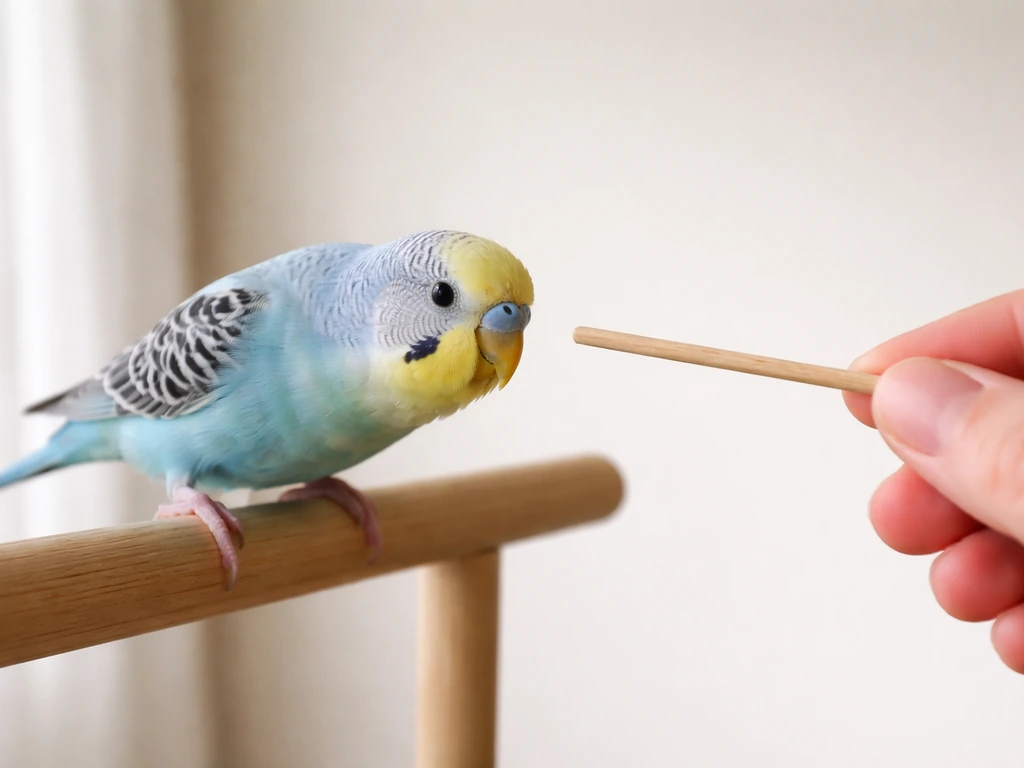
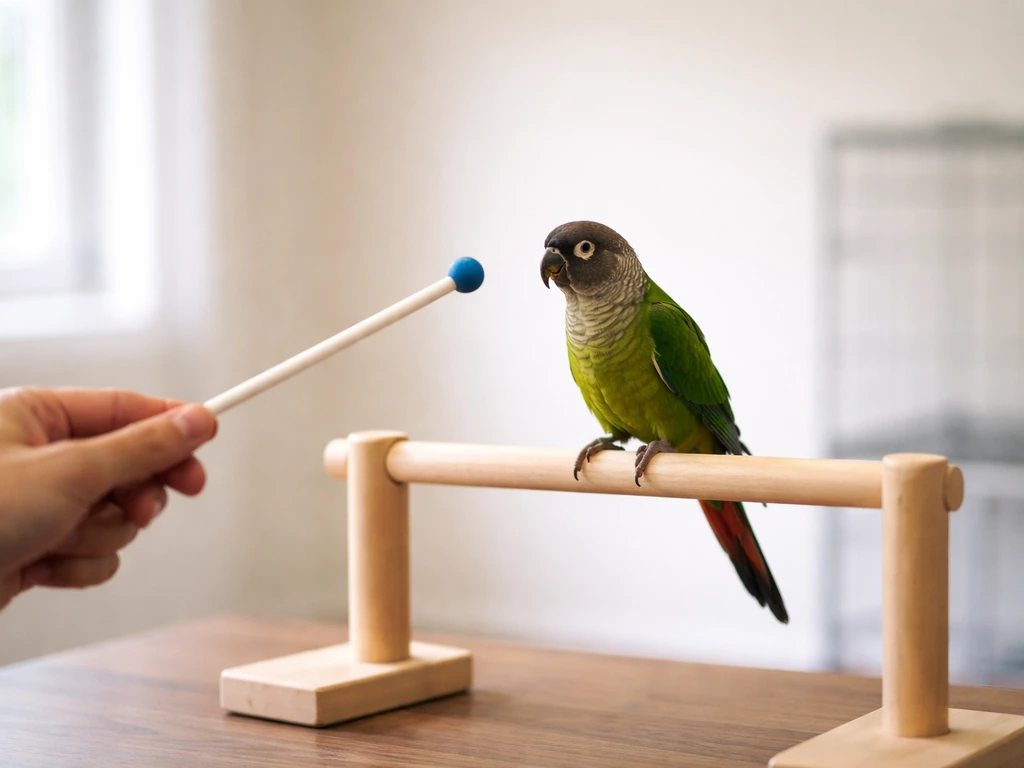
For small birds like budgies, finches, or lovebirds, a plain wooden chopstick is ideal. It is thin, non-threatening, and easy to hold at the right angle. For medium to large parrots, a slightly thicker dowel (about 30 cm long) or a commercially made acrylic target stick works well. Retractable training sticks with a small foam or rubber ball tip are widely available and have the advantage of a visible, distinct endpoint that the bird can focus on. The rounded tip is also safer than a raw wooden point.
If you are working with birds in a rehabilitation or multi-bird facility, choose a stick made of hard acrylic or another non-porous material that you can disinfect between uses. Avoid anything with sharp edges, frayed wood, or metal tips that could scratch the beak or face. A chopstick is fine for home use but should be replaced when it splinters.
Treats that actually motivate
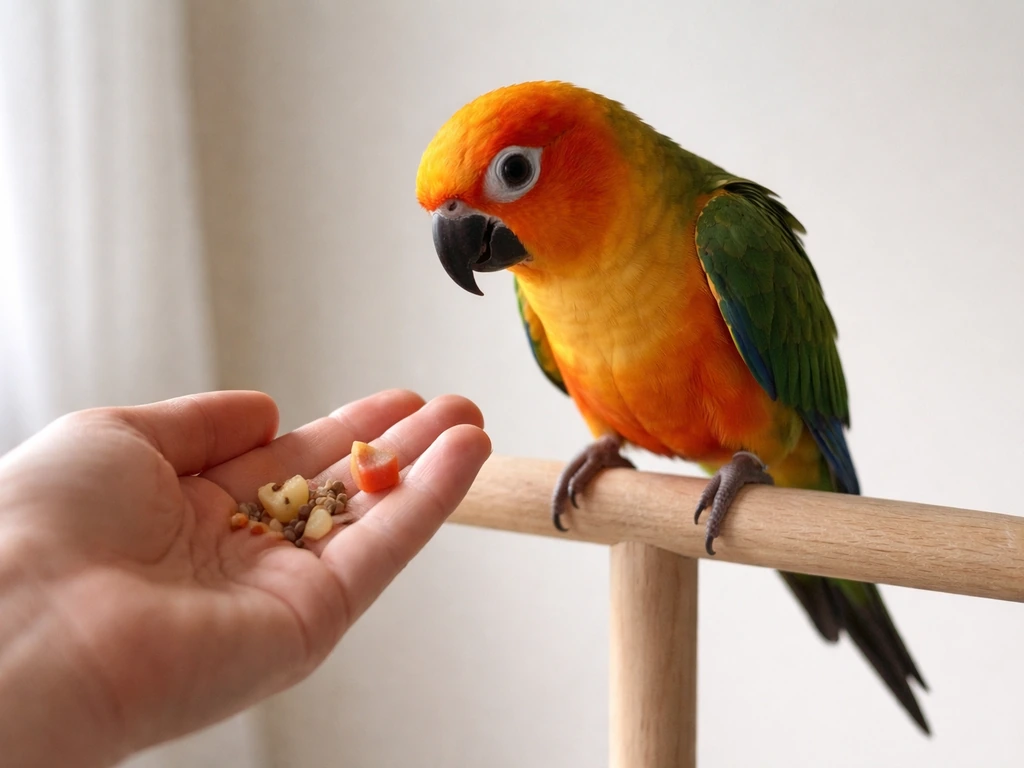
The treat has to matter to the bird. For most parrots, a small piece of a favorite seed, a sliver of almond, or a tiny cube of fruit works well. Keep pieces small, about the size of a peppercorn, so the bird can eat and be ready to try again within seconds. If the bird is not food-motivated during a session, stop and come back when it is slightly hungry, such as before the first meal of the day. Never use hunger as punishment, but mild appetite is a natural motivator.
Setting up a distraction-free training space
Choose a room where the bird feels safe and where you can control the environment. Turn off ceiling fans, secure any other pets, and keep the space quiet. For a pet bird, training at its familiar perch or on a T-stand is ideal. For a rehabilitation bird, work at the front of the enclosure or in a small, covered transport carrier where the bird feels contained and less exposed. Sit or position yourself at the bird's eye level when possible. Looming from above is a predator signal, and it will slow your progress significantly.
Your marker
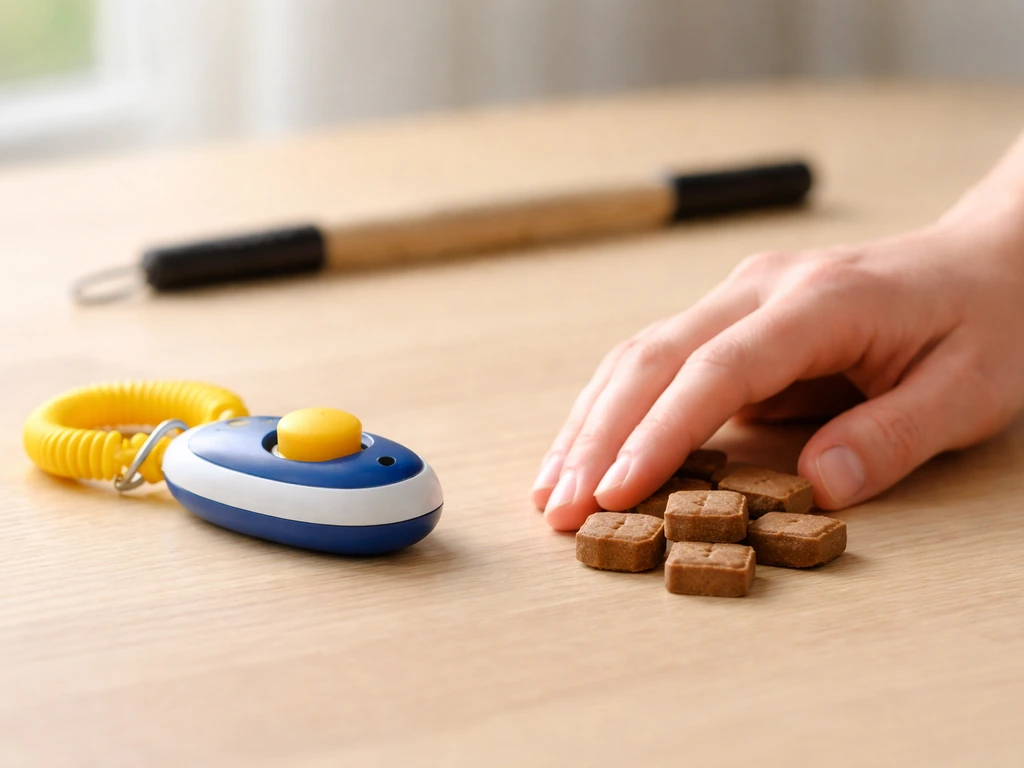
You need a way to mark the exact moment the bird touches the stick. A clicker is the most precise tool, but a short, consistent verbal marker like a crisp "yes" or "good" works fine if you do not have a clicker handy. What matters is consistency. Use the same sound every time, at the exact moment of contact, not a second before or after. Timing is everything in marker training.
Training basics: reinforcement, timing, and your first session
Before touching the stick to your bird's environment, pair your marker with food. Click or say "yes," then immediately offer the treat. Repeat this five to ten times over two or three short sessions until the bird clearly expects the treat every time it hears the marker. This step builds the communication bridge that makes all subsequent training faster.
Step-by-step: the first stick training session
- Hold the target stick loosely at your side before approaching the bird. Keep your body relaxed and avoid direct eye contact, which can feel threatening to nervous birds.
- Slowly bring the tip of the stick to within about five centimeters of the bird's beak. Do not touch the bird. Just present the stick and wait.
- The moment the bird leans toward the tip, moves its head toward it, or touches it with its beak, mark immediately (click or say "yes") and offer the treat.
- If the bird ignores the stick, try touching the tip gently to your own hand or tapping it lightly on the perch to draw attention. Some birds need the stick to move slightly before they notice it.
- Repeat five to eight times, then end the session. Keep sessions to two or three minutes maximum at this stage. Short, successful sessions build faster than long, frustrating ones.
- Between reps, withdraw the stick fully so the bird gets a clear signal that the session has paused. This teaches the bird that the stick appearing means a training opportunity is available.
At this stage, success means any movement toward or contact with the stick. You are not asking for perfection. A curious glance is worth rewarding if the bird is very nervous. Shape the behavior gradually. The Gabriel Foundation's training guidance makes this explicit: wait for the bird to approach and touch, never guide the beak onto the target.
Progression plans: from targeting to approach and simple movement
Once your bird reliably touches the tip of the stick within two or three seconds of it being presented, you are ready to raise the criteria. Move slowly. Rushing this stage is the most common beginner mistake.
Stage 1: consistent touch at close range
The bird touches the stick tip when presented within a few centimeters. It does this reliably across multiple reps and multiple sessions. This is your baseline. Do not move to Stage 2 until this is solid.
Stage 2: reaching and leaning
Move the stick tip just a little further away, maybe two to three centimeters beyond the bird's comfortable reach, so it has to lean or stretch slightly to make contact. Mark and reward the lean. The World Parrot Trust's target training materials describe this exact progression: position the target an inch away in a direction that requires the bird to shift its weight or stretch its neck. This is the beginning of guided movement.
Stage 3: taking steps to follow the target
Once the bird is comfortable stretching, move the stick far enough that the bird must take one step along the perch to reach it. Mark and reward when the foot moves. Gradually increase the number of steps required before you click. The bird is now following the target stick, which is the core skill of stick training. From here, you can guide the bird from perch to perch, toward your hand, toward a carrier, or into a new room.
Stage 4: adding a verbal cue
Once the bird is reliably following the stick, add a verbal cue just before you present it. Something short and distinct, like "touch" or "target," works well. Say the cue, then present the stick. Repeat until the bird starts to orient toward you or the stick as soon as it hears the word. The cue tells the bird a training opportunity is coming and helps transfer the behavior to new contexts.
Stage 5: stationing and approach on cue
Stationing means asking the bird to go to and stay at a specific location, like a training perch or a spot on the cage front, until released. Use the target stick to guide the bird to that spot, then wait a beat before marking and rewarding. Gradually increase the duration before you click. This behavior is the foundation for stepping up on cue, moving to a scale for weigh-ins, or entering a travel carrier without stress.
| Stage | Criterion to advance | Typical timeline (sessions) |
|---|---|---|
| 1: Touch at close range | Reliable touch within 2-3 seconds, 8 of 10 reps | 3-7 sessions |
| 2: Reaching and leaning | Bird stretches or leans to contact, 8 of 10 reps | 4-10 sessions |
| 3: Taking steps | Bird walks 1-3 steps to follow target, 8 of 10 reps | 5-15 sessions |
| 4: Verbal cue added | Bird orients to cue before stick appears | 7-20 sessions |
| 5: Stationing/approach | Bird goes to target spot and holds for 3+ seconds | 10-30 sessions |
These timelines vary widely by species, individual temperament, and how consistent you are. A bold young budgie might hit Stage 3 in a week. A rescued cockatoo with a difficult history might take months to feel safe enough to reach Stage 2. Both outcomes are normal.
Species- and temperament-specific tips
Small parrots, budgies, and finches
Small birds are quick, easily startled, and tend to have shorter attention spans. Use a thin chopstick and keep sessions to ninety seconds or less. A single millet seed is often enough of a reward. Finches and canaries rarely step up on command but can be target trained to move from one perch to another inside the cage, which is incredibly useful for health checks and cage maintenance. Present the stick at cage bar level and let the bird come to the tip. Patience is the whole game with small birds.
Medium parrots: cockatiels, conures, caiques
This group tends to be enthusiastic and food-motivated, which makes them fast learners. The challenge is that they can also become overexcited and start mugging for the treat instead of actually touching the target. If your cockatiel is grabbing at the stick rather than touching its tip, hold the stick at a slight angle and reward only clean beak-tip contact. Sessions of two to three minutes work well for this group.
Large parrots: African greys, amazons, macaws, cockatoos
Large parrots are often very intelligent but can be cautious about new objects. An African grey that has never seen a target stick may need several sessions just to become comfortable with the stick existing in the room before it will approach. Start by placing the stick on a nearby surface and ignoring it. Let the bird investigate on its own terms. Once the bird is relaxed around the stick, begin formal targeting. These birds also tend to plateau or get bored if the rate of reinforcement drops, so always keep sessions rewarding and end before the bird loses interest.
Rehabilitation and wild birds
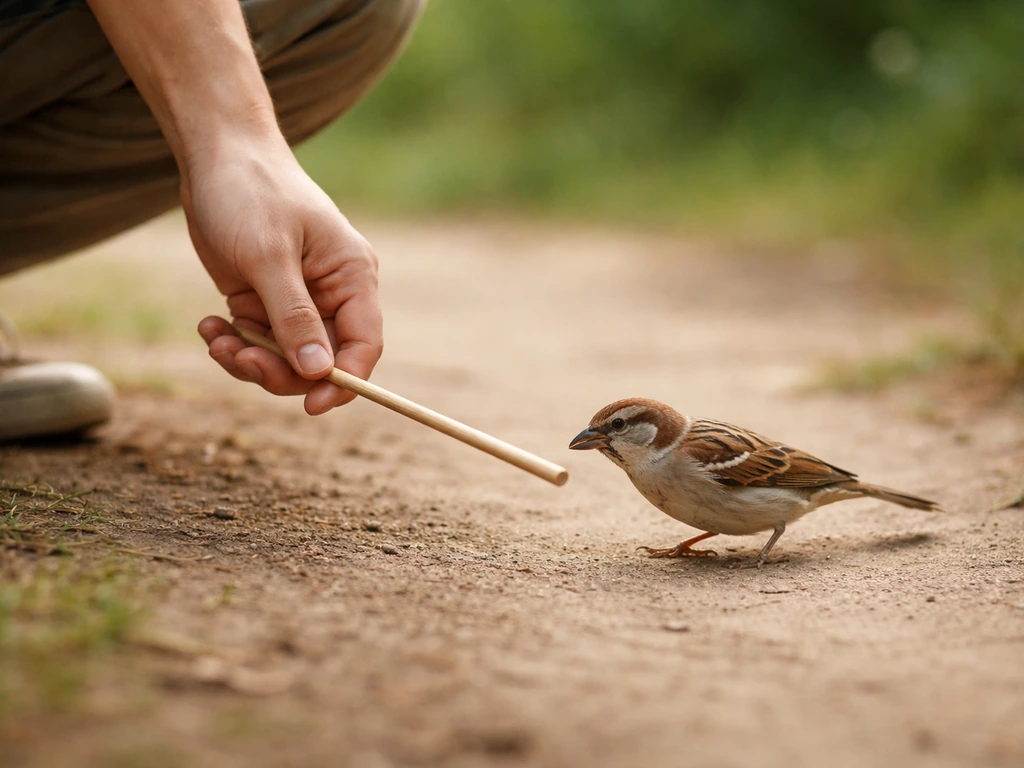
If you are working in a rehab context, the goal of stick training shifts. You are not building a pet relationship. You are using the target to reduce handling stress during necessary care, to guide the bird into transport containers, or to encourage flight-path practice in a controlled space. Keep human contact minimal and always prioritize the bird's ability to express natural behaviors. The IAATE's position is clear: each individual bird has specific behavioral and physiological needs, and it is the trainer's responsibility to adapt methods to that individual. A wild red-tailed hawk and a hand-raised Amazon require completely different training relationships even if the stick mechanics are the same.
For wild or semi-wild birds, work at maximum distance. Extend a longer stick or dowel so the bird does not have to tolerate your close presence to participate. Reward with food placed at the far end of the enclosure rather than hand-fed, which keeps human contact to a minimum.
Shy vs bold birds
Bold birds will often try to grab, chew, or play with the stick immediately, which is actually great because it means they are comfortable. Shape that curiosity into a clean touch. Shy birds need more time and lower-stakes presentations. For a shy bird, start by placing the stick inside the cage while you sit nearby reading or doing something else. Let the bird approach on its own. Do not watch the bird intently, as direct prolonged eye contact increases arousal and fear in many species.
Troubleshooting common problems
The bird ignores the stick completely
First check whether the bird is actually hungry and motivated. Then check whether the stick is too large or visually intimidating. Try a smaller, thinner stick or introduce it from further away and let the bird come to it. You can also rub a tiny amount of a favorite treat on the tip of the stick to make it smell interesting. Once the bird investigates, mark and reward immediately, even if it just sniffs rather than touches.
The bird backs away or shows fear
Stop and reassess. Watch for stress signals: panting, a fanned tail, wings held away from the body, raised head feathers, hissing, or open-mouthed breathing. Any of these means the session should end immediately. The Avian Welfare Coalition lists these exact behaviors as indicators that a bird needs time and space, not more training. Let the bird calm down and try again the next day, starting from a greater distance and with a less threatening tool. Never push through obvious distress.
The bird bites the stick or lunges at it
Some birds, especially curious or territorial ones, will grab or bite the stick rather than touch it gently. Do not pull away sharply, as that can become a game. Instead, hold still and wait for the bird to release, then immediately present the stick tip at a slightly different angle and reward a clean touch. If biting continues, try marking earlier, the instant the beak approaches the tip, before the bird closes its bill fully. You are reinforcing the approach and proximity, not the actual bite.
The bird won't target on cue (cue is inconsistent)
This usually means the verbal cue was added too early, before the physical behavior was reliable enough. Go back to Stage 3 and rebuild the behavior without the verbal cue until you are getting a reliable touch 8 of 10 times. Then reintroduce the cue. Also make sure your cue word is consistent. If you sometimes say "touch" and sometimes say "target" or use a hand gesture inconsistently, the bird cannot build a clear association.
The bird loses interest mid-session
Sessions are too long or the reinforcement rate has dropped. Karen Pryor's shaping guidance recommends keeping sessions to a minute or two and monitoring whether the bird is still engaged. If the bird turns away, preens, or starts vocalizing at the ceiling, the session is over whether you planned for it to be or not. Always end on a successful rep and before the bird chooses to disengage first.
Progress has stalled at one stage
You have probably raised the criteria too quickly. Split the stage into smaller steps. If the bird reliably touches the stick at five centimeters but stops engaging when you move it to ten centimeters, try seven centimeters for a week. Shaping is all about managing the size of each increment. Smaller steps, more frequent reinforcement, faster progress overall.
Safety, welfare, and legal and ethical considerations
The welfare principles here are non-negotiable. Never use the stick to push, poke, herd, or physically move a bird. That is not stick training, it is coercion, and it causes harm. The AAHA is explicit that forceful manual restraint increases injury risk and is detrimental to emotional outcomes, and the same logic applies in a training context. If a bird is not choosing to engage with the stick, the answer is always to slow down, not to force the issue.
Monitor your bird's body language throughout every session. The Association of Avian Veterinarians recommends observing demeanor, respiratory effort, and feather condition before and during any handling or training. If you see open-mouthed breathing, hunched posture, or a bird that looks dull or unresponsive, stop immediately and consider a veterinary consult if those signs persist.
For rehabilitation work, there are also legal considerations. In most countries, keeping wild birds without a permit is illegal, and the methods used to handle them are regulated. In the United States, the Animal Welfare Act sets standards for humane handling of regulated birds. If you are rehabbing a protected species, make sure you are operating under the appropriate wildlife rehabilitation license and following your permit's specific guidelines for minimizing human imprinting and stress.
Consent-based training is the gold standard for pet birds. This means the bird can always opt out of a session, and you respect that choice without punishment. A bird that can opt out and consistently chooses to participate is showing you genuine trust, which makes all future training faster and more reliable.
How to practice and measure progress
A simple daily schedule
Two to three sessions per day is ideal for most birds during the early stages. Each session should be two to three minutes long at most. The best times are in the morning before the first meal and again in the late afternoon when birds are naturally more active and social. Avoid training immediately after the bird has eaten a full meal, right before lights-out, or during molting, which can make birds irritable and less focused.
Tracking your sessions
Keep a simple log: the date, the stage you worked on, how many successful reps you got out of total attempts, and any notable behavior changes. If your success rate drops below 70 percent over two sessions in a row, go back one stage. If you are consistently hitting 80 to 90 percent, you are ready to move forward. This data removes the guesswork and keeps you from either rushing or stalling.
What to work toward next
Once your bird is reliably following the target stick and stationing on cue, you have a tool that unlocks a lot of other training goals. Harness training works best when your bird already understands how to follow a target stick on cue. Target training with a stick is the natural gateway to recall training, where the bird flies to you on cue, as well as flight training and harness training, where the bird needs to be comfortable with movement and direction cues before adding equipment. If you want the bird to fly back to you on cue, turn your target stick recall practice into a dedicated recall session. If your goal is flight training, use the same stick-following targeting to build approach strength and reliable movement cues before you add any flight-path practice. If you have already built a clicker training foundation, you will find that all of those skills connect and reinforce each other quickly.
Your ready-to-use first session protocol
- Choose a chopstick or short dowel and a high-value treat your bird loves.
- Pick a quiet space at the bird's eye level, morning before its main meal.
- Pair your marker: click or say "yes" ten times and immediately deliver a treat each time.
- Present the stick tip five centimeters from the bird's beak and wait up to ten seconds.
- Mark and reward any movement toward the stick, including a curious glance at close range.
- Repeat five to eight times, then end the session. Put the stick away completely.
- Do a second session in the late afternoon using the same approach.
- Log your results: how many reps, how many touches, any stress signals observed.
- After three to five sessions of reliable touching, begin moving the stick slightly further away.
That is genuinely all you need to start today. The technique is simple, the equipment is low-cost, and the results, when you are patient and consistent, are remarkable. A bird that follows a target stick is a bird you can work with safely for the rest of its life.
FAQ
How close should the stick be to the bird when you start targeting (and when is it too close)?
Start within the bird’s comfortable reach so you get clean beak-tip contact without leaning or stretching too much. If the bird only touches the stick when it is almost touching its beak, you are too close, and you should later increase distance in small steps (a couple centimeters at a time) to build real following and flexibility.
What if my bird touches the stick with feet or beak side instead of the tip?
Only reward the exact behavior you want, clean tip contact. If the bird is reaching with feet or contacting with the side of the beak, hold the stick at an angle that naturally presents the tip first, mark earlier for approach, and keep rewarding until tip contact becomes the fastest, easiest option.
Should I let the bird take the treat off the stick tip, or offer it away from the stick?
Offer the treat immediately at the bird’s normal eating spot, not from the stick itself. This prevents the bird from learning “mugging” for food and keeps the stick task focused on touching or following the target.
Is it okay to use the stick to gently guide the bird’s head onto the target if it seems confused?
No. The training goal is the bird choosing to move toward the stick. If you position the beak onto the target, you remove the bird’s decision-making and can create fear or avoidance, especially with cautious or bite-prone birds.
What do I do if my bird hesitates, then suddenly lunges or bites the stick?
Lower the difficulty and rebuild. Present the stick from farther away or use a thinner, less visually intimidating target, then mark earlier for approach or sniffing and reward quickly. If biting happens, hold still, wait for release, and reward the first clean, gentle touch at a new angle.
How can I tell whether a lack of progress is from timing versus the bird not being motivated?
If your timing is right, you should see short, repeated interest after the marker (for example, the bird orients toward the stick). If the bird ignores the stick but eagerly takes treats, motivation is likely low for that moment, so train when the bird is slightly hungry and keep the session shorter. If the bird shows stress with any presentation, reduce distance and go back to earlier stages.
My bird works fine without a cue, but adding the cue makes it worse. Why?
The cue was likely introduced before the physical behavior was reliable. Revert to the stage without the cue until you get consistent tip touches, then re-add the cue at the last possible moment (right before stick presentation) using identical wording every time.
How many reps should I aim for in a session, and how long should I wait if the bird stops engaging?
Aim for many short, successful reps rather than one long attempt, typically one to several minutes depending on species and engagement. If the bird turns away, preens, or disengages, end the session promptly and try again later. Don’t keep re-presenting the stick after the bird chooses to stop.
Can I train multiple birds at once with a stick, and how do I prevent competition?
It is usually better to train one bird at a time, especially early on, because dominant birds can steal treats or block access to the target. If you must do multiple birds, use spacing and separate work areas, keep reinforcement controlled (no shared treat piles), and stop if aggression or crowding appears.
What should I do if my bird associates the stick with being chased, even though I never chased?
This can happen if previous interactions involved forced contact or if you rapidly move the stick into the bird’s space. Slow everything down, start by placing the target on a nearby surface so the bird can investigate at its own pace, and re-pair the marker with treats before asking for any touching.
Are there common welfare or handling red flags during stick training that mean I should stop immediately?
Yes. Stop if you see obvious respiratory effort (open-mouth breathing), repeated signs of high fear (hissing, wings held away, fanned tail, hunched posture), or the bird becomes unresponsive or dull. If these signs persist across attempts, switch to shorter sessions, greater distance, earlier stage criteria, and consult an avian professional when needed.
How do I know when to move from following the stick to stationing on a specific spot?
Stationing becomes appropriate when your bird consistently moves to the stick’s tip and pauses briefly to touch it. At that point, guide the bird to the target location, then add a short waiting period before the marker. Increase the wait in tiny increments, rewarding the pause quickly to keep the spot reinforcing.
What’s the safest way to disinfect or replace a stick between birds or sessions?
Use a non-porous target that can be fully cleaned and disinfected according to product guidance for your material. Avoid frayed wood and sharp or rough tips, replace chopsticks when splintering starts, and do a quick inspection for loose coatings or damage before each training block.