You can successfully breed pet lovebirds by pairing a compatible, healthy, DNA-sexed male and female of the same species, providing a nest box with the right dimensions and nesting material, conditioning them on a varied diet well before the season starts, and then letting nature take over while you monitor closely. Most lovebird clutches contain 4 to 6 eggs, incubation runs 21 to 24 days, and chicks typically fledge around 43 days. The hard part is not the biology, it's getting the setup, nutrition, and troubleshooting right before problems appear. If you plan to pinion a bird for breeding or management, review the correct method and welfare considerations before attempting anything. If you are specifically looking for how to start emu bird farming, you will want to plan housing, feeding, and safe handling methods for ratites from day one.
Love Bird Breeding Tips: Safe Step-by-Step Guide

Choose the right species, pair, and goal first
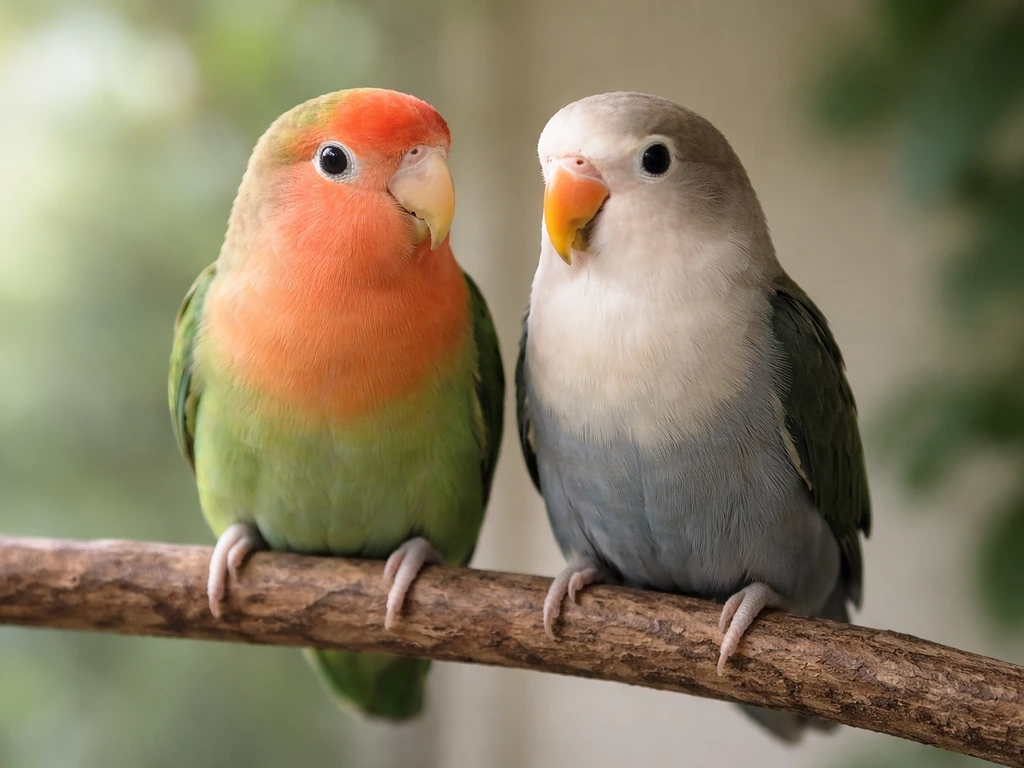
There are nine lovebird species, but three dominate the pet trade and are the most practical to breed: peach-faced (rosy-faced) lovebirds, Fischer's lovebirds, and masked (yellow-collared) lovebirds. All three are cavity nesters, share similar incubation timelines of about 21 to 23 days, and do well in home aviaries. If you are a beginner, start with peach-faced lovebirds, they are the most forgiving, widely bred, and have the largest support community. Fischer's and masked lovebirds are rewarding too, but color mutation breeding adds genetic complexity best tackled once you have a few clutches under your belt.
The single most important step before anything else is DNA sexing. Lovebirds are monomorphic, you cannot reliably tell males from females by looking at them. If you skip DNA sexing, you risk pairing two females, which will still lay eggs (all infertile) and exhaust the birds for nothing. Get a DNA test from your vet or a mail-in avian lab before you invest in a setup.
Before you commit, ask yourself honestly why you want to breed. If it is to produce hand-tame pets, you will need to be prepared to pull chicks for hand-feeding or co-parent with the pair. If it is to produce parent-raised birds for sale, you need a plan for rehoming responsibly. Breeding lovebirds produces real animals that need real homes. Having a waiting list before the eggs hatch is a mark of a responsible breeder, and it is worth thinking about before you set up the nest box.
Pair compatibility matters beyond species. A newly bonded pair that has not spent time together may not breed successfully, and forcing the issue by putting them straight into a breeding cage often leads to aggression, infertile eggs, or chick abandonment. Let prospective pairs spend at least 4 to 8 weeks together in a flight cage before introducing a nest box. Watch for mutual preening and side-by-side roosting, those are the green lights.
Build the right breeding setup
Cage and aviary size
A breeding pair needs more space than a solo pet bird. A minimum cage size for a single breeding pair is 24 inches wide by 24 inches deep by 24 inches tall, but bigger is always better. If you have the space, an outdoor aviary or a large indoor flight gives the birds more exercise, which supports overall health and fertility. Just make sure outdoor aviaries are predator-proof and protected from drafts, stress from nighttime disturbances can disrupt breeding.
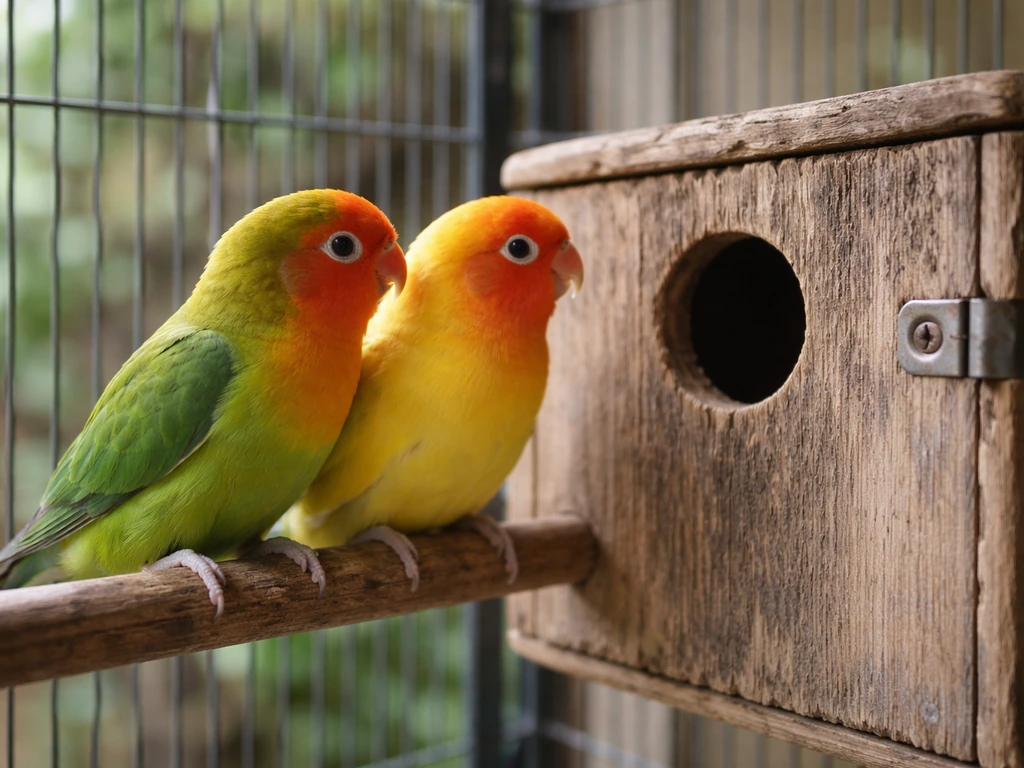
Nest box dimensions
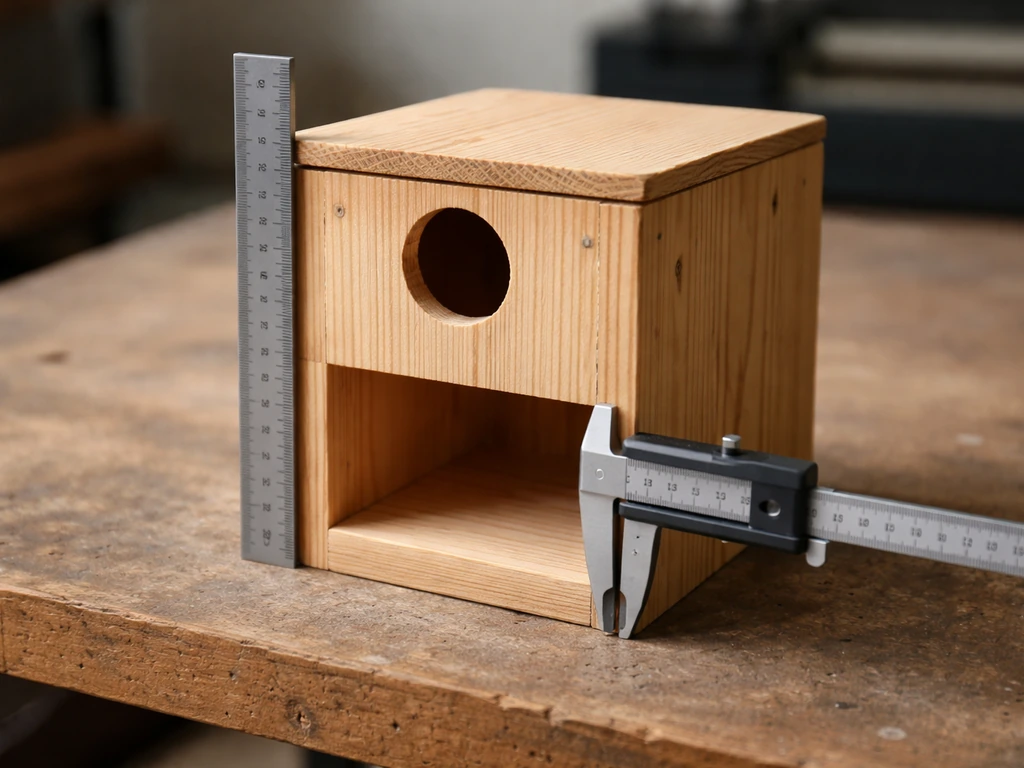
Lovebirds are cavity nesters, so the nest box design matters. A box that is too large causes the birds to feel insecure and may discourage incubation. A box with too small an entrance hole stresses them during entry and exit. A good lovebird nest box has an interior floor area of roughly 6 by 6 inches, a depth of 8 to 10 inches, and an blank" rel="noopener noreferrer">entrance hole of about 2 inches in diameter. Mount it high on the outside of the cage with the entrance accessible inside, this keeps it out of the way of feeders and perches and gives the hen a sense of security.
Nesting materials
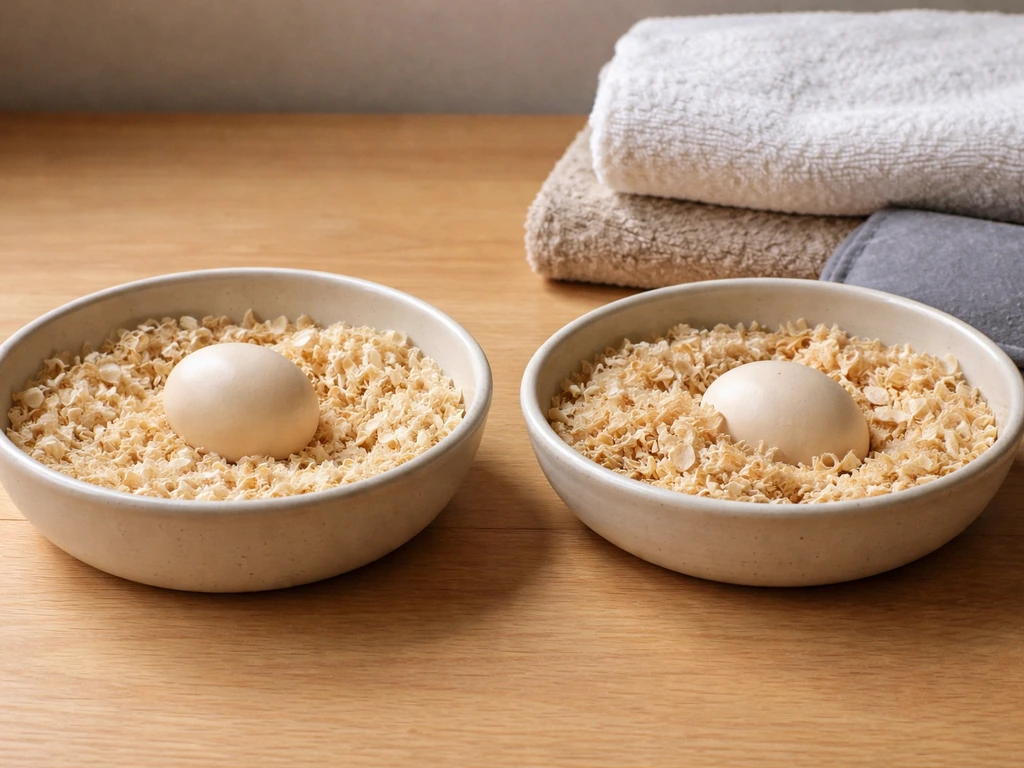
Unlike most parrots, lovebirds actively build nests and carry nesting material tucked under their rump feathers, it is one of their most distinctive and charming behaviors. Provide willow branches, palm fronds, fresh eucalyptus leaves, or strips of non-toxic paper. Avoid synthetic materials, dryer lint, or anything treated with chemicals. Let them choose and arrange their own material. Do not pack the nest box yourself, the building process is part of pair bonding and preparing the hen hormonally for laying.
Temperature, humidity, and airflow
Lovebirds breed most reliably when ambient temperature is between 65 and 80 degrees Fahrenheit. Below 60 degrees, egg development slows and chick survival drops sharply. Above 85 degrees, heat stress can lead to egg abandonment. Aim for relative humidity around 50 to 60 percent during incubation, this helps maintain proper moisture inside the eggs. Good airflow matters but avoid direct drafts on the nest box. A small, quiet fan circulating air across the room (not pointed at the cage) keeps conditions stable without stressing the birds.
Sanitation
Clean the cage floor and food/water dishes daily. Do a partial nest box inspection weekly, remove wet or soiled material from the floor of the box carefully and briefly. Deep-clean the full setup between clutches using a dilute avian-safe disinfectant, and let it dry completely before replacing nesting material. Never use bleach directly on surfaces the birds contact without thorough rinsing. Poor sanitation is one of the leading causes of chick loss to bacterial infections, and it is entirely preventable.
Condition your birds with the right diet before breeding
A seed-mix-only diet is inadequate for breeding lovebirds, full stop. Seeds are high in fat and low in the calcium, protein, and vitamins that egg production and chick development require. Start transitioning your birds to a balanced diet at least 6 to 8 weeks before you introduce the nest box. The foundation should be a high-quality pelleted diet making up about 60 to 70 percent of intake, supplemented with fresh vegetables, leafy greens, and a small amount of fruit.
During breeding conditioning and throughout laying and chick-rearing, add cooked egg food (hard-boiled egg mashed with the shell, or a commercial egg food product) 3 to 4 times per week. This provides protein and biotin that support feather and tissue development in chicks. Offer cuttlebone and a mineral block at all times, the hen will consume large amounts of calcium during egg formation, and a deficiency is one of the main causes of egg binding.
- Pelleted diet: 60 to 70% of daily food intake
- Fresh leafy greens (kale, romaine, bok choy): daily
- Cooked vegetables (sweet potato, broccoli, carrot): 3 to 4 times per week
- Egg food or hard-boiled egg: 3 to 4 times per week during breeding
- Cuttlebone and mineral block: available at all times
- Fresh water: changed daily, more often in warm weather
- Seeds: limit to 10 to 20% of diet as a supplement, not the base
Avoid sudden diet changes once laying begins, stick with what the birds are already accepting. Introducing new foods mid-clutch can stress the pair and disrupt feeding routines. Get them eating well before breeding starts, and then keep it consistent.
The full breeding cycle, stage by stage
Mating and nest preparation
Once the nest box goes up and the birds are well-conditioned, mating typically begins within 1 to 3 weeks. You will notice increased activity: the male feeding the female (courtship feeding), frequent copulation, and the female spending long periods inside the nest box arranging material. This is all normal and healthy. Do not disturb the nest box during this period unless you need to do a quick welfare check.
Egg laying
The hen will lay her first egg about 10 to 14 days after mating begins. She lays one egg approximately every 48 hours until the clutch is complete, which typically means 4 to 6 eggs over 8 to 12 days. Most hens begin sitting tightly once the second or third egg is laid. Do not be alarmed if the first egg or two sit uncovered for a day or two, this is normal and actually helps synchronize hatching so all chicks emerge within a day or two of each other.
Incubation
Incubation lasts 21 to 24 days from when the hen starts sitting consistently. Both parents usually share incubation duties, with the hen doing the majority of overnight sitting. Resist the urge to candle eggs frequently, doing it once at day 7 to 10 to check for fertility is reasonable, but repeated handling stresses the parents and can lead to abandonment. A fertile egg at day 10 will show a web of blood vessels and a dark embryo when held up to a small flashlight in a dark room. A clear egg is likely infertile.
Hatching and early chick care
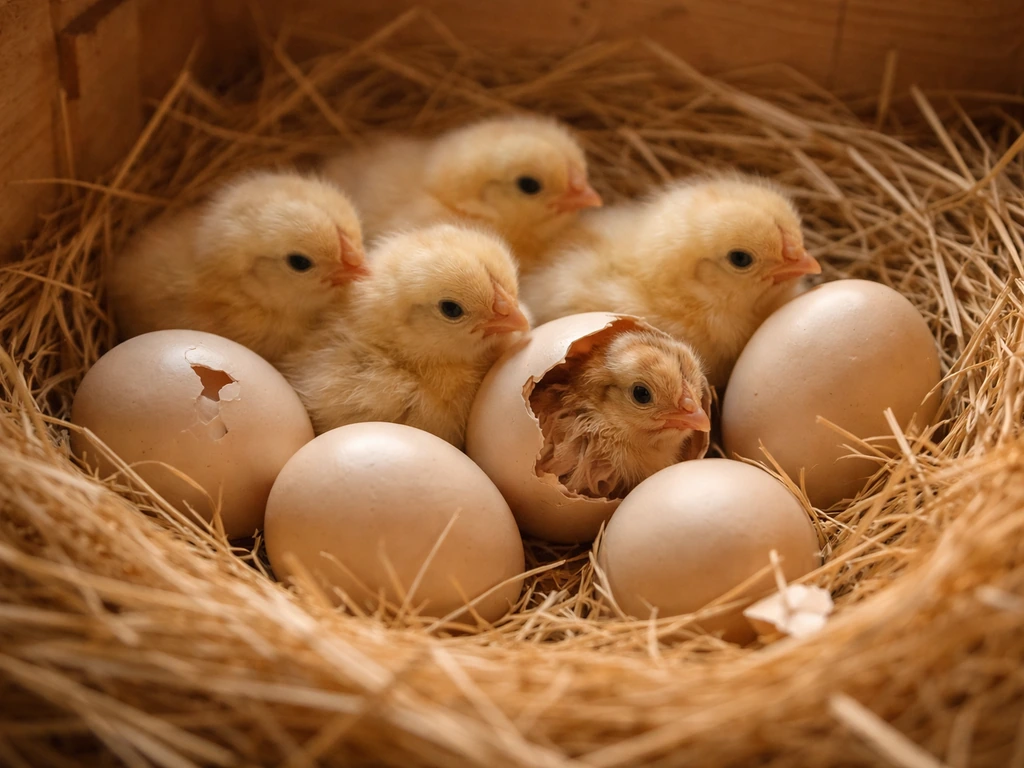
Chicks will pip (crack the shell) about 24 hours before they fully hatch. Do not intervene in the hatching process unless a chick has been pipped and stuck for more than 24 hours without progress, in that case, call your avian vet for guidance before doing anything. Newly hatched lovebird chicks are altricial: blind, featherless, and completely dependent on the parents. The parents will brood and feed them a crop secretion called crop milk in the first days, transitioning to regurgitated soft food within the first week. In this r/budgies thread, people discuss uncertainty around crop milk and regurgitation and whether the behavior can signal a problem, which is useful context for troubleshooting tone.
Check the nest box once daily by briefly lifting the lid to see that chicks are warm, have full crops, and are not piled on top of each other. A chick with a consistently empty crop 6 to 8 hours after feeding time is being neglected and needs intervention. Keep a log of hatch dates so you know exactly how old each chick is throughout the process.
Weaning
Chicks begin fledging (leaving the nest box) at around 40 to 45 days. They will still beg for and receive food from the parents for another 2 to 4 weeks after fledging as they learn to eat independently. Do not separate chicks from the parents too early, weaning stress is a real welfare concern. Wait until chicks are eating pellets, vegetables, and soft foods independently and no longer begging before you move them to a separate cage. This is typically around 8 to 10 weeks of age for parent-raised chicks.
Handling, bonding, and keeping stress low
If your goal is hand-tame pet birds, you have two main options: pull chicks for hand-feeding at 14 to 21 days, or co-parent by handling chicks daily from about 10 days onward while the parents continue feeding. Co-parenting is gentler on the chicks and less demanding on you. Start by simply placing your warm hand in the nest box for a minute or two each day so the chicks associate human hands with warmth and safety. Increase handling time gradually over the first few weeks.
The parents' behavior toward you matters too. A pair that is already bonded to you and comfortable with handling will tolerate nest checks far better than a wild-caught or untamed pair. This is one reason the site's approach to humane training and bonding techniques applies directly to breeding: tamer parent birds produce calmer chicks and create a lower-stress breeding environment overall. If you need to work on taming or training the adults before breeding season, do that first, a stressed pair is far less likely to breed successfully or raise healthy chicks.
Keep the breeding area as calm as possible. Limit foot traffic near the cage, avoid loud music or sudden noise, and do not rearrange the cage furniture once breeding begins. Consistency is what lovebird parents need to feel secure enough to raise a clutch successfully.
Troubleshooting the most common problems
| Problem | Likely Cause | What to Do |
|---|---|---|
| Infertile eggs | Pair is same sex, male not mating, poor nutrition, age | DNA sex both birds, check diet, confirm mating is occurring, consider a new pair |
| Hen not laying | Poor conditioning, inadequate daylight, no nest box comfort, stress | Improve diet 6 to 8 weeks before, ensure 12 to 14 hours of light, reduce disturbances |
| Egg binding | Calcium deficiency, overbreeding, cold temperatures, first-time layer | Seek avian vet immediately — this is an emergency |
| Chicks chilling | Too cold in nest box, parents not brooding properly, overcrowding | Raise ambient temperature, check for drafts, assess parental behavior |
| Chick abandonment | Parental inexperience, too many nest checks, illness in parents, loud environment | Reduce disturbances, check parents' health, prepare for hand-feeding if necessary |
| Parental aggression toward chicks | Overcrowding, pair conflict, hormonal issues | Monitor closely, separate chicks early if injury risk is present |
| Repeated breeding failure (3+ clutches) | Incompatible pair, health issues, chronic stress | Retire the pair from breeding as Lafeber advises — some pairs simply will not raise young |
Egg binding deserves special emphasis because it is life-threatening and moves fast. Signs include a hen sitting on the cage floor puffed up, straining, having a swollen abdomen, or showing weakness and labored breathing. Do not try to massage out the egg at home. Warm the bird gently (place her near a heat lamp set to 85 degrees Fahrenheit) as first aid and get to an avian vet immediately. Time matters, a hen that is egg-bound for more than a few hours can die from the pressure on internal organs.
If a pair fails to settle and care for their eggs by the third clutch, do not keep breeding them. Some pairs are simply incompatible as co-parents even if they are bonded socially. Continuing to breed a failing pair causes welfare harm to the birds and wastes your resources. Try them as companion birds only, or rehome one bird and try a different pairing.
Health, safety, and the legal and ethical side of lovebird breeding
Biosecurity and quarantine
Any new bird you bring into your home, even one from a reputable source, should be quarantined for a minimum of 30 days in a physically separate room before contact with your existing birds. Newly acquired birds are the highest-risk source of infectious disease introduction, including avian chlamydiosis (caused by Chlamydia psittaci), which has no effective vaccine and spreads easily in close quarters. During quarantine, use separate food and water dishes, wash hands between handling birds, and do not use the quarantine space as a breeding area. This is non-negotiable if you are running more than one breeding pair.
If you are purchasing a bird that was imported internationally, be aware that birds imported from certain countries may require a 30-day quarantine at a USDA Animal Import Center facility before you take possession. Check current USDA APHIS requirements before any international purchase, regulations change based on disease outbreaks like HPAI.
When to involve an avian vet
Every breeding operation, even a single pair at home, benefits from a relationship with an avian-experienced vet before problems arise. Get a pre-breeding wellness check for both birds, including fecal testing for parasites and a basic blood panel if possible. Once breeding is underway, call your vet for any of the following: suspected egg binding, chick not hatching after 24 hours of pipping, chick with a persistently empty crop, parents showing illness signs during incubation, or any unusual neurological symptoms in chicks. Do not wait and see with sick chicks, they deteriorate extremely fast.
Ethical standards and responsible breeding
Responsible lovebird breeding means providing adequate housing, nutrition, veterinary oversight, and appropriate socialization for every bird you produce. Breeding operations that cut corners on sanitation, shelter, food quality, or veterinary care cause measurable animal suffering, and those conditions can be reported to local animal cruelty agencies. The standard is not high, it just requires consistency and genuine care. If you cannot commit the time and resources to do it properly this season, it is better to wait.
Wild lovebirds: a clear boundary
Everything in this guide applies to captive-bred pet lovebirds. Wild lovebirds, whether encountered locally in feral populations in parts of the U.S. or in their native range in Africa, are not appropriate subjects for home breeding programs or nest interference. If you encounter injured or orphaned wild lovebirds, contact a licensed wildlife rehabilitator rather than attempting to raise or breed them yourself. Interfering with wild birds without a federal and/or state permit is illegal in most jurisdictions, and the welfare outcomes of DIY wild-bird rehabilitation are poor compared to professional care.
Your breeding action plan: what to do right now
- DNA sex both birds if you have not already done so — do not skip this.
- Schedule a pre-breeding vet visit for both birds, including fecal and basic health screening.
- Begin transitioning the pair to a balanced pellet-based diet with fresh vegetables and egg food if they are not already eating one.
- Set up or verify your breeding cage: minimum 24 by 24 by 24 inches, correct nest box dimensions (6 by 6 inch floor, 2-inch entrance hole), nest box mounted high.
- Provide cuttlebone, mineral block, and fresh nesting material (willow, palm, non-toxic paper strips).
- Confirm your room temperature stays between 65 and 80 degrees Fahrenheit and humidity is around 50 to 60 percent.
- Let the bonded pair settle in the breeding cage for 1 to 2 weeks before introducing the nest box.
- Once eggs are laid, candle at day 7 to 10 and note hatch dates — expect 21 to 24 days.
- Check chick crops once daily, keep a log, and begin gentle co-parenting handling at 10 days if you want hand-tame birds.
- Wait until 8 to 10 weeks for full weaning and separation of chicks.
- If anything looks wrong — egg binding, sick chick, abandoned clutch — call your avian vet the same day.
Lovebird breeding is genuinely rewarding when you go in prepared. The biology is reliable, these birds have been bred in captivity for generations and know what to do. Your job is to give them the right environment, the right food, and a low-stress home, then step back and let them do it. If you are focused on how to increase bird population overall, the same principles apply: keep breeding conditions safe, healthy, and low-stress so more chicks successfully fledge right environment. If you are trying to learn how to get bird eggs in a safer, more responsible way, the steps for nest setup, conditioning, and vet checks are key. The troubleshooting section above covers most of the curveballs, and an avian vet covers the rest. If you are curious how lovebird breeding compares to other small birds, the setup principles have a lot in common with breeding conures or Java sparrows, though the nest box styles and dietary needs differ by species. If you are specifically breeding conures, you will want to fine-tune nest setup, diet, and chick-care routines to match their species needs. If you want a species-specific walkthrough, this guide on how to breed quail bird covers the main steps and setup differences for quail setup principles have a lot in common with breeding.
FAQ
What should I do if my DNA-sexed pair never starts bonding or laying even after the nest box goes up?
First extend the bonding period, many pairs need more than 4 to 8 weeks together. If they still ignore the nest box, review diet consistency and calcium/mineral availability, then check room stability (no drafts, limited disturbances, no furniture changes). If they show aggression toward each other, separate and re-pair, rather than repeatedly reintroducing a nest box.
How can I tell the difference between a normal first-egg delay and a problem?
Normal is that the first one or two eggs may be laid and not incubated right away for a short window. If incubation is still not consistent after about the third egg, or the hen repeatedly abandons the box for long stretches with no brooding posture, consider calling an avian vet to rule out reproductive tract issues or stress-related behavior.
Is candling eggs safe, and how do I reduce stress for the parents?
Candling is best limited to one check around day 7 to 10, using brief handling with warm hands and a quick return to the box. Do it in a dim room, avoid lingering near the cage, and keep the parents on their usual feeding routine so they are not forced to search for food or water while you handle eggs.
Do I need a heat lamp or artificial incubation if the room temperature drops at night?
If your home reliably stays within the target range, you usually do not need active incubation. If nighttime drops below 60°F, stabilize the breeding room rather than heating the nest box directly, since localized overheating or drafts can cause abandonment. Aim for stable ambient conditions and gentle airflow away from the entrance hole.
What nesting material is actually safest, and what should I avoid besides “treated” items?
Choose materials the birds can handle and that will not fray into hazardous strands, non-toxic paper strips are typically safer than loose, heavily coated fibers. Avoid cotton, stringy rope-like materials, dryer lint, and anything that can unravel into tight tangles around toes or the hen’s feet.
How do I know if chick starvation or neglect is happening, and what is the right first step?
Use the daily warm check and crop observation. If a chick has an empty crop 6 to 8 hours after feeding time, that is an urgent sign of neglect. First, confirm the parents are present and not brooding off the nest, then contact an avian vet for guidance on whether supplemental feeding is needed, since incorrect technique can harm altricial chicks.
Can I clean the nest box more often during incubation if I’m worried about mess?
Limit full disturbance. The guide recommends brief, careful removal of wet or soiled material during weekly inspection, rather than frequent lid lifting. Frequent disruptions can reset brooding rhythms, increase abandonment risk, and cool eggs during handling.
What should I do if the hen seems bloated, straining, or weak during the breeding period?
Treat egg binding as time-sensitive. Do not try home egg removal or aggressive massage. Provide gentle warmth by placing the hen near a heat lamp set to the stated temperature range, and get to an avian vet immediately, since deterioration can happen within hours.
How long should I keep chicks with the parents before moving them, especially if they still beg?
Do not separate solely based on leaving the nest box. Wait until the chicks eat pellets, vegetables, and soft foods independently and are no longer persistently begging. Even after fledging, parents typically continue feeding for 2 to 4 weeks, and early separation increases stress and low-growth risk.
Should I remove the nest box immediately after the clutch hatches or let them raise the chicks in the same box?
In most setups, keep the nest box available for chick-rearing since parents rely on it for brooding and feeding routines. Remove or replace materials only when needed for sanitation during planned checks, because removing the box too early can cause chicks to chill or scatter before they are ready.
How do I prevent repeat breeding issues if a pair produces infertile eggs or abandons chicks?
After a third clutch failure to settle or care, stop breeding that pair together. Move them to a companion setup or rehome one individual, then select a different pairing rather than continuing to cycle nest attempts, since repeated stress and failures reduce welfare and may indicate incompatibility or an underlying health problem.
What quarantine practices matter most if I already have multiple breeding pairs?
Use a physically separate room, dedicated food and water dishes, and strict hand hygiene between groups. Do not use the quarantine space for breeding. Even if a bird looks healthy, wait the full minimum period before any contact with breeder birds to reduce the chance of introducing contagious diseases.
Is it okay to breed lovebirds with any lovebird species if they’re the same size?
No. Use only same-species pairs, since cross-species pairing can create infertility and unpredictable welfare outcomes. Stick to the species your setup is designed for, and ensure both birds are DNA-sexed and healthy before any nest introduction.