Breeding a bird successfully comes down to four things: healthy birds, the right environment, careful monitoring, and a plan for what happens after the chicks hatch. Whether you are keeping lovebirds, cockatiels, quail, finches, or another species, the core process is the same. You choose a compatible, healthy pair, set up a proper nesting space, support egg incubation (naturally or with an incubator), raise the chicks safely, and then handle the post-fledging phase responsibly. This guide walks through every step in that order.
How to Breed Bird: Humane Step-by-Step Guide

Maya Harris
5 Apr 2026
What "breeding a bird" actually means for your situation
Before anything else, get clear on what you are trying to do and why, because the approach changes depending on the species and your goal. Breeding a domestic pet bird like a cockatiel, budgie, or lovebird is very different from working with semi-wild species like quail or emus, and entirely different from anything involving wild migratory birds. If you are keeping a common captive-bred companion species, you are in the right place. If you are thinking about wild birds, stop: under 16 U.S.C. § 703 (the Migratory Bird Treaty Act framework), it is unlawful to take, capture, possess, or disturb the nests or eggs of protected migratory bird species without a federal permit. That is not a technicality; it carries real penalties. Stick to legally kept, captive-bred birds.
Your goal also matters. Are you breeding to keep a few chicks for yourself, to rehome them responsibly, or to expand a small aviary? Each outcome shapes how many pairs you set up, how much space you need, and what your post-hatching plan looks like. The World Parrot Trust describes responsible aviculture as breeding with high welfare standards and genuine accountability, not just producing chicks because you can. That framing is worth keeping in mind whatever species you work with. Responsible breeding is the baseline here, not an optional extra.
One more thing: some species are much more beginner-friendly than others. Zebra finches, budgerigars, cockatiels, and quail birds are often recommended as starting points because they breed reliably, have manageable clutch sizes, and are forgiving of minor setup mistakes. Parrots, conures, and softbills are more demanding. If this is your first breeding project, choose a species with a strong track record in captivity and plenty of documented husbandry guidance.
Choosing and vetting your breeding birds
Good chicks start with good parents. Do not skip this step or rush it, because pairing unhealthy or mismatched birds creates problems that are much harder to fix later.
Health and condition
Both birds should have a clean bill of health before you even think about pairing them. That means bright eyes, smooth feathers with no bald patches or stress bars, active behavior, a healthy body weight (no prominent keel bone), clean vents, and normal droppings. If you are serious about breeding, a pre-breeding vet check is worth every penny. Ask your avian vet to screen for common infections like Psittacosis, Polyomavirus, and PBFD in psittacines, or for respiratory disease and coccidiosis in ground birds like quail. Introducing a sick bird to a breeding setup is the fastest way to lose an entire clutch.
Age and maturity
Breeding too young is a common mistake. Most small parrots and finches should be at least 12 to 18 months old before their first breeding attempt. Cockatiels are often ready at around 18 months. Larger parrots may not be truly ready until 3 to 5 years old. Breeding immature birds leads to infertile eggs, abandoned clutches, poor parenting, and health stress on the hen. On the other end, very old birds may have declining fertility or health risks during egg-laying. For most species, the sweet spot is between 2 and 6 years for reliable breeding outcomes.
Sexing your birds
You need to know what sex your birds are. For sexually dimorphic species (where males and females look different, like many finches and budgies) visual sexing is usually straightforward. For monomorphic species like many conures and African Greys, you will need DNA sexing, which involves sending a feather or blood sample to a lab. Surgical sexing exists but is rarely used anymore. DNA testing is inexpensive, around $20 to $40 per bird, and gives you a definitive answer. Do not guess based on behavior alone; it is unreliable.
Genetic compatibility and responsible pairing
Pair birds of the same species and, generally, the same subspecies. Hybrid pairings produce birds that often cannot be rehomed responsibly and may have health or fertility issues. If you are working with color mutations (common in lovebirds and cockatiels), research the genetics beforehand to avoid pairing that produces lethal or unhealthy combinations, such as double-dark factor budgies or lutino lovebirds with underlying health issues. Lovebird breeding tips go into the mutation genetics in more detail if that is your species of choice.
Setting up the nesting and breeding environment
The environment you provide is one of the biggest factors in whether a pair will breed at all, and whether eggs and chicks survive if they do.
Housing size and layout
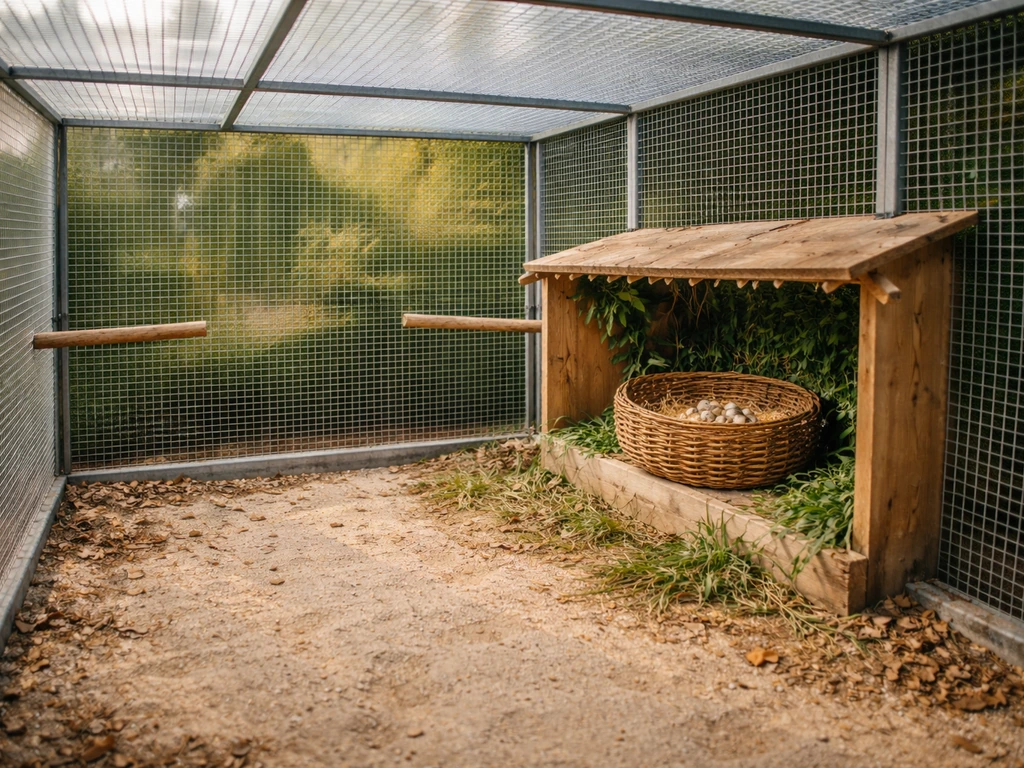
Breeding birds need more space than pet birds kept alone. A pair of cockatiels needs a minimum cage of around 24 x 36 x 48 inches, but bigger is always better. Finches do well in a flight cage at least 30 inches wide. Ground-nesting birds like quail need floor space: a minimum of 1 square foot per bird, more if you want good production. Aviary setups (walk-in enclosures) give breeding pairs the most natural conditions and the lowest stress, which translates directly into better breeding success. If you are considering a larger-scale setup or working with ratites, looking into how to start emu bird farming will give you a good sense of the infrastructure planning involved for bigger species.
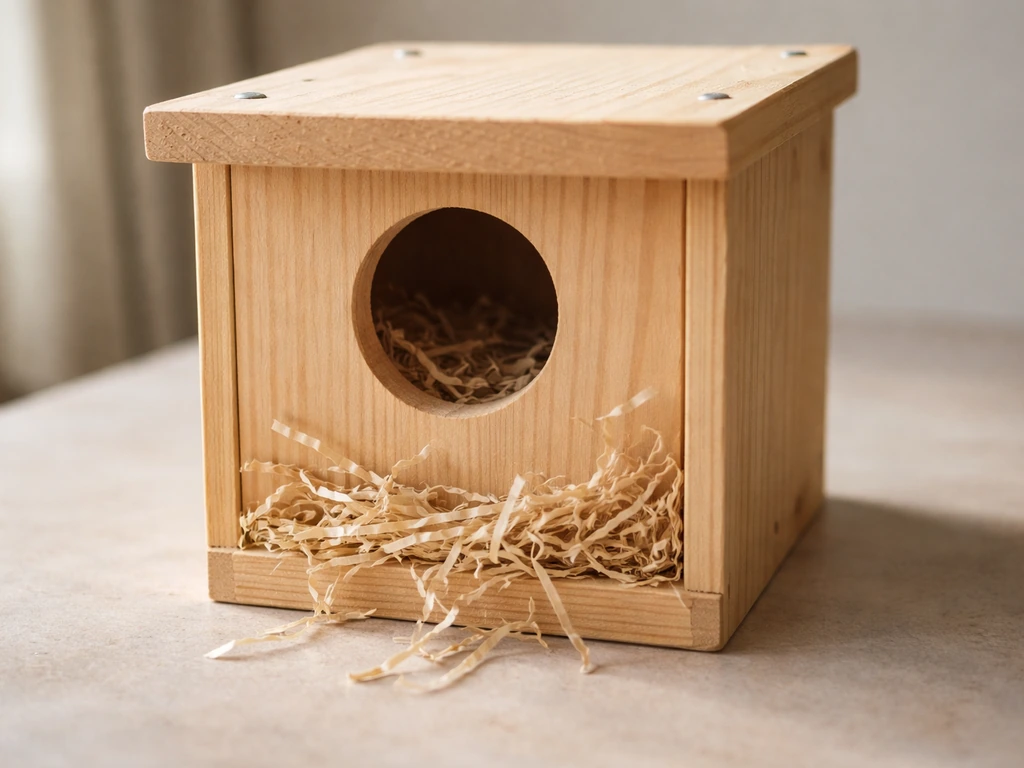
Nest boxes and nesting materials
Most cavity-nesting species (parrots, finches, cockatiels) will not breed without a nest box. Size matters: the entrance hole and interior dimensions should match the species. A cockatiel nest box is typically around 12 x 12 x 12 inches with a 3-inch entrance hole. A lovebird box is smaller, around 8 x 8 x 10 inches. Hang the box high in the cage, as birds feel safer nesting up high. Provide nesting material: pine shavings for parrots (avoid cedar, it is toxic), coconut fiber or shredded paper for finches, and dried grasses for canaries. Let the birds arrange it themselves; forcing a specific layout usually just stresses them.
Lighting, temperature, and triggers
Most birds in temperate climates breed in spring because longer daylight hours trigger hormonal changes. You can replicate this indoors by gradually increasing light exposure to 12 to 14 hours per day using a timer on a full-spectrum light. Temperatures should be stable and comfortable, generally 65 to 85°F (18 to 29°C) depending on species. Avoid drafts, sudden temperature swings, and loud or unpredictable noise near the breeding area. Stress suppresses breeding behavior quickly.
Hygiene baseline
Clean the breeding cage or aviary thoroughly before introducing the pair. Spot-clean daily, change substrate weekly, and disinfect nest boxes between clutches. A dirty environment is a direct pathway to bacterial infections in eggs and chicks. Use a bird-safe disinfectant (F10 SC or diluted white vinegar are both commonly used) and rinse well before returning birds.
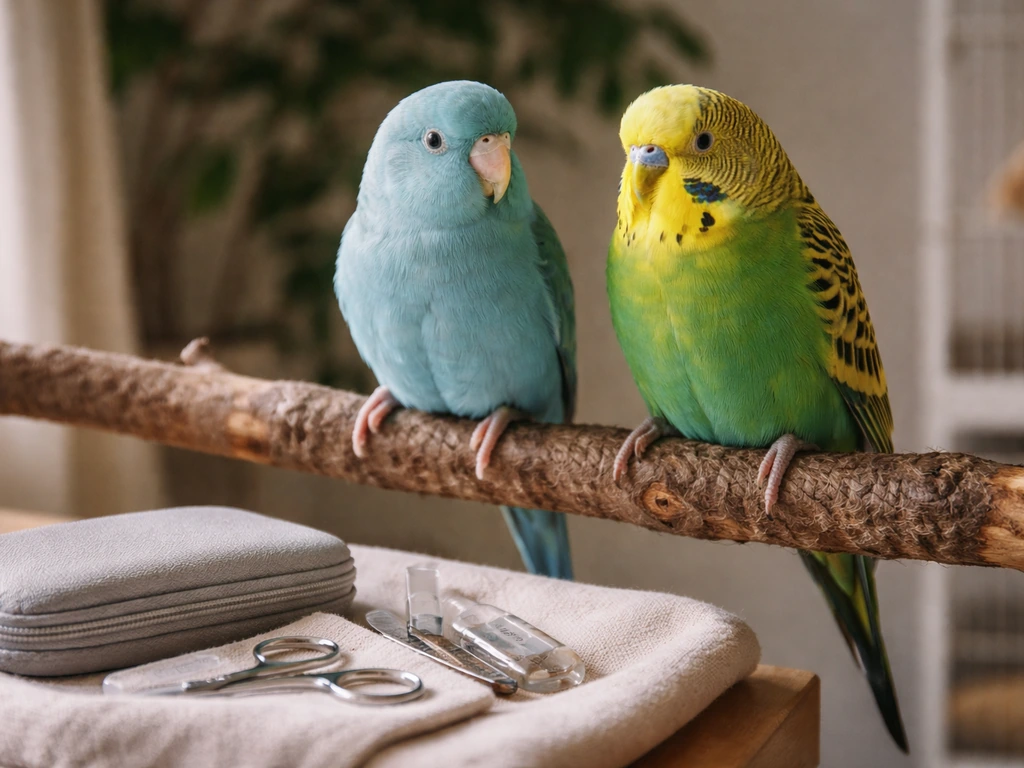
Pairing, bonding, and getting ready to mate
Forcing two birds together and expecting them to breed is the fastest way to get aggression and injury instead of eggs. A humane, stress-free approach to pairing takes a little more patience but produces far better outcomes.
Start by housing the two birds in adjacent cages where they can see and hear each other but cannot make physical contact. Watch for signs of mutual interest: calling back and forth, moving toward each other along the cage bars, mirror-feeding postures. This introduction phase can take anywhere from a few days (for social finches) to several weeks (for more cautious parrots). Do not rush it. If one bird is consistently fleeing or the other is aggressively posturing, give them more time apart before trying again.
Once the birds are clearly interested in each other, move them into the same enclosure with the nest box already in place. Watch closely for the first 24 to 48 hours. Some chasing and squabbling is normal as the pair works out their dynamic. Biting that draws blood, persistent feather pulling, or one bird unable to eat without being attacked means the pairing is not working and you need to separate them again. Java finches and similar species can be particularly particular about mate choice; if you want more detail on that dynamic, Java bird breeding tips cover pair compatibility in depth.
Signs that a pair is ready to breed include: mutual preening (allopreening), regurgitation feeding between the pair, frequent visits to the nest box, the male singing or displaying, and the female spending increasing time inside the box. At this point, make sure the birds are on a high-quality diet: fresh vegetables, a quality pellet or seed mix appropriate to the species, and a calcium source (cuttlebone or mineral block) for the hen. Nutrition directly affects egg quality and clutch success.
Egg care and incubation
Once the hen starts laying, your job shifts to monitoring and supporting, not intervening unless something goes wrong.
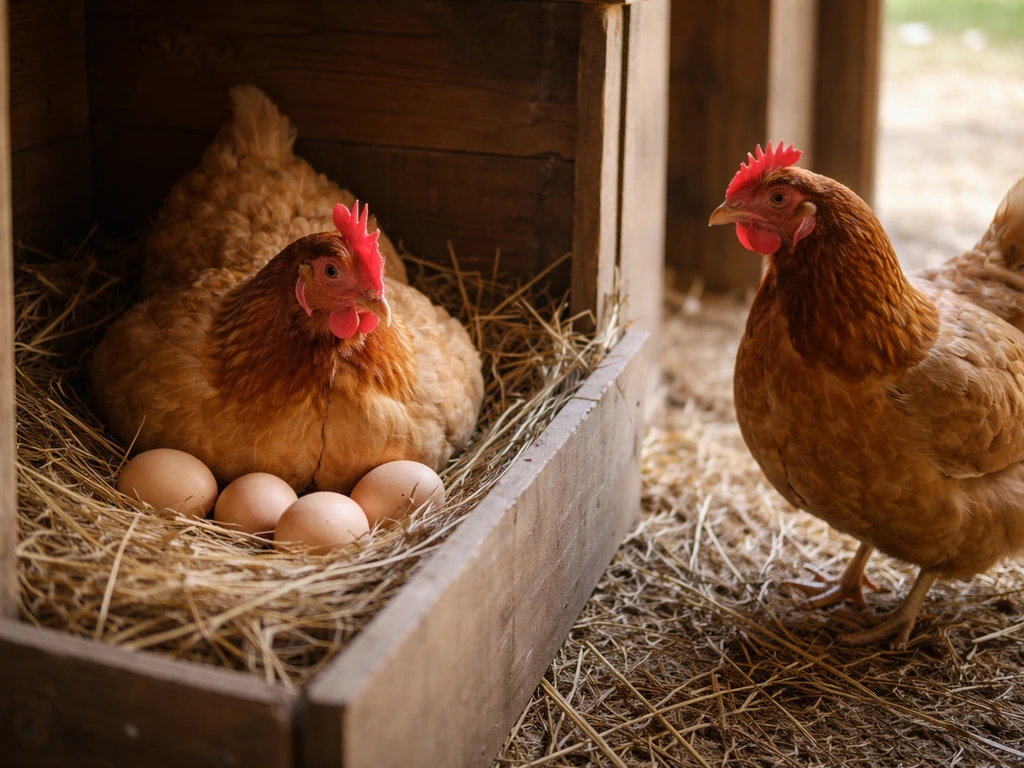
Natural incubation
Most experienced breeding pairs will incubate their own eggs reliably. The hen (and often the male) will sit on the eggs to maintain warmth and humidity. Your role is to keep the environment stable, maintain quiet and low disturbance around the nest, and resist the urge to check the eggs constantly. Frequent nest inspections stress the parents and can cause egg abandonment. Do a quick, calm check every 2 to 3 days. You want to know how many eggs are in the clutch and whether the parents are still sitting. Understanding exactly how to get bird eggs to the point of successful hatching naturally is mostly about getting out of the way once the pair is incubating well.
Artificial incubation
If the parents abandon eggs, are unreliable sitters, or you are working with a species where pulling eggs encourages more laying, you may need to incubate artificially. A still-air incubator works for small clutches; a forced-air incubator gives more consistent temperature distribution for larger operations. Temperature and humidity targets vary by species, but a general starting point for most parrots and passerines is 99.0 to 99.5°F (37.2 to 37.5°C) with 50 to 55% relative humidity, increasing to 65 to 70% in the final days before hatching (the drawdown period). Turn eggs manually at least three times per day (or use an auto-turner) until the last 3 days of incubation.
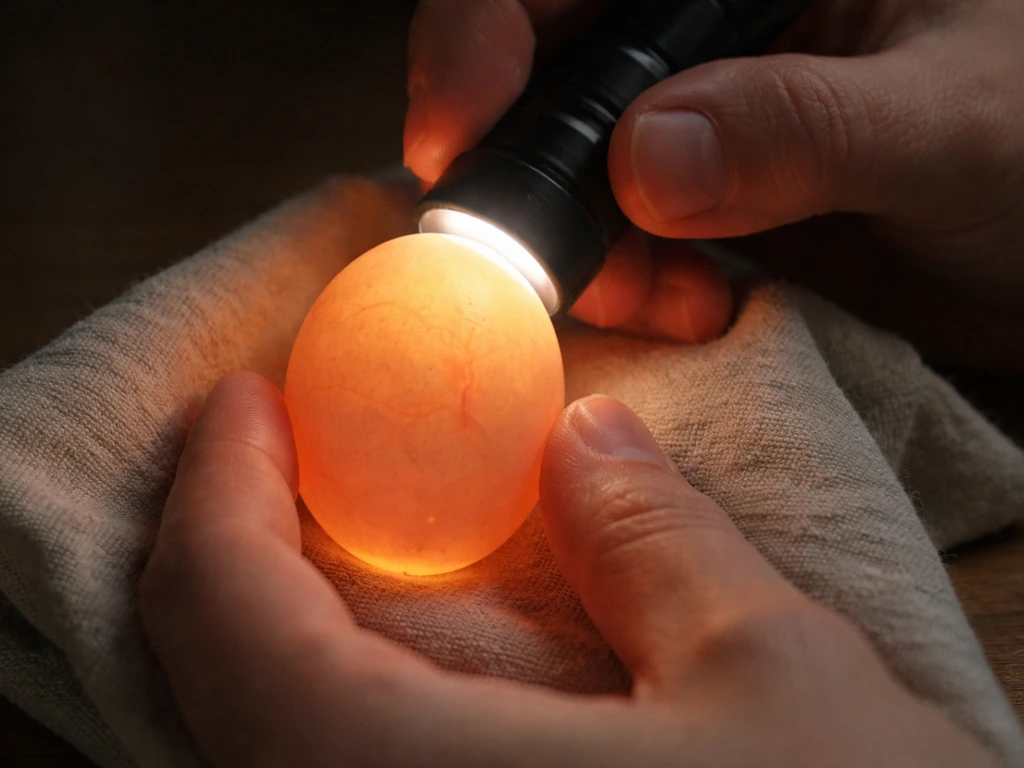
Candling to check development
Candling involves shining a bright, focused light (a small LED flashlight or a dedicated egg candler) through the egg shell in a darkened room to see what is happening inside. After 5 to 7 days of incubation, a fertile egg will show a network of blood vessels spreading from a dark central spot (the embryo). An infertile egg looks clear. A dead-in-shell egg may show a blood ring or a dark mass with no visible veining. Remove clear or clearly dead eggs to prevent them from cracking and contaminating the nest or incubator. Candle gently, briefly, and as infrequently as possible.
Incubation periods by common species
| Species | Incubation Period | Clutch Size |
|---|---|---|
| Budgerigar | 17-18 days | 4-6 eggs |
| Cockatiel | 18-21 days | 4-7 eggs |
| Lovebird | 21-23 days | 4-6 eggs |
| Conure (small) | 23-27 days | 3-5 eggs |
| Zebra Finch | 13-14 days | 4-6 eggs |
| Java Sparrow | 13-14 days | 4-8 eggs |
| Coturnix Quail | 17-18 days | 10-15 eggs |
Raising chicks from hatch to independence
Chick care is the most labor-intensive part of the process, especially if you are hand-raising. Whether the parents raise the chicks or you do, the priorities are the same: warmth, nutrition, hygiene, and regular welfare checks.
Parent-raised chicks
If the parents are feeding and brooding the chicks, your main job is to keep the environment stable and topped up with food. Provide additional soft foods during the chick-rearing period: cooked egg, soaked seeds, soft vegetables, or a commercial rearing food appropriate to the species. Check chick crops (the visible bulge at the base of the neck) daily by watching through the nest opening. A full, rounded crop means chicks are being fed. A flat, sunken crop in a chick more than a day old is a warning sign that parents are not feeding, and you may need to step in.
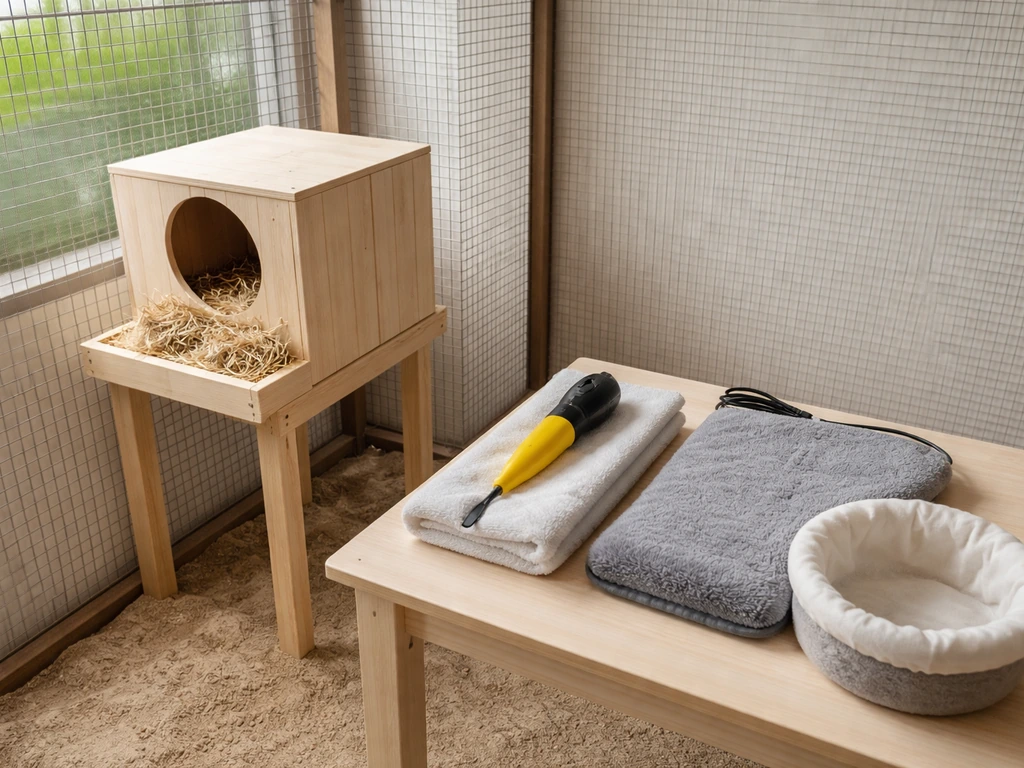
Hand-raising and brooder setup
Hand-raising chicks (also called hand-feeding) is an advanced skill. If you have never done it before, pair up with an experienced breeder or avian vet before attempting it alone. That said, the basics: newly hatched chicks need an ambient brooder temperature of around 95 to 98°F (35 to 37°C) for the first week, dropping by about 5°F per week as they feather out. A plastic storage tub with a reptile heat mat on one side, a thermometer, and paper towel substrate works well as a low-cost brooder. Feed chicks a commercial hand-feeding formula (Kaytee Exact and Zupreem are common brands) mixed to the correct consistency for the age. Formula should be warm (about 105°F/40°C) but never hot. Feed with a syringe or spoon, never force-feeding.
Feeding frequency by age
- Days 1-7: Feed every 2 hours around the clock (neonates have no crop capacity and need constant warmth)
- Days 7-14: Feed every 3-4 hours during daylight, one nighttime feed if crop is not full by morning
- Days 14-21: Feed every 4-5 hours; crop should be emptying fully between feeds
- Weeks 3-5: Feed 3-4 times daily; begin offering solid foods alongside formula
- Weeks 5-8+: Wean gradually by reducing formula feeds while increasing solid food availability (species-dependent)
Sanitation during chick rearing
Change brooder substrate at every feeding for very young chicks, and at least twice daily as they grow. Wash syringes and feeding equipment thoroughly after every use; formula residue spoils quickly and causes bacterial crop infections (sour crop). Any chick with a persistently empty or squishy crop, labored breathing, unusual droppings, or failure to gain weight needs an avian vet assessment the same day.
Troubleshooting common breeding problems
Even well-prepared breeders run into problems. Here are the most common ones and what to do about them.
Infertile eggs
If candling at day 7 shows all clear eggs consistently, check that you actually have a true pair (re-confirm sexing), that the male is mature enough to breed, and that the birds have had enough time to bond. Nutritional deficiency, especially vitamin E and selenium, can cause infertility. Review diet and add fresh foods. Obesity is also a common cause of infertility in males. If the problem persists after correcting husbandry, an avian vet can assess reproductive health directly.
Egg-binding
Egg-binding is a life-threatening emergency where the hen cannot pass an egg. Signs include a hen sitting puffed on the cage floor, straining, appearing weak, or showing labored breathing. This is not a wait-and-see situation. Seek emergency avian vet care immediately. Prevention involves ensuring the hen has adequate calcium (cuttlebone, mineral block), is not overweight, is not bred too young, and is not producing excessive clutches. Limit breeding pairs to two to three clutches per year to protect hen health.
Aggression between the pair
Some aggression is normal at the start of pairing. Sustained feather-pulling, blood drawing, or one bird unable to access food means you need to separate them and try a slower introduction. Not every pair will work; sometimes two birds simply do not like each other. You can try re-pairing each bird with a different individual. Conure breeding tips address pair aggression specifically if you are working with that group, as conures can be particularly territorial.
Parent neglect and egg abandonment
First-time breeders often abandon their first clutch; this is common and not necessarily a sign of a bad pair. Give them another chance the following season. Persistent abandonment may be caused by too many disturbances near the nest, a poorly placed or wrong-sized nest box, predator stress (including other pets in the house), or health issues in one of the parents. If eggs are abandoned, move them to an incubator if they are less than 10 days old and still viable on candling.
Disease prevention
Quarantine any new bird for a minimum of 30 days before introducing them to your breeding flock. The Association of Avian Veterinarians notes prevention measures for polyomavirus that are relevant to aviculturists, underscoring its clinical importance in psittacines blank" rel="noopener noreferrer">Disease prevention. Disinfect equipment between clutches. If you notice disease spreading through a breeding setup, stop breeding immediately and consult an avian vet before continuing. One of the most effective things you can do to prevent disease spread across a larger operation is to understand how to increase bird population sustainably rather than breeding too fast for your management capacity.
After hatching: weaning, fledging, and what comes next
Successfully raising chicks to weaning is a real achievement, but you are not done yet. What happens after the chicks are independent matters just as much, both for their welfare and for yours as a responsible breeder.
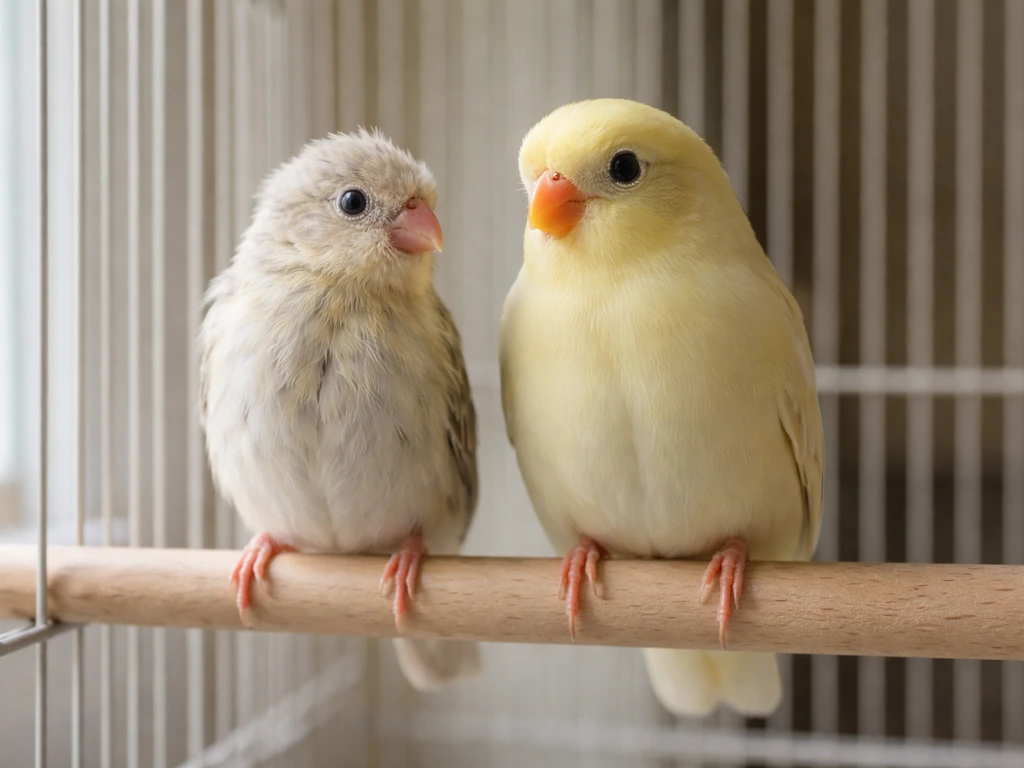
Socialization and housing separation
Once chicks are weaned and eating independently, they should be separated from the parents, who may become aggressive toward them as the next breeding cycle approaches. House young birds together as a group initially (same species, similar age) so they can socialize without being bullied by adults. Hand-raised chicks that will be kept as pets should be handled daily from an early age to maintain tameness. If they go too long without human contact post-weaning, they can become fearful. Some procedures done in the early stages of bird keeping, like wing management for flight control, have welfare implications worth understanding, and learning about processes like how to pinion a bird can help you make informed decisions about those choices.
Rehoming responsibly
If you are rehoming chicks, screen potential owners carefully. A written adoption questionnaire asking about housing setup, prior bird experience, and household composition is standard practice among responsible breeders. Do not sell or give birds to homes that cannot meet the species' basic welfare requirements. Be honest about the species' needs, noise level, and lifespan. The Avian Welfare Coalition has noted that captive breeding of exotic birds for the pet trade can contribute to welfare problems when birds end up in unsuitable homes, which is exactly the outcome responsible breeders work to prevent.
Legal considerations and permits
In the United States, breeding common domestic species like budgies, cockatiels, and finches does not require a federal permit. However, some states require a state-level permit to sell birds commercially, even small numbers. CITES-listed species (many parrots, including large macaws and African Greys) require documentation of legal captive-bred status when sold or transferred. Always keep closed-band or microchip records for birds you breed. If you ever move into wildlife work, such as rehabilitation or conservation breeding programs, the legal requirements become significantly more complex and a USFWS permit is typically mandatory.
Keeping records
Start a breeding log from day one. Record the pair, date eggs were laid, incubation start date, candling results, hatch dates, chick weights, feeding times, and any health events. This record becomes invaluable when troubleshooting problems across multiple clutches and is essential documentation if you ever sell birds or need to demonstrate legal captive-bred status to a regulatory authority. A simple spreadsheet works perfectly for most small-scale breeders.
FAQ
When should I put the nest box in, and can I change it after the hen starts nesting?
For cavity nesters, you typically want nest boxes in place before eggs are laid so the hen chooses the site early. If you add a box after laying begins, some hens abandon or lay in the wrong spot, even if they later move eggs. Place the box high, keep the same materials and placement across attempts, and avoid changing anything once the hen starts spending long periods inside.
How do I know when I can leave the parents alone versus when I should intervene during incubation or chick rearing?
Use the parents as the primary guide. If both birds remain calm, the female’s crop looks normal and she continues to incubate and feed, and the chicks’ crops are filled after feeding, you usually avoid intervention. Call an avian vet urgently if chicks show persistent empty or squishy crops, open-mouth breathing, unusual lethargy, or rapid weight loss. Do not rely on “they look okay” if their droppings or breathing pattern changes.
What are common mistakes when switching from parent incubation to an incubator?
Don’t use a second-hand incubator box that previously held unknown eggs or has biofilm residue. Clean and disinfect according to the product directions, then run a dry test with water if your unit uses a humidification system so humidity stabilizes before you load eggs. Also label egg trays by pair and date, so you avoid mixing clutches, which can lead to mismatched turning schedules and feeding timing.
If my first clutch is infertile, should I change the setup immediately or wait?
Yes. If you get a clear or infertile clutch early, you can sometimes improve the next attempt by reviewing the basics first, including pair maturity, diet balance, and whether the birds truly formed a compatible pair. However, repeated frequent rematings or nestbox changes in the same cycle can increase stress and reduce fertility. Plan one adjustment at a time and wait for the next breeding window unless a health emergency is present.
How often is it safe to candle eggs, and does checking them too much cause failure?
For many species, you should stop handling eggs and avoid nest disturbances during incubation once incubation is established. If you must candle, do it briefly in a dim room and return eggs quickly to the same orientation and nest position. A practical limit is no more than about once per day and ideally every few days unless you are actively removing clears.
What should I do if a chick’s crop looks wrong, and when is it an emergency?
If a chick’s crop stays flat or empty for more than one feeding cycle, or it feels unusually squishy, treat it as a feeding problem and get veterinary advice immediately. For hand-feeding, the most common causes are incorrect formula temperature or consistency, feeding too slowly or too fast, and not maintaining brooder temperature. Never “stretch” feeds waiting for improvement if breathing looks labored or the chick is not warming normally.
Is the brooder temperature guide exact, or how can I verify it’s correct for my chicks?
Brooder temperature targets are a starting point, but you should also use chick behavior to confirm. Chicks that are cold will huddle or spread away from heat while looking lethargic, chicks that are overheated will move to the edges and may pant. Use a thermometer at chick height, and recalibrate after changing bedding because substrate can insulate differently as chicks grow.
What practical biosecurity steps help prevent disease from spreading across multiple breeding pairs?
You can reduce outbreaks by treating breeding like a closed biosecurity system. That includes quarantining new birds, disinfecting nest boxes between clutches, separating eggs or chicks if you have multiple pairs, and cleaning feeding tools immediately after use. Also control traffic, meaning one person handling a sick-looking clutch should not then handle the rest without changing gloves and washing hands thoroughly.
When should I separate weaned chicks from their parents, and how should I house them afterward?
Most young birds should be separated from parents after they are fully weaned, because adults often become aggressive as they prepare for the next clutch. If you keep them with parents longer than necessary, injuries can happen even if the babies seemed fine earlier. When grouping juveniles, match same species and similar age, because mismatched sizes increase bullying risk.
What details should I include in a breeding log so it actually helps later?
Don’t skip documentation. A breeding log is most useful if it ties each egg to its pair and dates, including any incubator handling notes, candling observations, chick weights, and health events. Keep it consistent across years so you can spot patterns, like infertility tied to diet changes or recurring abandonment linked to a specific disturbance source.
Next Article
How to Teach a Bird to Fetch Step by Step Guide
Humane, step-by-step training to teach your bird to fetch safely, with targets, rewards, troubleshooting, and gradual re