Keeping a bird of prey safely and humanely means starting in the right legal lane, setting up proper housing before the bird arrives, learning to handle it without causing stress, and building trust slowly through positive reinforcement. Most people searching this question fall into one of three situations: they want a falconry raptor as a trained companion, they are helping a wild injured raptor in care, or they found a wild bird and are not sure what to do. Each path has different legal requirements, different husbandry needs, and a very different end goal. Get that context right first, and the rest of the guidance here will make sense.
How to Keep a Bird of Prey: Legal Care and Training Steps

Maya Harris
25 Apr 2026
Which bird of prey situation are you actually in?
The word 'keep' means something different depending on your context. A licensed falconer is keeping a trained raptor long-term as a working companion. A permitted wildlife rehabilitator is keeping an injured raptor temporarily until it can be released. Someone who just found a bird on the ground is in an emergency holding situation that has a clear legal deadline. Knowing which situation you are in changes everything from the permit you need to whether you should be bonding with the bird at all.
| Situation | Who it applies to | Goal | Long-term bonding? |
|---|---|---|---|
| Falconry raptor (pet/trained) | Licensed falconer with approved housing | Long-term trained companion and hunting partner | Yes, intentional and structured |
| Rehabilitated raptor in care | Licensed wildlife rehabilitator or permitted assistant | Temporary care until release or transfer | No, minimize human imprinting |
| Wild raptor found injured | Member of the public who found a bird | Safe short-term transport to a licensed rehabber | No, contact a professional today |
If you found a wild raptor today, your job is not to keep it. Your job is to safely contain it, minimize handling, and get it to a licensed rehabilitator or wildlife agency as fast as possible. The Raptor Center at the University of Minnesota puts it plainly: do not attempt DIY rehabilitation. Raptors require special permits and specialized knowledge, and well-meaning care without those things usually makes outcomes worse, not better.
Legal and ethical basics you cannot skip
In the United States, virtually every bird of prey is protected under the Migratory Bird Treaty Act (MBTA), and eagles additionally fall under the Bald and Golden Eagle Protection Act, covered under 50 CFR Part 22. This means that possessing, transporting, or even handling a raptor without the right permit is a federal offense, regardless of your intentions. The U.S. Fish and Wildlife Service issues several permit categories relevant here: falconry, raptor propagation, rehabilitation, scientific collecting, and salvage. None of these is optional.
For falconry specifically, federal regulations under 50 CFR § 21.82 require that your housing facilities be inspected and approved by your state, tribe, or territory before you can even obtain a bird. Licensing is handled at the state level. California, for example, issues a Falconry License through its Department of Fish and Wildlife with set fees and requirements. Arizona allows temporary care of a falconry raptor by someone other than the licensed falconer for up to 45 consecutive days, with signed authorization paperwork required. Your state may differ, so contact your state wildlife agency directly before you do anything else.
- Contact your state wildlife agency to find out what falconry or rehabilitation permits are required in your state
- Never possess a raptor without written authorization, even temporarily
- If you found an injured bird, call a licensed wildlife rehabilitator or your state wildlife agency today
- Review the International Association of Falconry (IAF) welfare guidelines as a baseline standard for humane practice
- Commit to the ethics: raptors in captivity require daily attention, proper diet, and low-stress environments, not just a perch and occasional feeding
Housing, feeding, and daily care
Housing setup that actually works
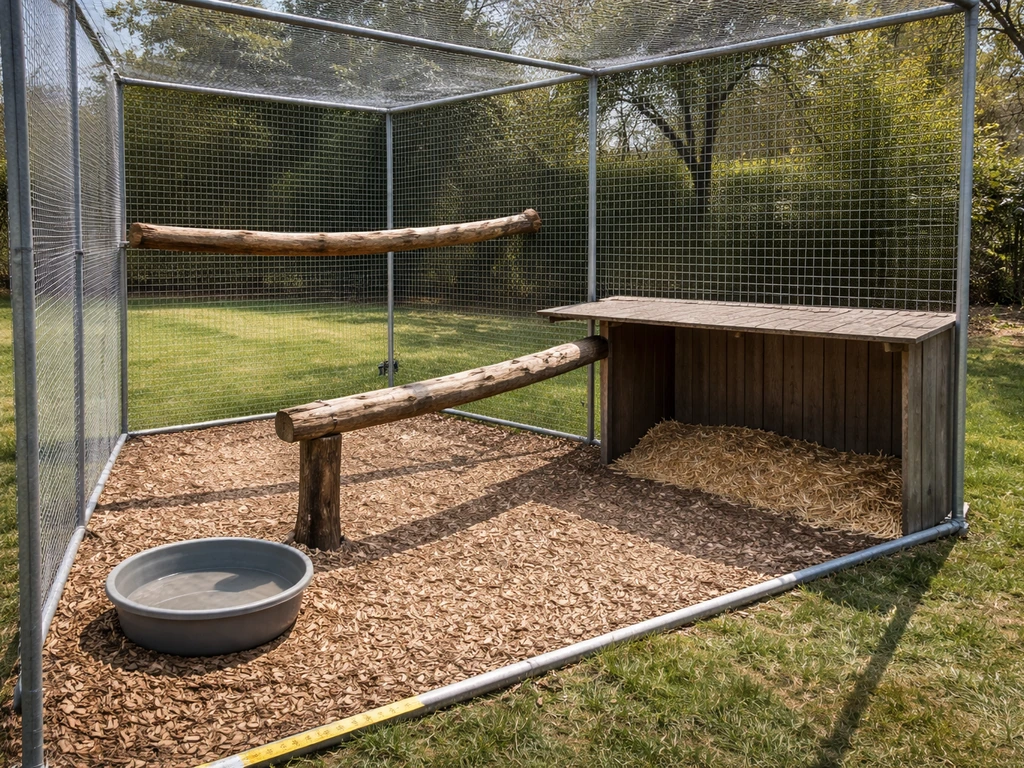
Raptor housing is not one-size-fits-all. blank" rel="noopener noreferrer">The NWRA and IWRC Minimum Standards for Wildlife Rehabilitation specify enclosure sizing based on the bird's size and flight style. Louisiana's falconry housing guidance provides example mews dimensions for common species like red-tailed hawks and Harris's hawks. Whatever species you are housing, the shelter must protect from wind, rain, snow, intense sun, and drafts, and it must prevent access by domestic animals like dogs and cats. A draft through a mews in winter can kill a bird that otherwise appears healthy.
- Size enclosures to the species: a larger buteo like a red-tailed hawk needs significantly more space than a small kestrel
- Include at least one solid-sided perch or shelf for shelter within the mews
- Use a weathering area (outdoor tethered perch) for daily fresh air and sun exposure when weather allows
- Block sight lines from potential predators, domestic animals, and heavy foot traffic
- Clean perches and flooring regularly to prevent bacterial and fungal growth
- Provide a shallow bathing dish at least several times per week
Feeding: what to offer and how much
Raptors eat whole vertebrate prey. The Merck Veterinary Manual lists appropriate prey items including mice, rats, day-old chicks, quail, and pigeons depending on the species and size. Whole prey including organs provides the full nutritional profile the bird needs. If you are feeding thawed frozen prey (which is common and practical), consider adding a balanced vitamin and mineral supplement, especially if the bird is under stress or recovering from injury. Merck notes this is particularly important in those situations.
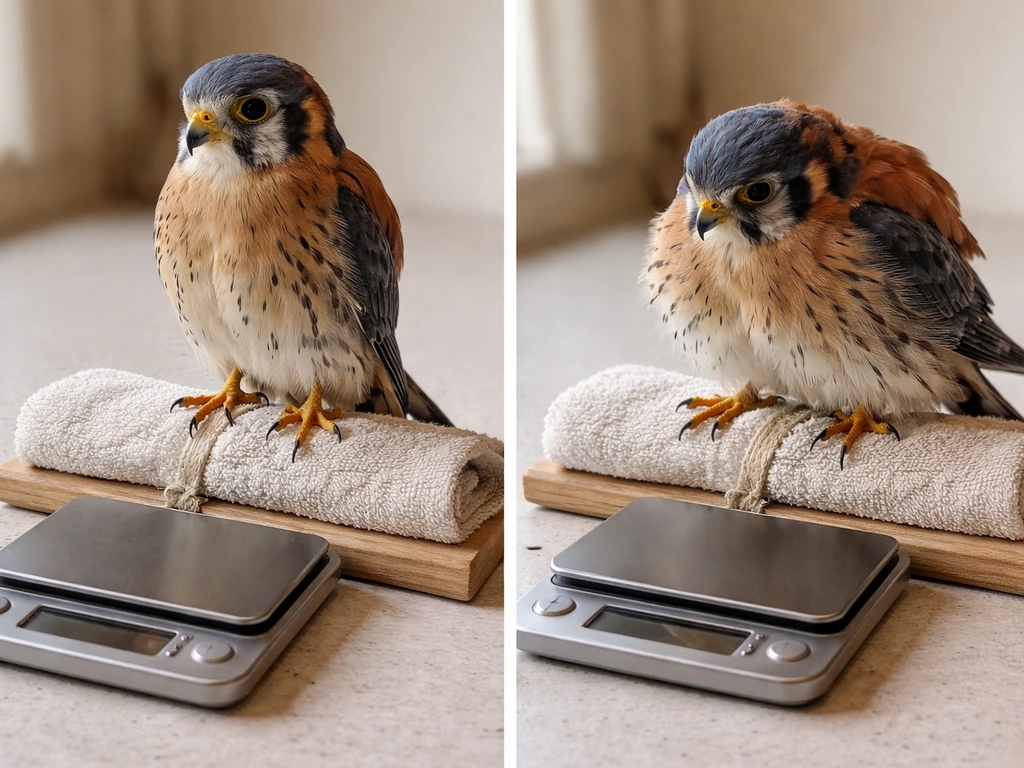
Daily intake is typically expressed as a percentage of body weight. Merck provides ranges by body weight category, so you need to know your bird's target weight. This is why a digital gram scale is non-negotiable for anyone keeping a raptor, whether for falconry or rehabilitation. If you genuinely cannot weigh the bird, palpate the keel bone: a sharp, prominent keel suggests emaciation and you should increase food immediately; a keel that is hard to feel under soft tissue suggests excess fat. Use the keel check as a backup, not a replacement for regular weighing.
Daily care routine
- Weigh the bird each morning before feeding and log the number
- Assess behavior: is the bird alert and mantling, or fluffed, droopy, or unresponsive?
- Offer appropriately sized whole prey, adjusted based on yesterday's weight and training plan
- Provide fresh water for bathing
- Spend quiet time near the bird without pushing interaction, especially early in the relationship
- Check perches, anklets, jesses, and swivels for wear or damage
- Log any changes in appetite, droppings, or behavior
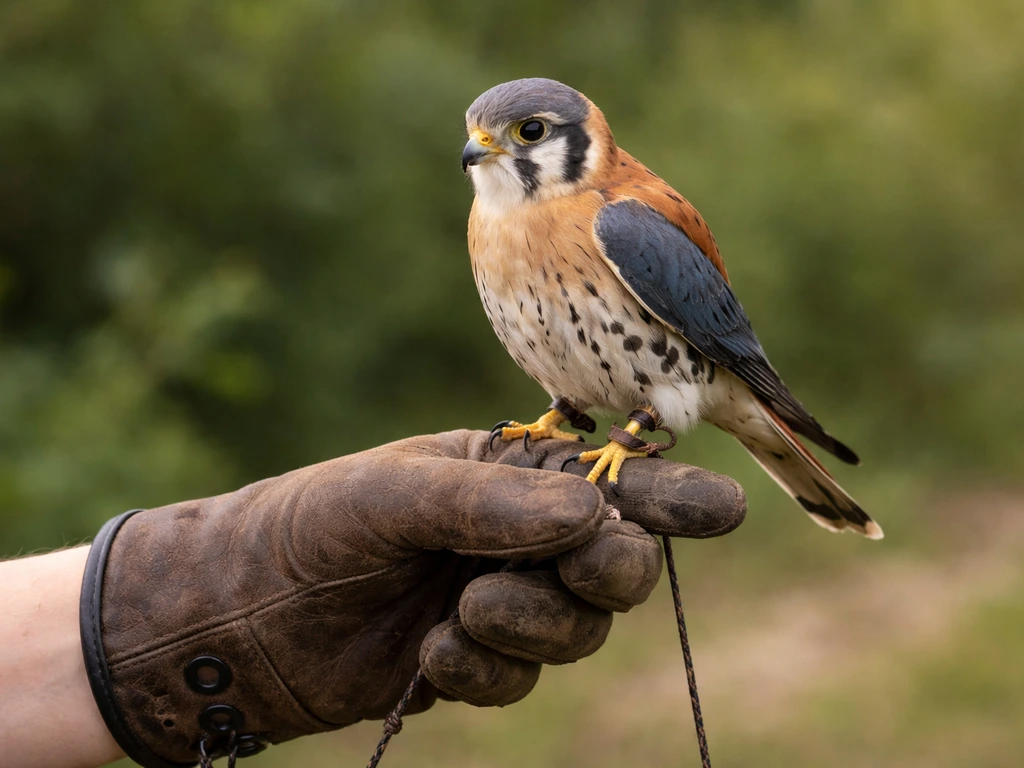
Handling safely without getting hurt or hurting the bird
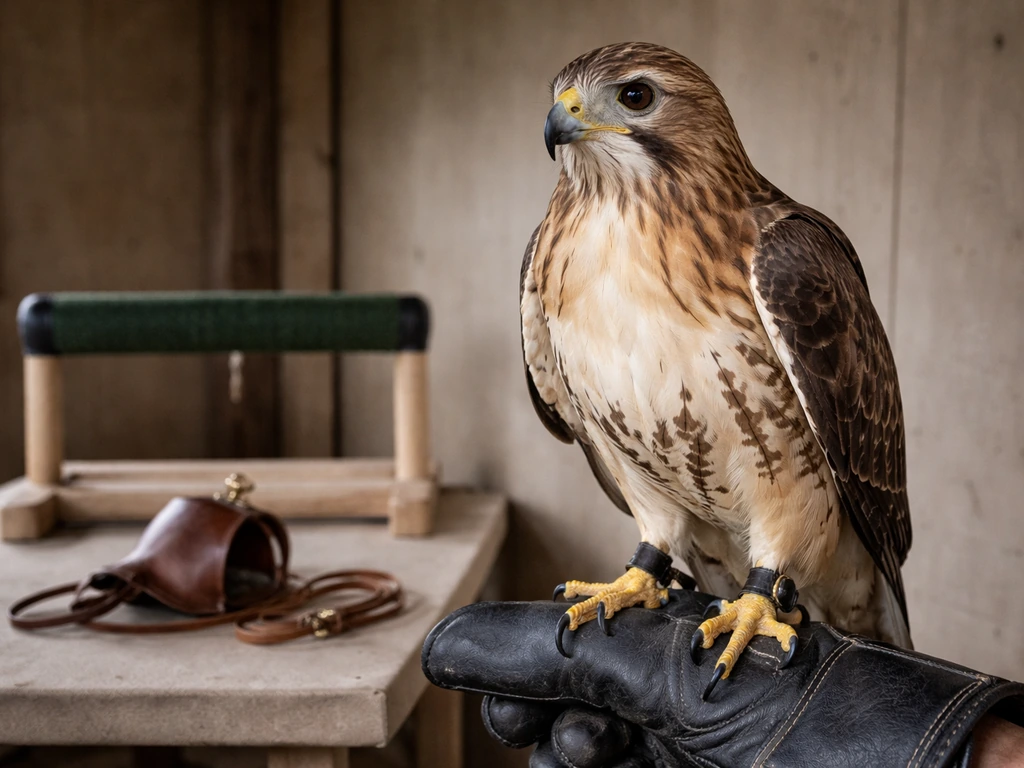
Raptors injure people with their feet, not their beaks. The talons are the main danger, and they can grip with extraordinary force even in small species. The Raptor Center at the University of Minnesota states clearly that handlers should always wear heavy leather gloves and safety glasses when handling any raptor. For falconry birds, you will also use a heavy falconry glove on the fist as the primary landing and handling surface.
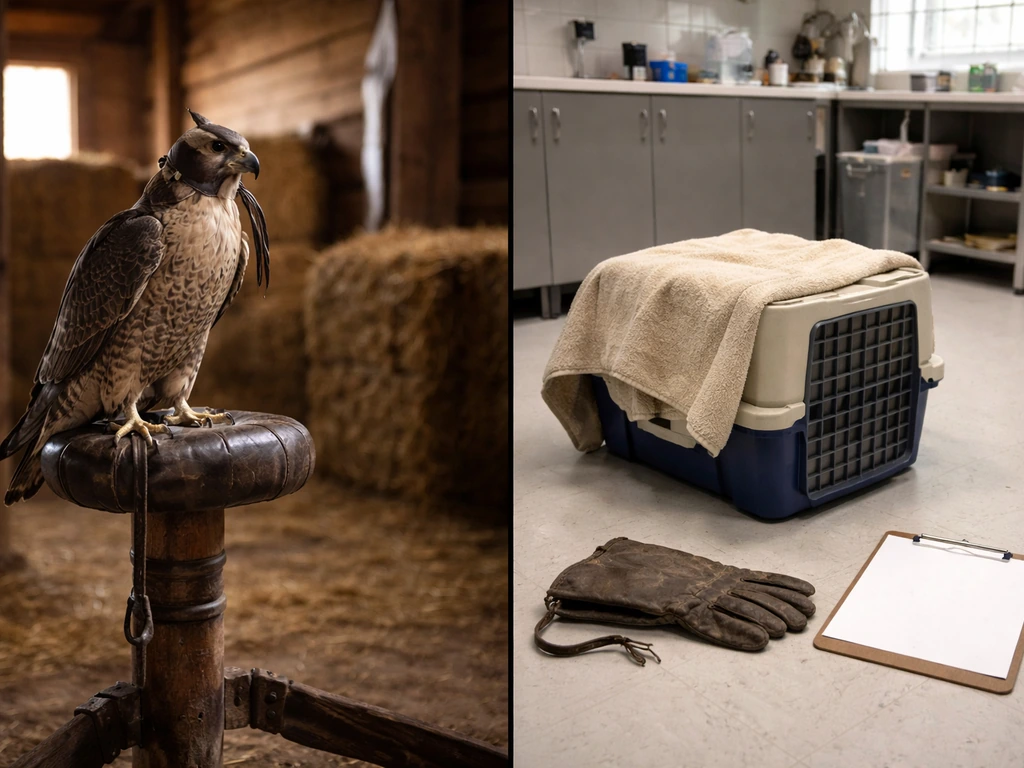
Hoods, transport, and restraint
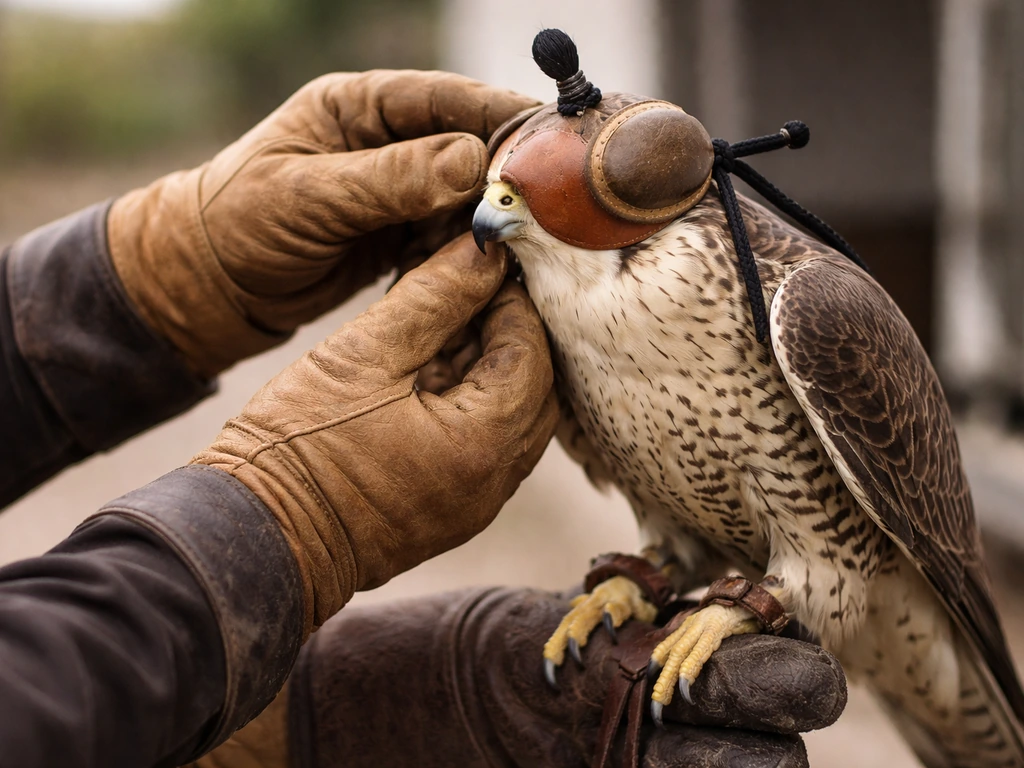
A hood reduces visual stimulation and dramatically calms many falconry raptors during transport or high-stress situations. Learning to hood a bird correctly takes practice: the hood should fit snugly without pressing on the eyes, and the bird should be conditioned to accept it gradually rather than having it forced on. For transport, the Raptor Center recommends a plastic dog or cat carrier or a sturdy cardboard box with the top closed. Darkness reduces stress during transport for most raptors. Never transport a raptor loose in a vehicle.
- Always glove up before handling, even with a bird you know well
- Wear safety glasses whenever you are at face level with a raptor
- Approach from the side and below, not directly from above (which mimics a predator attack)
- Move slowly and speak quietly; sudden movements trigger a stress response
- Introduce the hood gradually using food reinforcement before relying on it in real situations
- For any transport, use a covered carrier; darkness reduces panic and injury risk
- If a talon locks onto your hand or arm, do not pull away. Push into the grip slightly and wait for the bird to release
If you are new to raptor handling, look into structured workshops before working with your own bird. The Raptor Center offers a Raptor Handling 101 session covering capture and restraint, applying a hood, obtaining a weight, and safe management basics. That kind of hands-on instruction from an experienced mentor is worth far more than reading alone.
Building trust and taming foundations
Raptors are not domesticated animals, and their trust is earned in very small increments. The IAF welfare guidelines explicitly state that falconry training should be based on positive reinforcement, not coercion. That means food reward, patience, and reading the bird's body language are the tools. A bird that is crouched with feathers slicked tight against its body, bating repeatedly off the fist, or screaming and lunging is telling you it is not ready for the next step. Back up, give it space, and try again tomorrow.
Step-by-step trust building (beginner level)
- Start by spending quiet time near the bird's housing without reaching for it, just getting it used to your presence
- Next, move to offering food through the housing barrier or from a distance, letting the bird eat without pressure
- Introduce your gloved fist at a low, non-threatening angle with a food item on it. Wait. Let the bird come to you
- Once the bird steps up to the fist reliably for food, begin brief carrying sessions in a calm indoor environment
- Gradually increase duration and environmental stimuli, always watching for stress signals
- Practice approaching the bird from different angles and directions so it generalizes comfort to new situations
This process can take days or weeks depending on the species, individual bird temperament, and how much stress the bird experienced before coming into your care. A passage hawk (wild-caught juvenile) will tame more quickly than a haggard (adult wild-caught) bird in most cases. An imprinted bird may step up easily but present different challenges around aggression at sexual maturity. There is no shortcut, but consistency and calm daily presence build the foundation faster than intensive sessions.
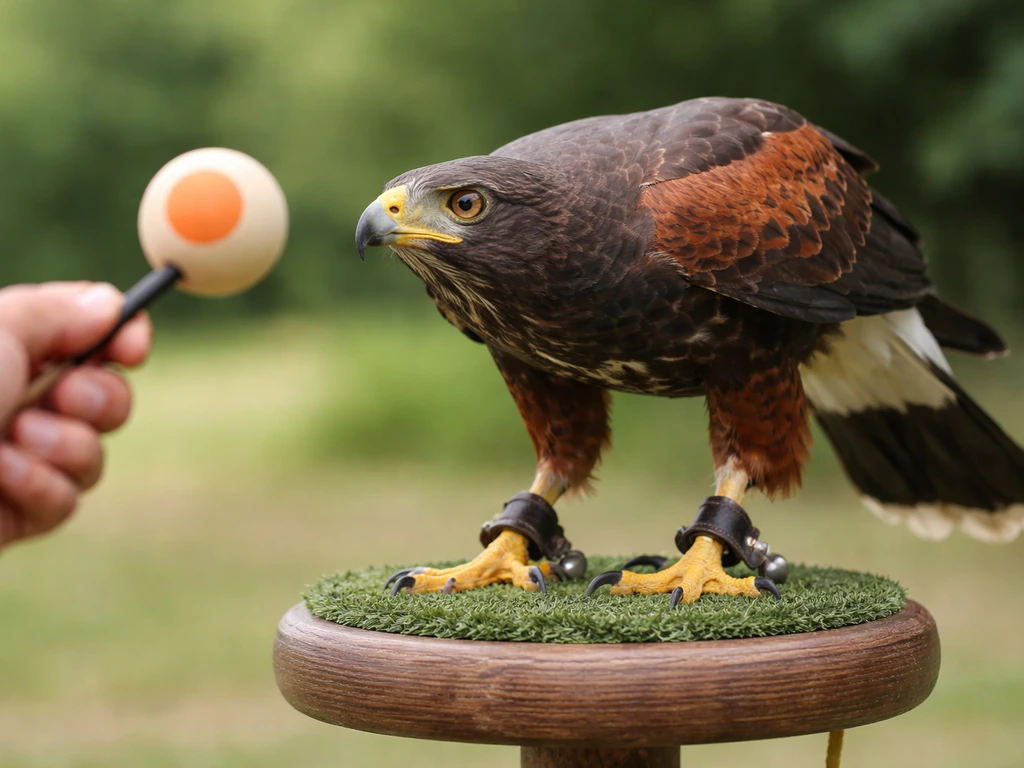
Training goals and step-by-step routines
Once your bird is comfortable on the fist and eating reliably in your presence, you can start working toward specific training goals. Recall (coming to the fist or lure on cue) is the most important skill for any falconry bird. Target training, handling tolerance, and nail/talon management tolerance are the other foundations. These connect naturally to broader training approaches you might use with any bird: if you are exploring those methods more deeply, topics like how do you train a bird and how to train a falcon bird go into useful detail. If you are looking for a step-by-step bird training approach, the guidance on how do you train a bird can help you map goals, cues, and progression safely.
Recall training
- Begin recall at very short distances (1 to 2 feet) with the bird on a creance (training line) for safety
- Call the bird using a consistent verbal cue or whistle while presenting the fist with food visible
- Reward immediately when the bird comes, every single time, with a food reinforcer
- Increase distance by small increments only when the bird is succeeding at the current distance reliably
- Never call a bird and fail to deliver a reward. That breaks the reliability of the cue faster than almost anything else
- Practice recall in different locations and conditions before removing the safety line
Target training and handling tolerance
Target training teaches the bird to touch a specific object (like a stick or your gloved fist) with its beak or foot on cue. It is a clean way to teach directional movement and is especially useful for rehabilitated birds where you want minimal handling. Pair a marker signal (a click or short verbal marker) with food reward at the moment of contact, and the bird learns fast. For handling tolerance including nail checks and talon inspection, desensitize slowly: touch the foot briefly, mark and reward, gradually extend duration. Never restrain forcefully for routine care if you can achieve the same goal through conditioning.
Troubleshooting problems and knowing when to call a professional
Stress signals to watch for
- Constant bating (lunging off the perch or fist) especially after the initial settling period
- Feathers permanently slicked tight or permanently puffed (neither is the neutral relaxed posture)
- Persistent screaming or alarm calling in your presence after several weeks
- Refusal to eat in your presence when weight is adequate and prey is appropriate
- Foot stamping, repeated lunging at the barrier, or self-directed feather destruction
Stress signals that persist after the initial acclimation period usually mean one of three things: the environment is wrong (too much noise, activity, or predator cues), the training is progressing too fast, or the bird has an underlying health issue making it uncomfortable. Back up to the last point where the bird was succeeding, hold there for a week, and reassess. If the bird is still struggling after you have adjusted the environment and slowed the training pace, bring in an expert.
Health red flags that need a vet today
- Weight loss of more than 5 to 10 percent over two to three days without a deliberate management reason
- Drooping wings, inability to hold the head up, or loss of grip strength in the feet
- Abnormal droppings: green and watery, bloody, or pure white and chalky consistently
- Open-mouth breathing, tail bobbing, or any respiratory distress
- Visible wounds, swelling, or asymmetry in the feet, legs, or wings
- A bird that was alert and responsive and suddenly becomes dull and unresponsive
Any of those signs means contact an avian vet or licensed raptor rehabilitator immediately, not tomorrow. Raptors are prey animals evolutionarily and they mask illness until they cannot any more. By the time a raptor looks visibly sick, it is often already seriously ill. The National Wildlife Rehabilitators Association (NWRA) publishes Minimum Standards for Wildlife Rehabilitation as a professional benchmark that can also help you assess whether your current setup and care meets the threshold for what a sick or injured bird actually needs.
When to stop training and get help
Training refusal combined with weight loss is a medical issue, not a training problem. Aggression that escalates rather than decreases over several weeks of consistent, positive work may indicate the bird is a poor candidate for the role you have planned, or that there is a mismatch in experience level between bird and handler. For wild or rehab birds showing strong imprinting behaviors, fear responses, or attachment-related aggression, involving a licensed rehabilitator or falconry professional is not a failure. It is the right call for the bird. The Raptor Center and similar organizations offer workshops and consultations that can redirect your approach practically and quickly.
If you are working with a wild raptor in a rehabilitation context and considering next steps in training toward release, the guidance on how to train a wild bird covers that progression in more detail and is a useful complement to the husbandry work covered here.
FAQ
I found a raptor, can I start bonding or training it while I wait to transfer it?
Yes, but the “how to keep” part changes completely. If you legally only have emergency holding status, the immediate goal is containment, minimal handling, and fast transfer to a licensed rehabilitator. Bonding or starting training routines during a holding window can increase stress and can also complicate release timelines, so focus on warmth, safety, and a quick handoff plan.
What are the most common feeding mistakes people make when they try to keep a raptor?
In general, feeding the wrong items, wrong sizes, or inconsistent amounts is a common cause of worsening condition in rehab or a failure to thrive in falconry. Use species-appropriate whole prey, avoid feeding scraps, and keep any supplements targeted, especially for injured or stressed birds. If you cannot confirm species and appropriate prey size, pause feeding changes and contact a licensed rehabilitator for a specific plan.
How often should I weigh my bird of prey, and how do I make weighing consistent?
Raptors should be weighed at a consistent time and, when possible, under similar conditions each day or per your professional feeding schedule. A digital gram scale must be paired with a repeatable weighing method, such as weighing during the same handling session, not after major activity or long fasting periods. If your weights swing a lot day-to-day, reassess scale accuracy, weighing technique, and whether the bird is actually being fed on schedule.
What should I do if the keel check looks bad, do I just increase food?
If you do not have a vet-confirmed health baseline, “increasing food immediately” based only on the keel check can be risky if the bird is bloated, inflamed, or dealing with internal issues. Use palpation as a quick safety screen, but once you see persistent emaciation, lethargy, abnormal droppings, breathing effort, or repeated refusals, treat it as a medical escalation and involve an avian vet or licensed raptor professional right away.
My raptor keeps escalating during training. Should I continue to try the next step?
Do not mix training and aggressive safety work. If the bird is repeatedly lunging, screaming, slicked-feather crouching, or bating off the fist, the safest decision is to pause all progression and return to the last easy step, usually calmer proximity, hood acceptance (if applicable), and short, low-stakes reward moments. Persistent escalation despite backing up and slowing down is a sign to involve an expert, not to push through.
Is it safe to hood a bird of prey right away, or should I condition it first?
Yes, especially during early conditioning. Many raptors can tolerate a hood once fitted correctly and introduced gradually, but a hood placed too tightly, incorrectly oriented, or forced too soon can cause panic and injury risk. Condition over multiple short sessions, verify the bird can breathe comfortably, and stop immediately if the bird shows distress that does not settle quickly after you remove the hood.
What is the safest way to transport a raptor in my car?
Carrying a raptor loose in a vehicle is a major safety and welfare risk, even for confident handlers, because the bird can shift posture abruptly, strike with talons, or get jostled during braking and turns. Use a secure carrier with stable footing, ensure the top is closed, and use darkness for most transport to reduce visual stimulation. If you must move the bird, secure it the whole time.
When should I start recall training, and how do I know I am not pushing too fast?
Training goals like recall matter, but they should never come at the expense of reliability and safety. A lure or fist recall should be built from short, predictable successes while the bird is calm and eating reliably. If you cannot consistently reproduce the setup and the bird is not motivated or is stressed, you pause and adjust environment first, then progress later.
If my raptor seems imprinted and easy at first, does that mean training will always be straightforward?
Imprinting can make step-up or lure acceptance happen quickly, but it often changes the risk profile, especially around attachment and age-related aggression. A bird that is very quick to come to you can still become defensive later, so keep training structured, avoid “forcing” closeness, and plan a gradual approach to handling tolerance well before breeding-season behavior might appear. When in doubt, consult a licensed falconry mentor or rehab professional.
What signs mean I should stop training and call an avian vet or raptor professional?
To keep training and welfare aligned, plan for an immediate health decision rule: if weight loss occurs alongside refusal, or if aggression worsens over several consistent weeks despite backing up and adjusting the environment, treat it as likely medical or suitability mismatch. Because raptors can mask illness, visible “sick” signs usually mean it is already serious. Arrange avian vet or a licensed raptor professional evaluation promptly.
Next Article
How to Train a Wild Bird Safely and Humanely
Step-by-step humane training for wild birds, from trust and target training to release prep and safety checks.