Teaching your bird starts with one thing: trust. Before you ask for a step-up, a wave, or any trick, your bird needs to feel safe around you. That means slowing down, reading body language, and building a foundation of positive experiences before you ever expect a behavior. Once that trust is in place, positive reinforcement training (pairing behaviors with food rewards, clicker markers, or target sticks) makes teaching almost any skill straightforward, even for beginners. If you want to teach a bird to fetch, start by applying the same positive reinforcement approach to a target behavior first tricks. This guide walks you through the whole process, from your very first interaction to troubleshooting when things go sideways.
How to Teach Your Bird: Calm, Positive Training Steps

Maya Harris
30 Apr 2026
Start with the right goal and understand your bird's background
The most common mistake new bird owners make is jumping straight to tricks before the bird is even comfortable being in the same room as them. Your first goal isn't 'teach my bird to wave.' It's 'help my bird feel safe with me.' Everything else grows from that.
Before you do anything else, ask yourself what kind of bird you're working with. A hand-raised cockatiel from a reputable breeder is a very different starting point than a rehomed adult African grey with an unknown history, a wild-caught bird, or a rehabilitation case. Hand-raised birds usually tolerate handling quickly. Older rehomed birds may have fear responses or learned aggression that need patient unlearning. Wildlife rehabilitation birds often must never become fully tame by design, since the goal is eventual release, and different legal and welfare rules apply entirely.
Every bird is an individual. Species tendencies are useful as a starting framework, but your specific bird's temperament, health, and prior experiences will always matter more. The International Association of Avian Trainers and Educators (IAATE) emphasizes this point directly in their training guidance: each bird has unique behavioral and physiological needs, and your training approach has to match the individual, not just the species label.
Set two clear goals when you start: a bonding goal (what kind of relationship do you want, and how much handling is realistic for this bird?) and a behavior goal (what's the first specific skill you want to teach?). Keeping these separate helps you stay patient. You're allowed to just work on bonding for weeks before introducing any formal training, and for nervous or previously mistreated birds, that's often exactly the right call.
Trust-building and safe handling basics
Before you physically interact with your bird, observe. Watch how your bird moves, whether feathers are held flat or fluffed, how breathing looks, and whether the bird tracks you calmly or shows alarm. The Association of Avian Veterinarians (AAV) recommends observing a bird's demeanor, movement, feather condition, and respiratory effort before any handling, both as a welfare measure and to catch stress signals early. A bird that's fluffed, panting, or frozen isn't ready to be handled, and pushing through those signals sets back your trust-building.
Create a calm, predictable environment. Keep your bird's space in a low-traffic, quiet area at first. Approach slowly and from the front so you're never surprising the bird. Talk in a low, steady voice. Avoid sudden movements, loud sounds, or bringing unfamiliar people or pets into the space during early bonding. Routine is genuinely powerful here: birds learn that your presence predicts calm, good things when every interaction follows a consistent, positive pattern.
Safe handling means letting the bird have some control. Never chase, grab, or corner a bird to force contact. If the bird moves away from your hand, respect that signal and try again in a few minutes. Short, positive interactions repeated many times across multiple days are far more effective than one long stressful session. Aim for sessions of five to ten minutes maximum when you're just starting out.
- Always approach from the front and at eye level when possible
- Keep early sessions to five to ten minutes, especially with nervous birds
- Watch for stress signals: feather fluffing, rapid breathing, wide eyes, freezing, or biting
- End every session on a positive moment, even if it's just the bird calmly accepting your presence
- Wash your hands before handling to remove unfamiliar scents that might alarm the bird
Taming steps: reduce fear and earn permission
Taming is the process of reducing a bird's fear response to your presence and earning what trainers call 'permission' to interact. You're not forcing the bird to tolerate you. You're building a positive emotional association so the bird actually wants to engage. This is sometimes called developing a positive conditioned emotional response, and it's the foundation that every other training skill rests on.
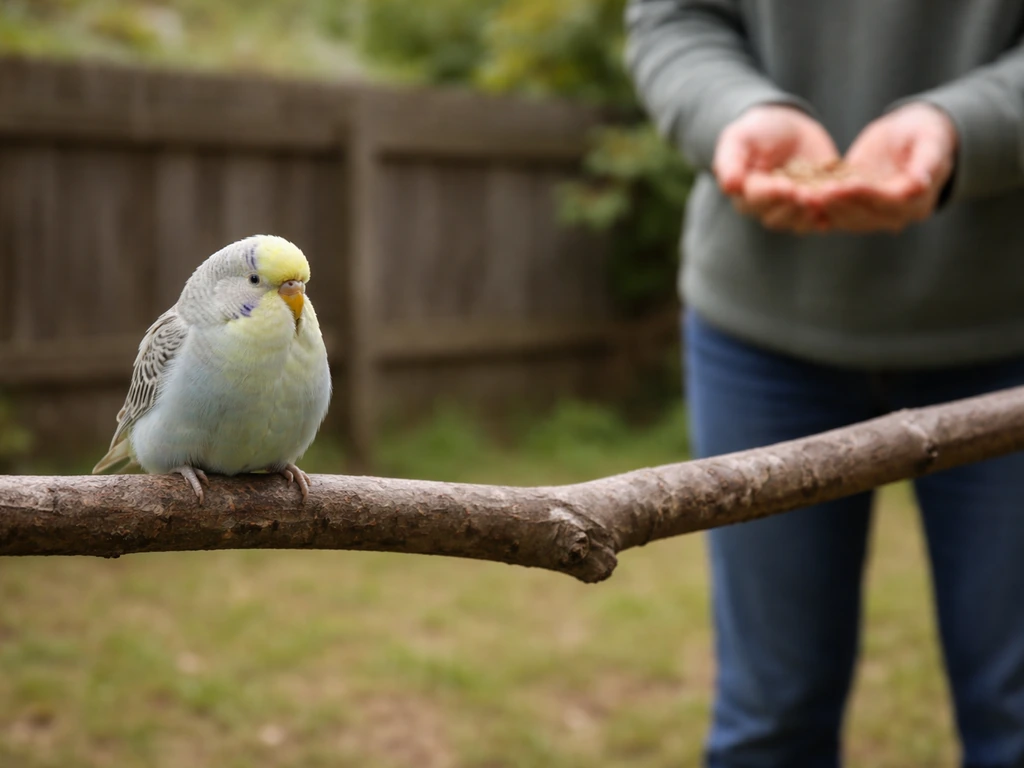
Start at a distance the bird is comfortable with, what trainers call the threshold. If your bird tenses or moves away when you're two feet away, two feet is inside the threshold. Work at three feet for now. Spend time near the cage doing calm, non-threatening things: reading, talking softly, offering small treats through the bars. Over days or weeks, you'll notice the bird relaxing and even moving toward you. That's your cue to close the distance slightly.
- Sit near the cage daily without attempting to touch or handle the bird. Let the bird observe you and learn you're not a threat.
- Offer high-value treats (a favorite food) through the bars or cage door. Let the bird choose whether to approach.
- Once the bird takes treats from your fingers at the cage, open the door and offer treats just inside the opening without reaching in.
- Gradually move your treat-offering hand further inside the cage over several sessions, always letting the bird control the pace.
- When the bird is comfortable eating from your hand inside the cage, begin offering your hand or a perch as a step-up target (more on this below).
- Practice step-up inside the cage first, then near the cage opening, then outside in a controlled room.
Never skip steps because progress seems fast. A bird that steps up once doesn't necessarily feel fully comfortable yet. Consistency over days builds the real foundation. If you hit a step where the bird consistently refuses or regresses, go back one step and spend more time there. Regression is normal and doesn't mean failure.
Positive reinforcement training plans using clickers, targets, and food
Positive reinforcement means adding something the bird values immediately after a desired behavior occurs, which makes that behavior more likely to happen again. That's the core mechanic behind virtually every trick, command, and cooperative behavior you'll ever teach. The World Parrot Trust puts it clearly: positive reinforcement builds a bond based on trust and respect rather than fear, and consistently rewarding good behavior while avoiding punishment is the most effective approach for companion birds.
Choosing your reinforcer
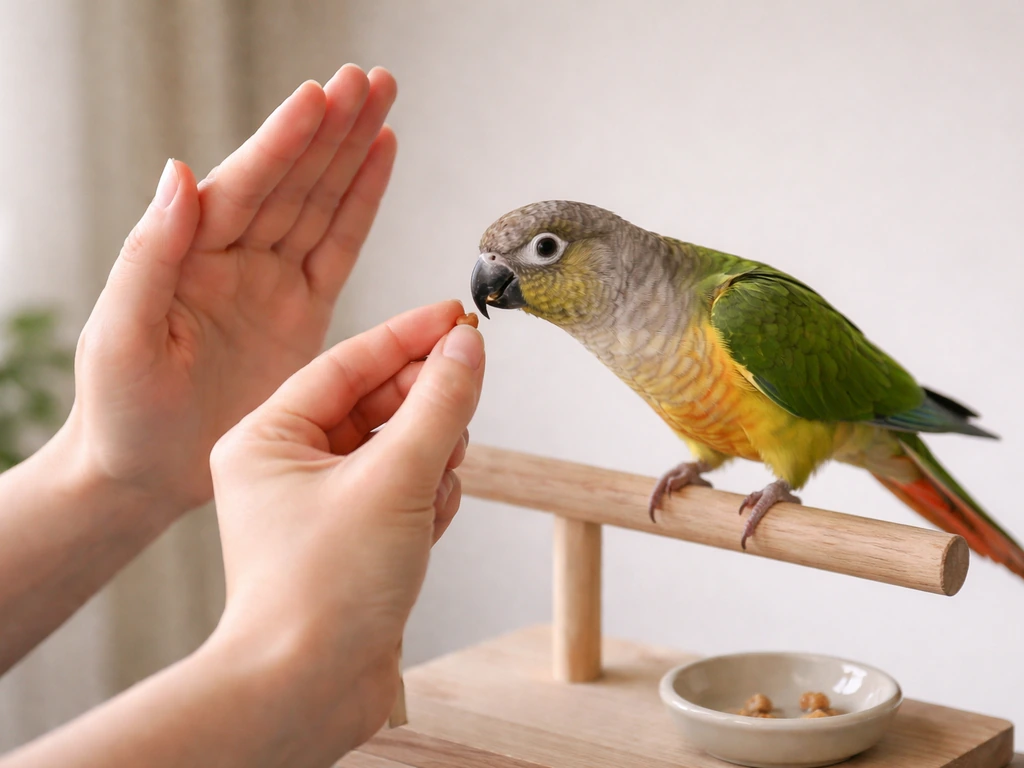
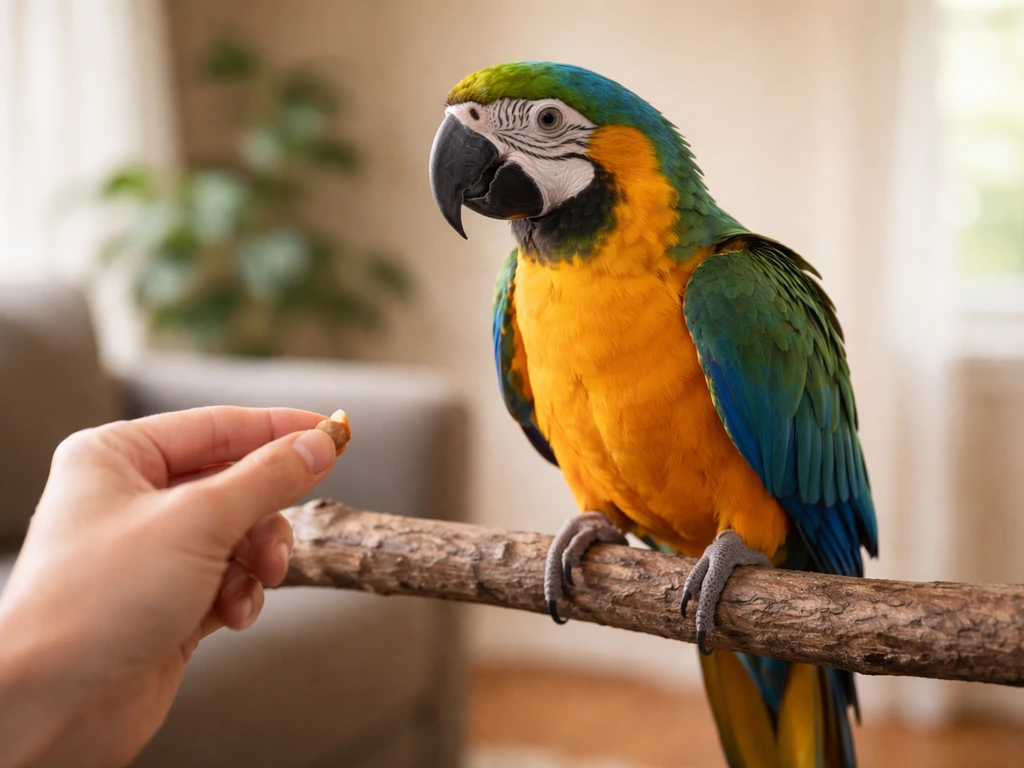
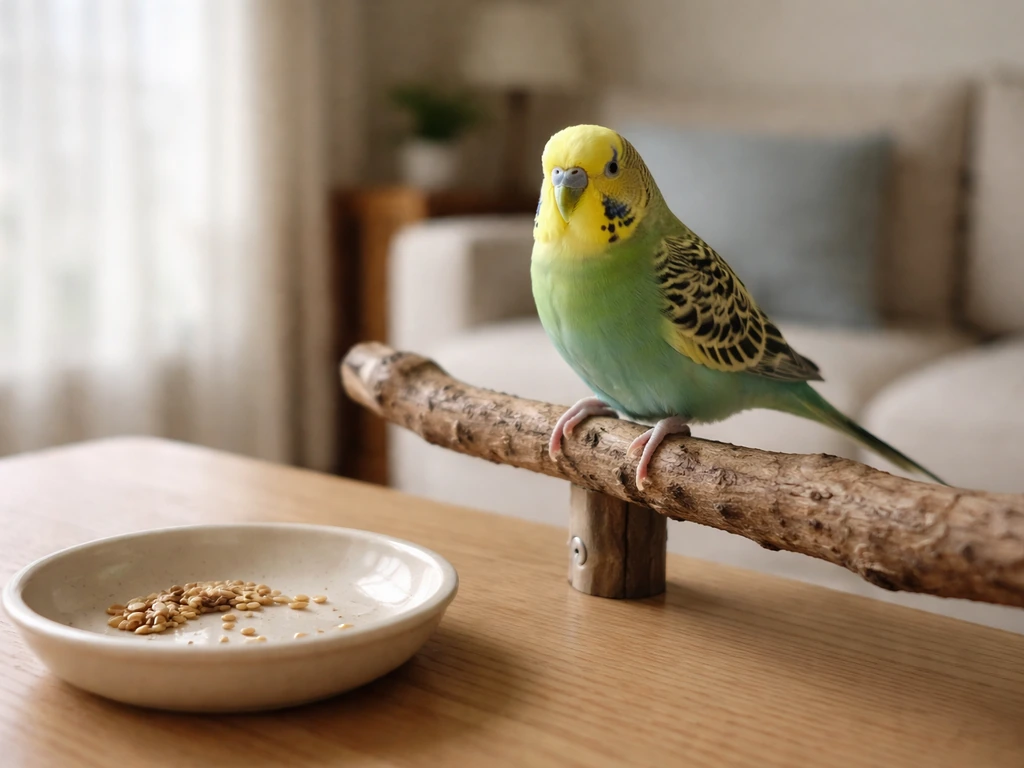
The most powerful reinforcer for most birds is food, specifically a high-value treat the bird doesn't get all day long. Small pieces of millet, sunflower seeds, nutriberries, or fresh fruit work well depending on species. The treat should be tiny (the bird eats it in one second and is ready for the next repetition) and offered immediately, within one to two seconds of the behavior. If you wait too long, the bird has no idea what it's being rewarded for. Verbal praise and gentle head scratches can also reinforce behavior once the bird actively enjoys them, but food is typically the strongest and fastest teacher.
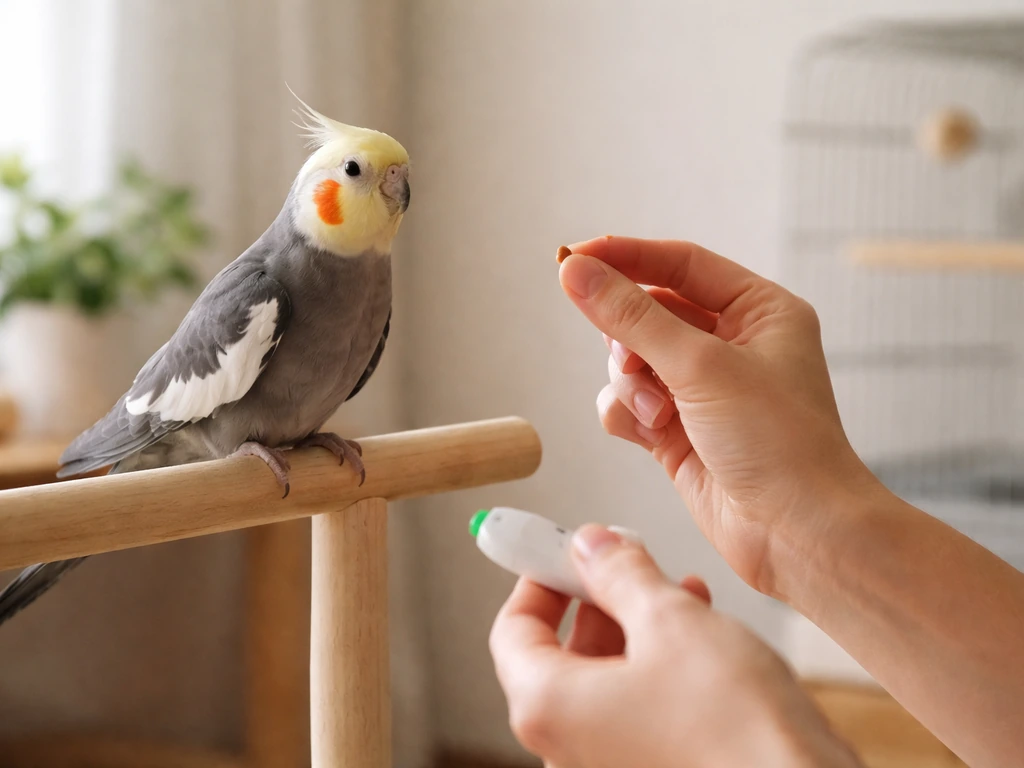
Using a clicker or verbal marker

A clicker is a small device that makes a precise, consistent sound the moment a behavior happens, 'marking' exactly what earned the reward. You can also use a short verbal marker like 'yes' or 'good.' The marker bridges the gap between the behavior and the treat, so the bird knows exactly what it did right. Before you use a clicker in training, blank" rel="noopener noreferrer">'charge' it by clicking and immediately giving a treat ten to twenty times in a row, with no behavior required. Preventive Vet recommends charging a clicker by practicing the click-and-treat pairing about 10 to 20 times before you start training behaviors blank" rel="noopener noreferrer">charge' it by clicking and immediately giving a treat ten to twenty times in a row. Once the bird's eyes brighten or it looks for a treat at the sound of the click, it understands the marker.
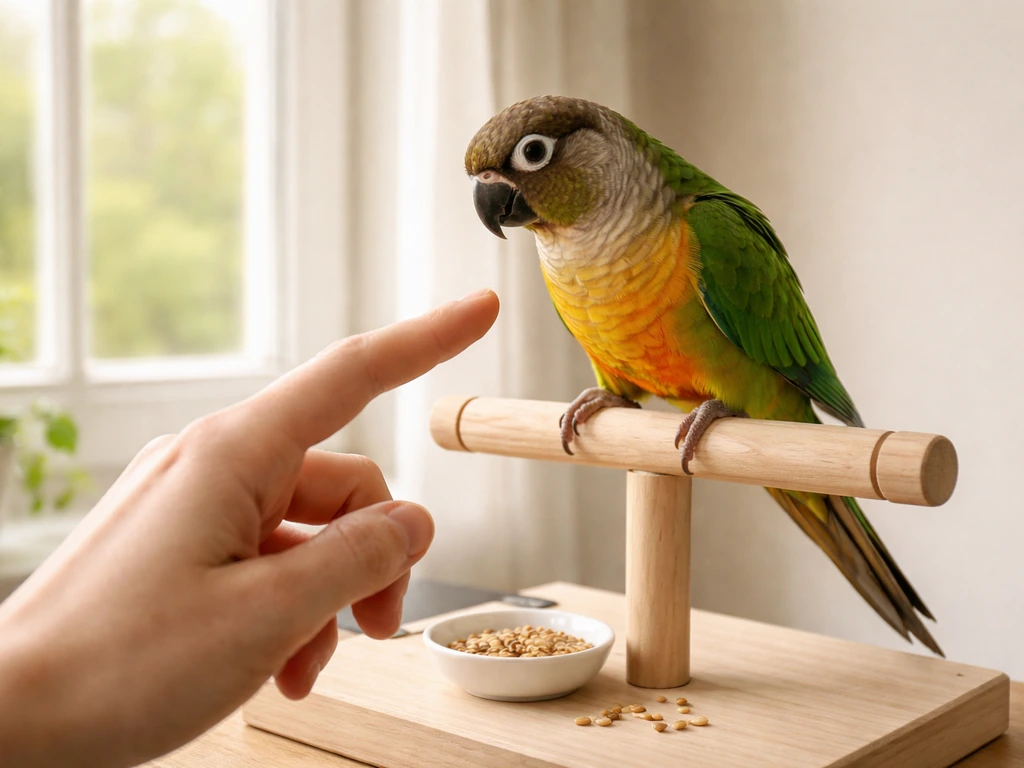
Target training
Target training is often the best first skill to teach because it gives the bird a clear, easy job: touch your beak (or foot) to this stick. World Parrot Trust's “Teach Your Parrot to Target” is a step-by-step guide to teaching target behavior to parrots blank" rel="noopener noreferrer">Target training is often the best first skill to teach. You can use a commercial target stick or a chopstick with a small ball of tape on the end. Hold the target a few inches from the bird's beak. Most birds will investigate it out of curiosity. The instant the beak touches the target, click and treat. Repeat until the bird is deliberately touching the target every time. Then start moving the target to different positions so the bird follows it. Target training becomes a building block for almost every other behavior, including step-up, wave, fetch, and more complex sequences.
Structuring your training sessions
Keep sessions short: five to fifteen minutes, once or twice a day. Birds learn better in many short sessions than in one long exhausting one. Always start with something the bird already knows well to warm up and build confidence. Introduce new behaviors only after a few successful warm-up repetitions. End the session while the bird is still engaged and successful, never after a failure or frustration moment. If the bird is turning away, showing disinterest, or getting nippy, the session is already too long.
- Warm up with a known behavior for two to three repetitions
- Introduce or practice one new behavior for the bulk of the session
- Keep individual repetitions fast: cue, behavior, click, treat, repeat
- End with a known, easy behavior so the session closes on success
- Keep a simple log of what you practiced and how the bird responded
Species-specific tips for common pet birds
While individual temperament always comes first, knowing your species' tendencies helps you set realistic timelines and choose the right approach.
| Species | Typical Temperament | Best Starting Point | Training Notes |
|---|---|---|---|
| Budgerigar (Budgie) | Social, curious, can be flighty if not hand-raised | Treat through bars, then hand-taming in small space | Respond well to millet. Short sessions essential. Can take weeks to fully tame from a pet-store background. |
| Cockatiel | Gentle, affectionate, moderate confidence | Hand-feeding and calm voice contact daily | Often bond quickly. Love head scratches as reinforcers once comfortable. Step-up usually easy once trust is established. |
| Lovebird | Bold, feisty, can be nippy | Consistent short sessions; respect personal space early | High energy means short sessions work best. Food motivation is strong. Pairs can be harder to tame than singles. |
| Conure (small to mid parrot) | Playful, loud, highly social | Interactive play and target training | Thrive on engagement. Can bite hard when overstimulated. Watch for overexcitement as a training-session ender. |
| African Grey | Highly intelligent, cautious, sensitive to change | Very slow, patient trust-building before any training | May take months to feel safe with a new owner. Punishment or pressure causes lasting setbacks. Clicker training works extremely well once trust is established. |
| Amazon Parrot | Confident, territorial, mood-variable | Short daily interactions; respect hormonal seasons | Spring hormonal behavior can make training harder. Keep sessions predictable and watch for subtle aggression cues. |
| Cockatoo | Extremely social, emotionally sensitive | Bonding and social time first; training second | Over-bonding is a real risk. Teach independence alongside behaviors. Strong food motivation but can be easily frustrated. |
| Canary / Finch | Typically not hand-tamed; song and visual enjoyment focused | Environmental enrichment, not handling | Most canaries and finches are not trained for handling. Focus on a calm, enriched environment. Some can learn to eat from fingers with patient conditioning. |
For wildlife rehabilitation birds, the goal is almost always the opposite of taming. You want to minimize human imprinting to preserve the bird's ability to survive after release. Handle only as much as medical care requires, use minimal visual exposure (hoods or towels in some cases), and avoid positive reinforcement that builds a bond with people. Check your local wildlife laws before working with any wild bird, as handling wild birds without proper permits is illegal in most jurisdictions.
Troubleshooting common behavior problems and what to do next
Even with the best approach, you'll hit roadblocks. Here are the most common ones and what to actually do about them.
Biting or nipping
Biting is communication. It almost always means the bird was pushed past its comfort zone and escalated because earlier, subtler signals (turning away, pinning eyes, raised feathers) were missed or ignored. If your bird is biting frequently, slow everything down. Go back to the last step where the bird was relaxed and stay there longer. Do not punish biting by tapping, blowing on the bird, or raising your voice. These responses either frighten the bird further or inadvertently reward attention-seeking behavior. Instead, calmly and slowly withdraw and give the bird a moment to settle, then try again with less pressure.
Fear or flinching at your hand
A bird that consistently flinches or retreats when your hand appears has a hand-fear response, often from prior rough handling or simply never having been socialized to hands. Use target training to change this association. Present the target stick instead of your bare hand, click and treat for any approach, and gradually over many sessions transition from the target to your hand as the 'thing to approach.' Keep your hand still and relaxed, not reaching, until the bird is comfortable coming to it.
Refusal to step up
If your bird won't step up on cue, you either haven't built enough trust yet, or the cue has been associated with something the bird dislikes (like being put back in the cage). Make step-up practice happen in neutral moments, not just when it's time to end out-of-cage time. Reward every step-up generously. Practice step-ups that go nowhere (just up to your hand, then back to the perch, treat, done) so the behavior isn't always followed by something the bird finds unpleasant.
Distraction and short attention span
Training in a stimulating environment is hard for birds. If your bird is constantly looking away, responding to sounds, or breaking focus, move training to a quieter space with fewer visual distractions. A small, neutral training perch away from the main cage often works better than training at the cage itself. Also check the time of day: most birds are most alert and engaged in the morning. Avoid training right after a big meal when food motivation drops.
Training that just isn't working
If progress has stalled for more than a week, run through this checklist: Is the treat actually high-value to this individual bird? Is the marker (click or word) coming within one to two seconds of the behavior? Are sessions short enough? Is the behavior you're asking for broken into small enough steps? Most training plateaus come down to one of these four things. Try splitting the behavior into smaller pieces (shaping), change up the treat, or take a few days off entirely. Sometimes a short break resets motivation.
Overexcitement and over-arousal
Some birds, especially conures and cockatoos, get wound up during training and start biting, flapping, or screaming. This isn't aggression, it's over-arousal. End the session calmly before it escalates. Shorter sessions with quieter rewards (a treat rather than a big vocal celebration) can help keep arousal at a manageable level. Teaching a calm 'station' behavior (the bird goes to a specific perch or mat and waits) is a great tool for helping high-energy birds settle.
Your next steps
Once your bird is comfortable with handling, stepping up reliably, and taking treats from your hand in a focused session, you're ready to layer in specific skills. Step-up is usually the first formal behavior to polish, followed by target-stick following, then simple tricks like wave or fetch. Each of these builds directly on the trust and reinforcement mechanics you've already established. The path from 'scared bird' to 'enthusiastic training partner' is mostly just patience, consistency, and paying close attention to what your bird is telling you.
If you're dealing with a more serious behavior problem, such as chronic aggression, feather destruction, or severe phobia responses, it's worth consulting an avian veterinarian first to rule out any medical causes, and then connecting with a certified avian behavior consultant who can observe your bird directly. Behavior problems that have been reinforced for months or years don't disappear overnight, but with the right approach, almost every bird can make meaningful progress.
FAQ
How do I tell the difference between normal “evaluation” behavior and stress that means I should stop training?
Look for a pattern, not a single moment. If your bird shows escalating signs like freezing, repeated turning away, rapid feather fluffs that persist, or increased respiratory effort, end the session and return to a farther threshold the next time. If the bird occasionally approaches for a treat and then resets to neutral posture, that’s usually progress.
What should I do if my bird refuses treats during training?
First, check timing and hunger level, avoid offering after a large meal. Try smaller, higher-value treats and offer them through the bars or at the exact moment of the behavior (within 1 to 2 seconds). If the bird still won’t eat, pause and address stress signals, because pushing food when the bird is fearful can worsen trust.
Can I teach training without a clicker?
Yes. You can use a consistent verbal marker like “yes” paired with immediate reinforcement. The key is precision, say the word at the exact moment of the behavior and feed right away. If your voice timing is inconsistent, use the clicker or a quick touch-marker to improve clarity.
How do I choose a “high-value” reinforcer for my bird?
Use trial rewards. Start with a few candidate treats and observe which ones reliably make the bird lean forward, follow, or work faster. Avoid treats that the bird can get easily all day, and keep the reward tiny so it’s consumed in about one second, preventing long pauses between repetitions.
Is it okay to train multiple behaviors in one session, or should I focus on one?
Early on, focus on one main skill plus brief warm-ups you already know. Switching too often can make your bird look distracted and slow progress. Once your bird is reliable with the target behavior, you can add short “ladder steps” for one new skill at a time.
What if my bird only responds to training in the morning, but not later?
That’s common. Use the time of day when the bird is most motivated, many birds focus better before major feeding peaks. If later sessions fail, reduce expectations, shorten sessions, and switch to a higher-value treat or a simpler step at the same threshold.
How do I prevent my bird from learning that biting ends the session or brings attention?
Avoid reacting with punishment or excitement. Instead, calmly withdraw pressure the moment biting starts, reduce the difficulty by stepping back one stage, and try again when the bird is relaxed. Consistency matters, because inconsistent responses can teach the bird that biting “works” sometimes.
My bird steps up on cue but then lunges or won’t stay. What’s going wrong?
Often the cue was trained in a context where the bird didn’t fully feel safe during contact, or the bird is overstimulated by staying on your hand. Practice step-ups in neutral moments, then release quickly and reward while the bird is calm. Build “duration” slowly, just a few extra seconds at a time, never after the bird shows agitation.
How do I train step-up if my bird hates being put back in the cage?
Separate the experience of step-up from the end of out-of-cage time. Do short “go nowhere” step-ups that return to the perch quickly and end on success. Then, only after the bird learns that stepping on you is predictable and rewarding, gradually add the cage-return sequence later with treats provided immediately.
What if my bird follows the target stick but won’t generalize to new positions or rooms?
Generalization usually requires repetition in varied contexts. Move the training perch or change the viewing angle in small increments, always staying within the bird’s comfort zone. Reward touching the target even if accuracy is imperfect when you’re changing location.
How long should it take to see real progress, and when is it a plateau?
Progress can be quick for some birds, but trust work may take weeks. If performance on a specific step does not improve for more than about a week, review treat value, marker timing, session length, and whether the step is too big. Sometimes a deliberate short break for a few days resets motivation.
What’s the safest way to handle a bird that suddenly gets more fearful during training?
Treat it like a sign you’re inside the threshold. Stop for the day, reduce proximity next session, and return to a step where the bird has previously succeeded. If fear increases sharply or eating drops, consider a veterinary check to rule out pain, illness, or discomfort.
When should I involve an avian vet or behavior professional?
Get a veterinary evaluation if there are changes in appetite, droppings, breathing, sudden aggression, limping, or plucking. For behavioral help, contact a certified avian behavior professional when you have chronic aggression, severe phobia responses, self-injury, or repeated setbacks despite going back several training steps.