Free flight training teaches your bird to voluntarily leave a perch and fly directly back to you (or a target) on cue, every single time. You start indoors in a controlled space, build a bulletproof recall, and only expand the environment once the bird is genuinely ready. Done right, it's one of the most rewarding things you can do with a bird. Done too fast, it puts them at serious risk. This guide walks you through every stage, from first trust-building sessions to troubleshooting the moment your bird decides the ceiling fan is more interesting than your hand.
How to Flight Train a Bird: Free-Flight Step by Step

Maya Harris
27 Apr 2026
What free flight training actually means (and who it's for)
"Free flight" gets used loosely online, so let's be precise. True free flight training is voluntary, cue-controlled flight in a safe setting where the bird chooses to leave a perch and reliably lands on a predetermined target (your hand, a stand, or a marked perch) after a specific cue. It is not letting your bird flap around the living room unsupervised and hoping they come back. That distinction matters, because the voluntary and reliable parts are exactly what training achieves.
This kind of training is appropriate for pet bird owners who want enrichment and a stronger bond, wildlife rehabilitators conditioning birds for release, and experienced enthusiasts working with raptors or corvids in structured programs. It is not a beginner-level first project. Professional guidance consistently notes that free flying should never be attempted without a solid recall foundation, and that recall itself is only a small part of what makes free flight safe. If you want a clear roadmap for how to train a bird to come when called, focus on building that recall foundation first, then increase distance and distractions step by step recall itself. If you're brand new to bird training, target training and basic recall work are the right starting points, and those skills feed directly into everything covered here.
It's also worth naming what this isn't for: wild birds you've found injured or young birds not yet imprinted on people. Those situations fall under wildlife rehabilitation, which carries its own legal requirements covered in the next section.
Safety, welfare, and legal basics before you start
Know the law if your bird is wild or migratory
In the United States, if you're working with any wild or migratory bird, including raptors, songbirds, waterfowl, or corvids, you need permits before you touch them. At the federal level, the Migratory Bird Treaty Act requires a Federal Migratory Bird Rehabilitation Permit to take, transport, or temporarily possess sick or injured migratory birds. For the take, transport, or temporary possession of sick, injured, and orphaned migratory birds for rehabilitation, USFWS requires a blank" rel="noopener noreferrer">Migratory Bird Rehabilitation permit. Individual states layer on top of that: Washington requires a state-issued wildlife rehabilitation permit; Michigan requires one to possess, house, or treat wildlife for rehabilitation purposes at all. In Washington state, WDFW requires private citizens to obtain a permit before practicing wildlife rehabilitation blank" rel="noopener noreferrer">Washington requires a state-issued wildlife rehabilitation permit. Release decisions must also factor in season, location, disease risk, and whether the bird can survive independently. If you're unsure whether your bird falls under any of these frameworks, contact your state wildlife agency and USFWS before proceeding. Non-compliance isn't a technicality, it's a federal offense.
For domestically bred pet parrots, pigeons, and similar species, you typically don't need wildlife permits, but always verify with local ordinances, especially if you plan any outdoor free flight.
Welfare-first rules that apply to every training session
- Stop the session immediately if the bird shows aggression, panicked vocalizations, open-mouth breathing, panting, or frantic flapping. These are escalating stress signals, not obstacles to push through.
- Watch for subtler early stress signs too: feathers slicked tightly against the body, an unusually erect posture, or unusually still behavior. Catching stress early prevents it from escalating.
- Keep sessions short (5 to 10 minutes maximum at first) and end on a success, even a small one.
- Never train a bird that is ill, underweight, or physically uncleared for flight. Have a vet assess fitness before flight-based training begins, especially if the bird has had any injury or illness history.
- Do not use physical coercion. Every approach, every landing, every cue response should be the bird's choice reinforced by something they genuinely want.
A veterinary checkup before starting flight training isn't optional, it's smart. Your vet can tell you whether the bird is physically ready for flight-based recall or whether a perch-to-perch version should come first. They can also help you recognize early signs of respiratory distress during exertion, which look very different across species.
Preparing your bird: trust, handling, and readiness checks
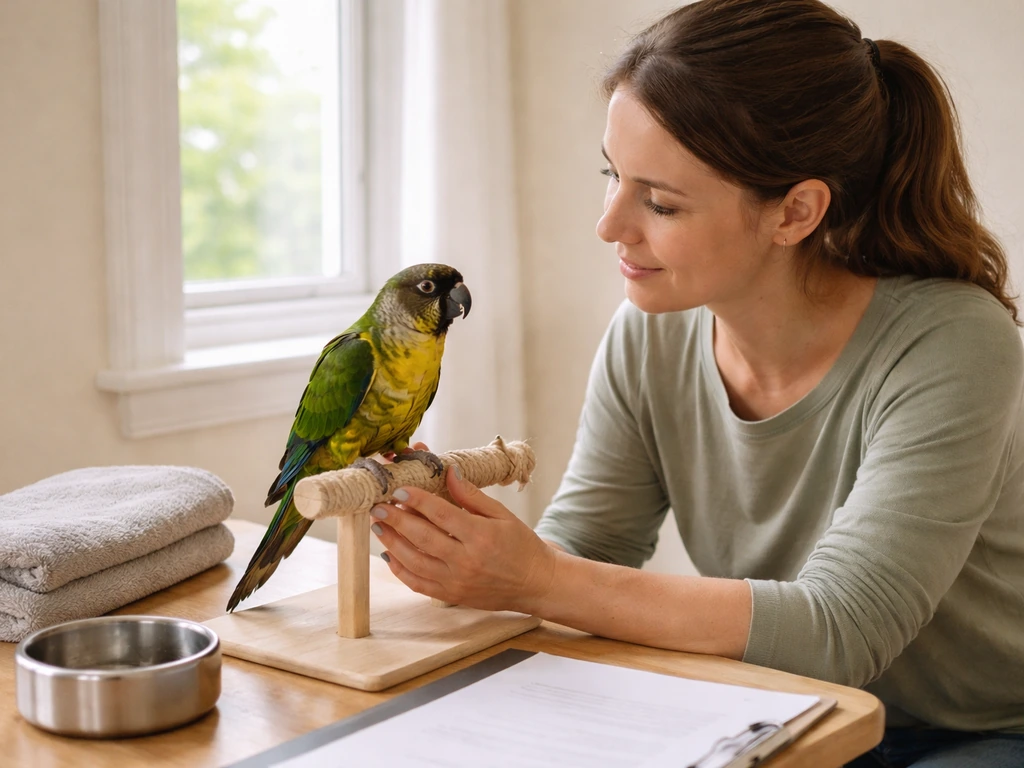
Build the relationship first
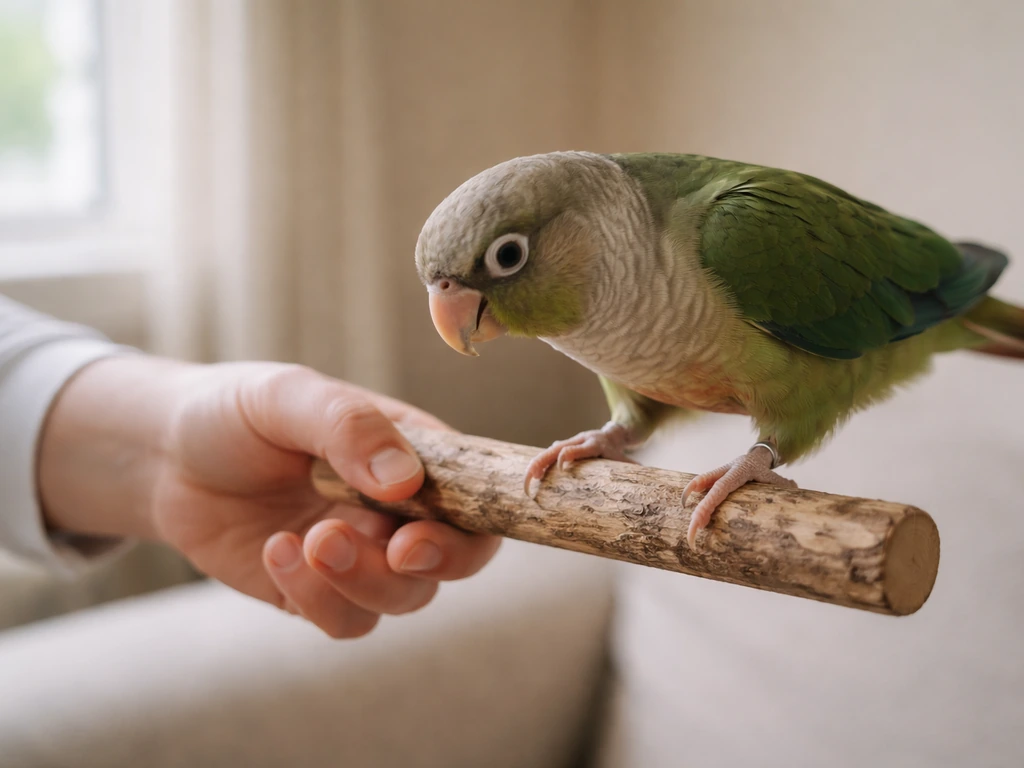
No bird is ready to flight train if they don't trust you yet. Spend time simply being present near the bird without demands. Let them eat, explore, and approach you on their own terms. Offer high-value food treats (small pieces of whatever they're genuinely excited about) from your hand without asking for anything in return. This isn't wasted time, it's the foundation everything else is built on.
Once the bird is comfortable with your presence and hand, teach a reliable step-up cue. This is a non-negotiable prerequisite. A bird that won't step onto your hand calmly and consistently is not ready to fly to your hand. Clicker training is particularly useful here because it sharpens your observation skills and helps you notice subtle physical changes in the bird that might signal discomfort or health issues early on. Clicker training can also support the timing you need for clicker training a bird for safe recall and flight practice clicker train a bird.
Desensitize to the training environment
Bring the bird into the room you plan to use for flight training while it's closed and quiet, before any flight sessions happen. Let them explore perches, stands, and landing targets at their own pace. A bird that has already investigated the space is far less likely to panic or bolt when given flight freedom in it. Do this for several short sessions before you ever ask for flight.
Your readiness checklist
- Bird steps up on cue calmly and consistently
- Bird accepts handling without stress signs
- Bird has been vet-cleared for physical exertion
- Bird has a basic understanding of target training (touches a target stick reliably)
- Bird returns to a crate or carrier on cue (important for safety and session endings)
- You can read this bird's stress signals accurately and consistently
If any of these aren't in place, that's your starting point today. Target training and recall work at close range will get you there faster than jumping ahead. Target training and recall work at close range are the first steps in how to target train a bird before you expand to free flight. If you want a steady setup for this stage, follow the steps for how to stick train a bird before moving on to free-flight recall. Think of these as the prerequisite skills that make free flight training safe rather than lucky.
Building recall and training for controlled free flight
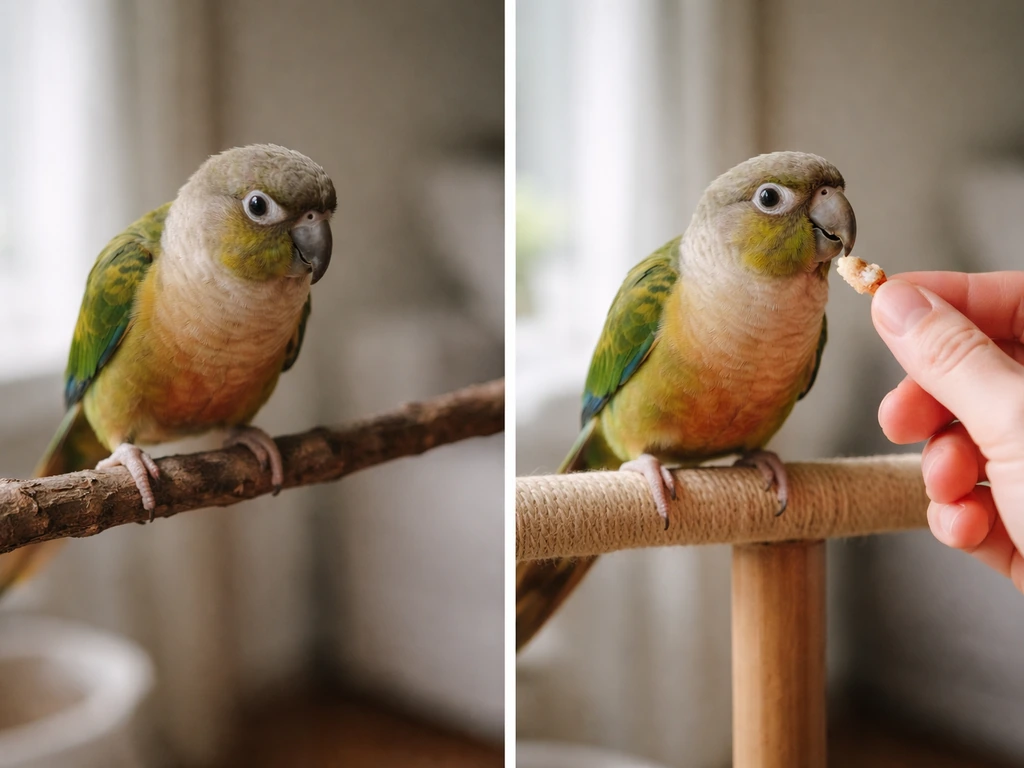
Start with target-based recall at very short distances
Target training is the best bridge skill for this phase. A reliable recall is what ultimately answers the bigger question of how to train a bird to come when called. If you want a tighter, cue-based plan, review how to recall train a bird so your recall cue stays consistent while you add distance and distractions. Once your bird reliably touches a target stick from a perch, start holding the target slightly further away, at a distance that requires a hop or a single wing-beat to reach. Click and reward the moment they make contact. Keep your cue consistent: a specific word, whistle, or hand signal works. Choose one and stick with it every time.
Gradually extend the distance over multiple sessions, never in a single session. The rule of thumb is: if the bird hesitates more than once at a given distance, you've moved too far too fast. Go back to a distance where they were succeeding confidently and rebuild from there.
Progress to hand recall across increasing distances
Once the bird is flying reliably to a target across the room, transfer the recall to your hand or a specific landing perch. Pair the target with your outstretched hand, then slowly reduce the target's prominence until the hand alone is the cue. Some trainers use a distinct whistle or verbal cue at this stage so the recall cue is audible from a distance. Reinforce every successful recall immediately and enthusiastically.
A step-by-step progression for this phase looks like this:
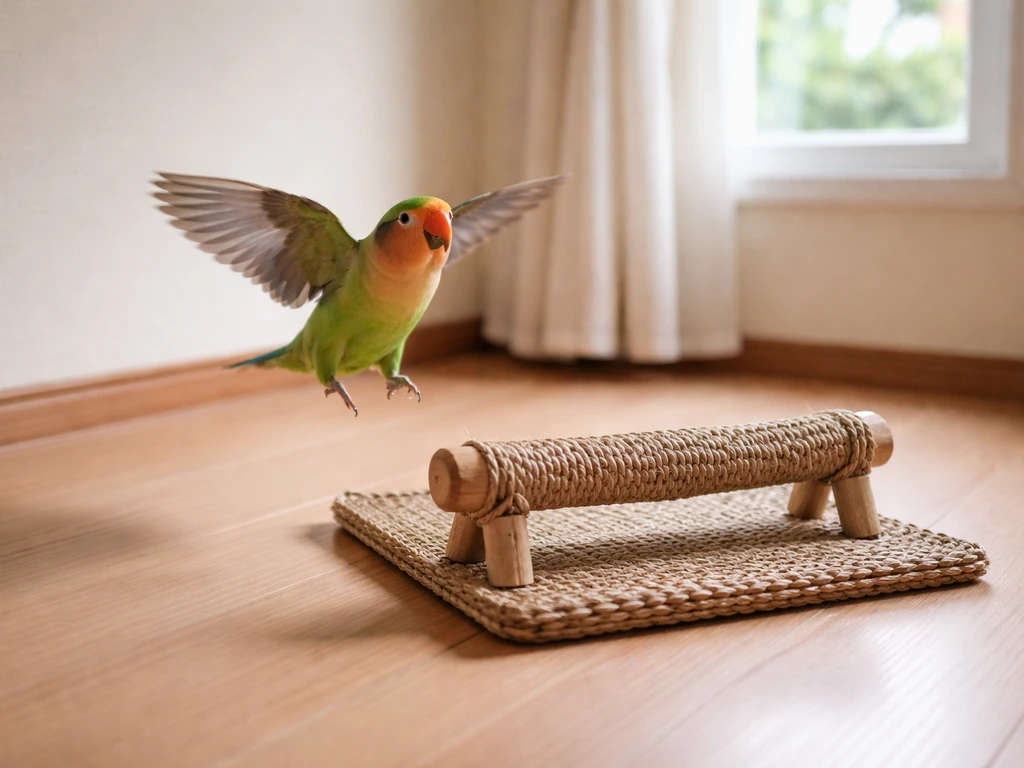
- Bird hops to target on perch (1 to 2 body lengths away)
- Bird flies one short burst to target (2 to 5 feet across a table or low surface)
- Bird flies across the room to target on your hand (10 to 15 feet indoors)
- Bird flies from any perch in the room to your hand on a single cue
- Bird flies to you from out of sight within the same room
- Bird flies to you in a new but controlled indoor environment
Each step in that list represents its own training phase, potentially taking days or weeks depending on the bird. There is no shortcut. A reliable recall at step 4 before moving to step 5 is what separates safe free flight from a bird you can't get back.
Never poison the recall cue
This is one of the most important principles in all of recall training. Never use your recall cue and then do something the bird doesn't like, such as putting them in a cage, ending playtime, or toweling them. If you do, the cue starts to predict something unpleasant, and the bird will begin to avoid it. Always make coming to you the best possible outcome. If you need to end the session, recall the bird, give a big reward, let them hang out for a few minutes, and then return them. Keep the association positive every single time.
Setting up your training environment
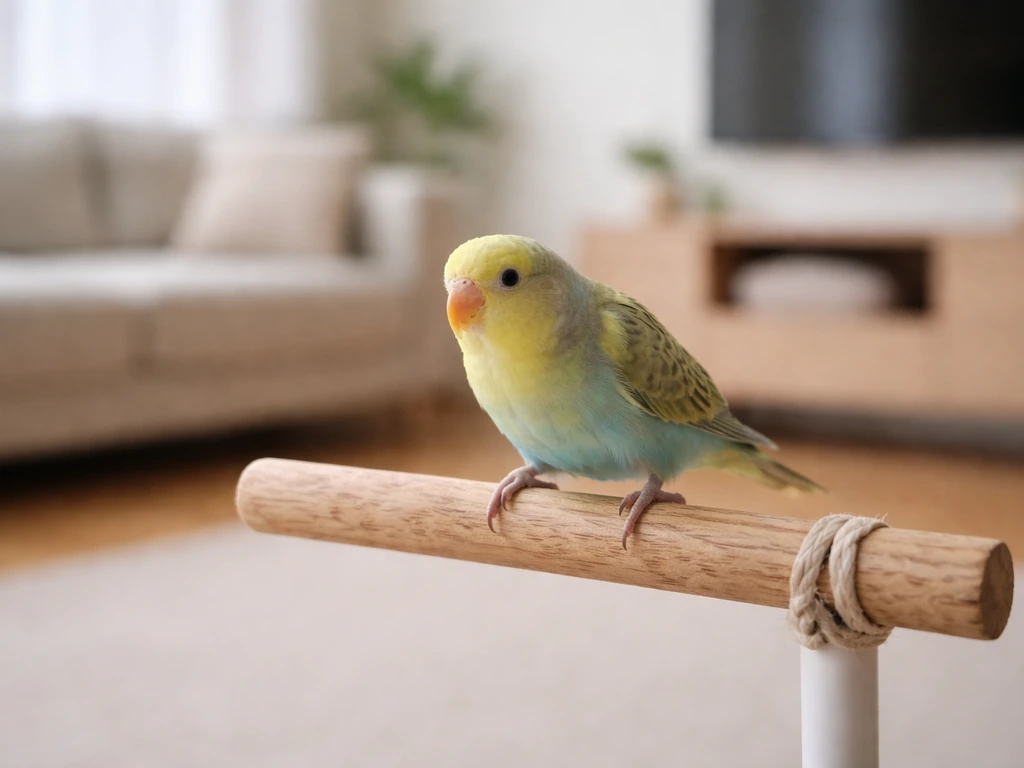
Start indoors, always
All early free flight training should happen indoors in a controlled space. This is not a preference, it's a safety requirement. Even birds with strong recalls can get startled and make unpredictable decisions outdoors. Once you move training outside, you're managing wind, predators, visual distractions, and a sky with no walls. Indoor training removes those variables so the bird can focus on the task and you can observe clearly.
Set up the space before the bird enters
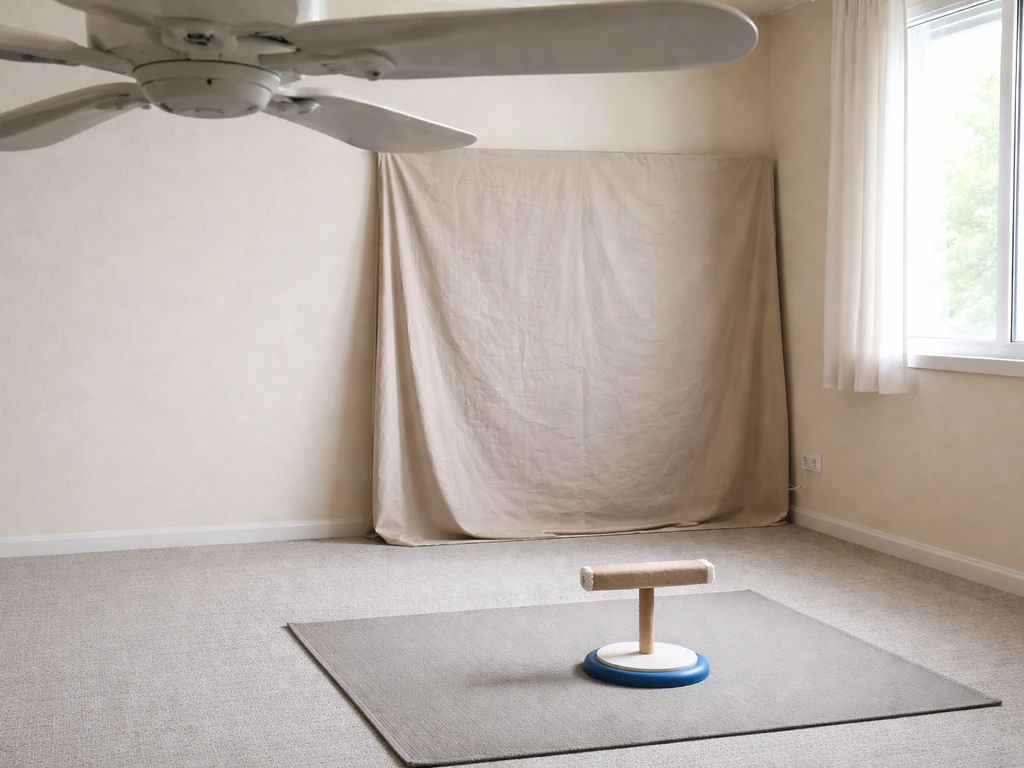
- Close all windows, doors, and fireplace flues before the session starts
- Cover or remove mirrors (birds can fly into them at speed)
- Remove ceiling fans or ensure they are completely off and will stay off
- Clear open water (toilets, fish tanks, buckets) that could trap a bird
- Set up 2 to 3 landing perches or stands at different heights so the bird has clear options
- Use perches of varying diameters when possible to support foot comfort across longer sessions
- Position your launch perch and landing target so the flight path is unobstructed
- Reduce visual distractions like TVs or moving items during early sessions
Managing distractions as you progress
Once recall is solid in a quiet room, start introducing mild distractions gradually: another person quietly present, low background noise, a different room. Treat this like adding a new training variable and go back to shorter distances when you do. The goal is a bird that responds to your recall cue regardless of what else is happening in the environment. That reliability is what makes outdoor flight even a distant possibility for birds where it's eventually appropriate and safe.
Your training space should also include a secure retreat option, such as the bird's carrier or crate, that the bird can access and is conditioned to use comfortably. This matters both for ending sessions safely and as a contingency if something unexpected happens mid-session.
Common problems and how to fix them
The bird refuses to fly toward you
This almost always means one of three things: the distance is too great, the reinforcer isn't motivating enough, or the bird isn't yet comfortable enough with the environment. Go back to a distance where the bird was succeeding and stay there for a few more sessions. Try a higher-value treat. If the refusal started suddenly after previously working well, get a vet check to rule out physical discomfort or early illness.
The bird flies but drifts to a different perch or spot
The alternative landing spot is more reinforcing than you are right now. Make your hand more interesting: offer the treat immediately and enthusiastically when they do come to you. Temporarily remove or cover the competing perches so the bird has fewer options. Use a more distinctive hand signal or sound cue so the target is clear. Once recall to your hand is solid again, you can reintroduce the other perches.
The bird shows fear or stress during sessions
Stop the session. Don't try to push through. Feathers slicked tight, erect posture, panicked vocalizations, frantic flapping, or lunging are all signals that the bird is over threshold. End the session calmly, return the bird to their safe space, and give them time to settle. When you restart, go back several steps to where training felt easy for the bird. If this pattern repeats, consult a professional trainer or avian behavior consultant before continuing. Trying to work through fear usually makes it worse, not better.
The bird was doing well and suddenly stopped responding
Sudden regression is a red flag. First, rule out health issues with a vet visit, because birds conceal illness until it's significant, and training performance often drops before other symptoms are visible. If the bird is physically fine, consider whether the training criteria jumped too fast recently, whether the reinforcer has lost value (try switching to a different treat), or whether something in the environment changed. Regression is information, treat it as such rather than trying to drill through it.
What to do if something goes wrong mid-session
If the bird appears nervous at any point during a session, stop immediately and contact a qualified trainer or avian behavior professional before your next session. This is a firm protocol, not a suggestion. The cost of pausing is a few days of progress. The cost of pushing through fear or stress is often weeks or months of regression and a damaged relationship with the bird.
Species notes and progression milestones
Different birds come with very different baselines for fear, flight ability, motivation, and stress tolerance. Here's a practical breakdown by category to help you calibrate your expectations and timeline.
| Bird type | Typical baseline | Key challenge | Progression pace | Notes |
|---|---|---|---|---|
| Parrots (small: budgies, cockatiels, lovebirds) | Variable; often hand-tame but skittish in open spaces | Darting unpredictably; easily startled | Moderate; can progress quickly with daily sessions | Excellent candidates for indoor free flight; respond well to target training as a bridge |
| Parrots (large: Amazons, macaws, cockatoos) | Strong fliers; highly motivated but opinionated | Recall reliability under distraction; testing boundaries | Slower; requires very solid foundation before expanding criteria | Never attempt outdoor free flight without professional support and extensive indoor history |
| Pigeons and doves | Calm, food-motivated, excellent for beginners | Less personality-driven; motivation can be lower | Fast for basic recall; slower for precision landing cues | Among the easiest birds to free-flight train; great for learning the method |
| Corvids (crows, ravens, jays) | Highly intelligent; strong problem-solving tendency | They will test every rule and find every loophole | Variable; fast when motivated, slow when not | Permits may apply if wild-caught or rehabilitated; verify legal status first |
| Raptors (hawks, falcons, owls) | Requires significant conditioning; prey-driven | Flight conditioning must include physical fitness evaluation | Slow and structured; professional involvement strongly recommended | Wildlife permits required in the US; physical and behavioral readiness evaluation by a vet is essential before training |
| Rehabilitated wild birds (any species) | Highly variable; depends on injury history and imprint status | Balancing flight conditioning with release readiness | Individualized; no standard timeline | Permits required; release decisions depend on season, location, disease risk, and survival ability |
Milestone markers to track your progress
Regardless of species, use these milestones as your progression checkpoints. Don't move to the next one until the current one is consistent across at least three separate sessions.
- Milestone 1 (Beginner): Bird steps up calmly on cue and touches a target reliably from a perch
- Milestone 2 (Beginner): Bird hops or makes a single wing-beat to reach a target 2 to 3 feet away
- Milestone 3 (Intermediate): Bird flies across a room (10 to 15 feet) to your hand on cue, with no competing perches
- Milestone 4 (Intermediate): Bird flies to your hand from any perch in the room, with competing perches present
- Milestone 5 (Intermediate): Bird recalls consistently with mild distractions present (another person, low noise)
- Milestone 6 (Advanced): Bird recalls from outside the trainer's line of sight within the same controlled space
- Milestone 7 (Advanced, species-dependent): Bird recalls reliably in a new controlled indoor environment
For raptors and rehabilitated wild birds, milestones beyond step 3 should involve a professional avian vet and an experienced rehabilitator or falconer, not solo home training. The physical flight conditioning required for those birds involves evaluating musculature, respiratory effort, and endurance in ways that genuinely require trained eyes.
Your next steps starting today
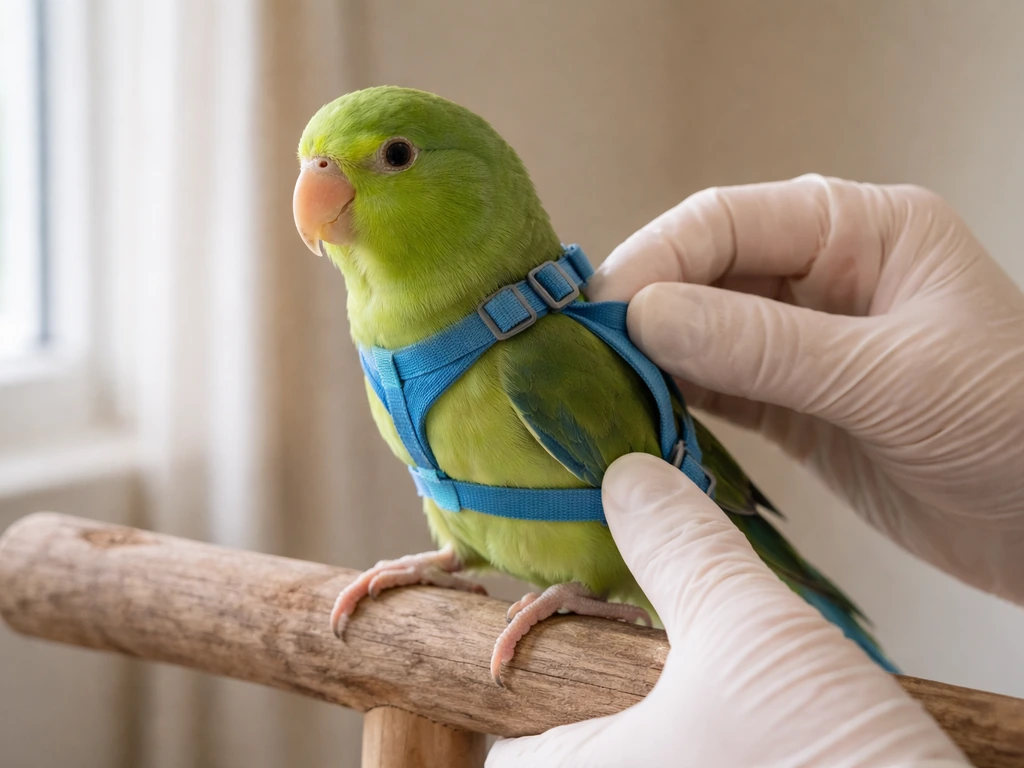
If you haven't started yet, your first task today is simple: sit near your bird with high-value treats and ask for nothing. Do that for three days. Then introduce a target stick and build a reliable touch behavior before you think about anything flight-related. If your bird already has solid step-up and target skills, get a vet clearance for flight exertion and start the distance-recall progression indoors at the shortest possible range. For a complete walkthrough on training target behavior, see this guide on how to harness train a bird. Track your milestones honestly and don't skip steps. The birds that are genuinely reliable in free flight got there because their trainers were patient, observant, and willing to go back to basics whenever needed. That's the whole method.
FAQ
What should I do if my bird misses the recall cue or lands in the wrong place?
Use the recall cue only when you can guarantee success, for example indoors in the short distance range where the bird has already been succeeding. If the bird does not respond, do not repeat the cue multiple times. Instead, lower the difficulty (closer distance, clearer target, higher-value treat), then rebuild the criteria until the bird responds reliably again.
How do I end a training session safely if the bird is getting distracted or I need to stop immediately?
If you need to stop, recall first using the established cue, reward immediately, then return the bird to its safe retreat (carrier or crate) without repeating the cue once it is close. The key is to keep the cue outcome consistently positive, so the bird never learns that “coming” leads to something unpleasant or confusing.
What physical warning signs mean I should pause flight training and see an avian vet?
Don’t train “around” body health issues. If you notice labored breathing, open-mouth breathing, unusual tail bobbing or wheezing, persistent coughing, or lethargy after short exercise, pause and get an avian vet check. Even if the recall still works, exertion-based training can worsen underlying respiratory or cardiac problems.
Why does my bird respond indoors but not when I add distance or mild distractions?
A cue mismatch usually comes from using multiple cues (different words, whistles, or hand positions) or changing the timing (calling before the bird is ready). Pick one cue and one flight target, keep your body position consistent, and avoid adding distance or distractions until the bird is consistent across several sessions.
Can I train with another person in the room, and how should I introduce that variable?
Yes, but do it in a structured way. Keep the room closed and quiet, introduce one new variable at a time (one person, then later different background noise), and reduce distance whenever the bird hesitates more than once. The goal is reliable cue control, not testing bravery.
What if my bird will step up sometimes, but not consistently?
If your bird is still learning to step up or refuses your hand, do not “skip ahead” to flying. Step-up refusal often means the bird is not yet comfortable enough for you as the landing target. Fix the prerequisite first, then revisit target-recall progression and only later transfer the landing to your hand.
How do I know whether a training stall is because of the treat, the difficulty, or stress?
Use a reinforcement that matches what motivates your bird during that specific training block. If the bird slows down, seems flat, or refuses targets, switch to a higher-value treat (small pieces), reduce the difficulty, and confirm the bird is not physically uncomfortable. Treat fatigue can happen even when you have the “right” treat long-term.
Do I really need to cover competing perches, and when can I put them back?
Don’t cover or remove perches permanently. Temporarily reduce competing landings during recall practice, then reintroduce other perches gradually after recall to your hand or the landing target is solid. This prevents the bird from learning that alternatives are always “wrong,” while still reducing confusion during early stages.
What’s the best way to decide when I’ve progressed too fast on distance?
Repetition is not the same as criteria. If the bird consistently hesitates at a distance or makes inconsistent contacts, that is a clear signal you moved too far. Go back to the last consistently successful distance for several sessions before increasing again, even if the bird occasionally “gets it right.”
How should I set up the room to reduce escape risk and sudden hazards?
Yes, even in safe indoor sessions. Use a secure retreat you can reach quickly, remove obvious hazards like ceiling fans and hot surfaces, and keep doors closed so the bird cannot escape the training area. Also plan how you will handle an unexpected mid-session stop, for example returning to the carrier rather than chasing.
How do I tell the difference between “working through nerves” and “I should stop now”?
Use your bird’s fear and arousal signals as your limit, not the length of the session. If the bird shows over-threshold signs (frantic flapping, lunging, stiff body posture, panic vocalizations), stop right away and return to the safe space. When you restart, go back several training steps where the bird felt easy and confident.
My bird used to succeed, then suddenly stopped. Should I just push through or adjust something first?
It can be a red flag. Sudden regression can mean a medical issue, a criteria jump, a drop in treat value, or a changed environment. The fastest approach is to pause, book an avian vet check if anything physical could be involved, then audit what changed in the last few sessions before continuing.
What should I do if my bird seems nervous during training but still takes treats?
If your bird seems nervous during sessions, the safest route is to stop training that day and consult a qualified trainer or avian behavior professional before your next session. Nervousness often worsens when training continues, because the bird learns to associate cues with stress rather than with a predictable outcome and reward.
What are the most common mistakes people make when they try to start free-flight training?
Common mistakes include calling from too far before the bird is ready, repeating cues when the bird does not respond, switching landing targets mid-training, ending sessions in a way that makes “coming” unpleasant, and training outdoors too early. The fix is to return to prerequisites and enforce consistency of cue, target, and reward outcomes.
Next Article
How to Harness Train a Bird Safely Step by Step
Humane step-by-step how to harness train a bird safely, with fit checks, desensitization, troubleshooting, and outdoor s