Making a bird "easy" means building trust, reducing fear, and teaching a handful of cooperative behaviors so the bird chooses to work with you rather than flee or fight. It does not mean forcing compliance. Starting today, you can assess where your bird is emotionally, set up the right environment, and begin a routine that makes handling safer and calmer for both of you, whether you have a pet parrot that screams at your hand or a rescued wild bird that needs careful, minimal-contact care.
How to Make a Bird Easy: Step-by-Step Humane Taming

Maya Harris
4 Apr 2026
What "easy" actually means here
Before jumping into techniques, it helps to define the goal clearly. A "tame" or "easy" bird is not a perfectly obedient bird. Success looks like: the bird does not panic when you approach, it steps onto your hand voluntarily (or tolerates necessary handling without freezing in terror), it stops biting or lunging as a first response, and it recovers quickly after something startles it. That is the realistic bar. If you are just getting started and wondering how to make a bird easy to handle at home, know that the process is gradual, measured in days and weeks, not a single session.
The American Veterinary Society of Animal Behavior explicitly does not support the use of aversives in bird training. That means no toweling a bird into submission, no flooding (forcing exposure until the bird gives up), and no punishment for biting or screaming. Every step in this guide is built on positive reinforcement and goes at the bird's pace, not yours.
Before you start: your quick safety and setup checklist
Running through this checklist before any session will prevent most of the accidents and setbacks that slow progress down.
- Close all windows, doors, and ceiling fan switches. A frightened bird that takes flight in an unsecured room is a serious danger to itself.
- Remove mirrors, other pets, and anything that could cause a sudden startle (phones on silent, TV off for the first few sessions).
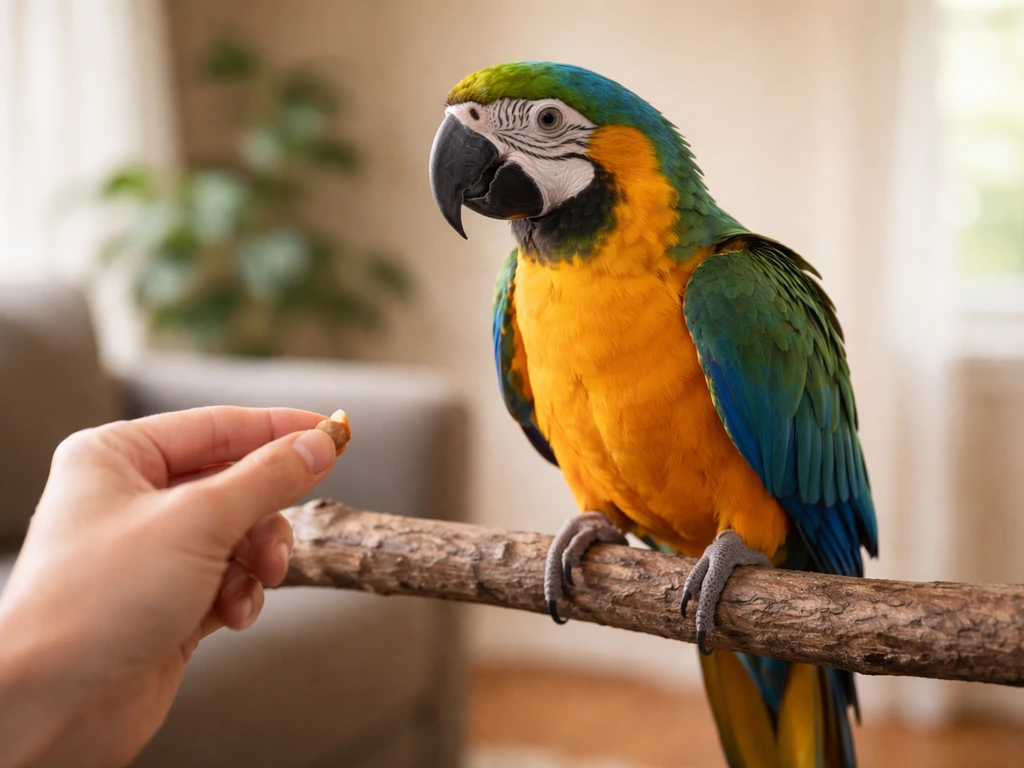
- Have high-value treats ready and portioned small — millet, a sliver of fruit, a pine nut — whatever this specific bird finds irresistible.
- Keep sessions short: 5 to 10 minutes maximum for new or fearful birds. Longer sessions create stress, not progress.
- Wash your hands before and after every interaction, especially if you work with multiple birds or have handled wild birds.
- If the bird is a wild or rescued species, check your local and state wildlife rehabilitation laws before any handling. Many wild birds are federally protected and require a permit to handle lawfully.
- If you suspect any illness (labored breathing, discharge, lethargy), contact a vet before training. A sick bird should not be in a training session.
For wild or injured birds specifically, PPE matters. Colorado Parks and Wildlife advises rehabilitators to use gloves, eye protection, and a face mask when handling wild species with any risk of avian influenza. Even if HPAI seems unlikely, gloves protect both you and the bird. Michigan's MDARD guidance for wildlife rehabilitators also stresses immediate quarantine and a vet call if a bird shows clinical signs of illness, do that first, train later.
Know when not to proceed
Some situations call for a pause, not a session. Stop and reassess if the bird is panting, trembling, or has its eyes wide open and fixed on you, those are acute fear signals documented in avian body language research. A bird showing these signs is not in a state where learning happens; it is in survival mode. Similarly, if feathers are fluffed and eyelids are heavy, the bird is tired or unwell and needs rest, not training. Forcing interaction past these signals erodes trust faster than any training session can rebuild it.
Read the bird before you touch the bird
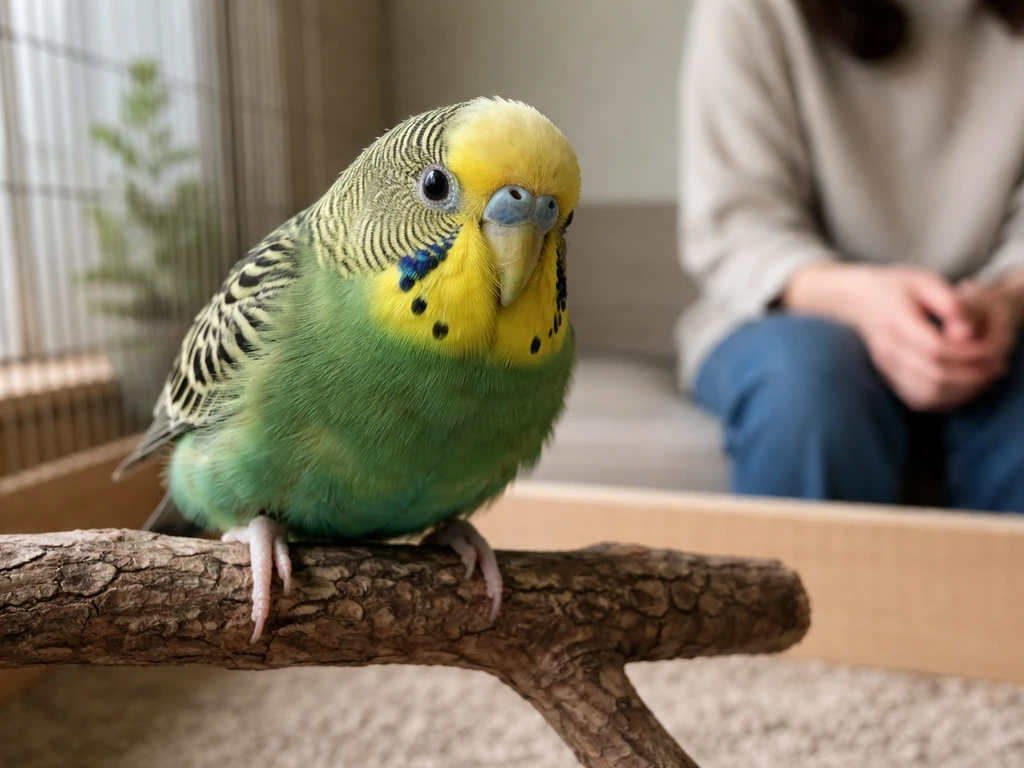
Assessment is the most skipped step in bird taming, and skipping it is why most people get bitten on day one. Spend your first session just sitting near the enclosure and watching. You are looking for baseline stress level, not testing the bird's tolerance for your hand.
Fear and stress signals to watch for
- Trembling or shaking
- Eyes wide, fixed stare
- Tail stiff or fanning repeatedly
- Lunging toward you with beak open
- Feathers puffed around the head and shoulders with wings held slightly away from the body
- Rapid shallow breathing
- Attempting to climb or fly away from your direction consistently
The more of these you see, the further back you need to start. A bird displaying three or more of these signs at your normal interaction distance needs desensitization, not step-up practice. Understanding what three things help a bird to fly also reminds you of why a frightened bird's instinct is always escape first, respect that instinct by moving slowly and predictably.
Pet bird vs. wild or rescued bird: different starting points
A pet bird that was previously handled but has become fearful (common after a bad experience or a change of home) is different from a bird that has never had positive human contact. Pet birds usually have a shorter path back to calm handling. Wild or rescued birds are a different category entirely. As the Open Sanctuary Project notes, humans are perceived as predators by most wild birds, and any handling is genuinely extremely stressful for them.
The goal with wild birds in rehabilitation is minimal, necessary contact, not bonding. If you are rehabilitating a wild bird, your job is to keep it healthy and wild, not to tame it. Everything in the step-by-step section below still applies for safety and handling quality, but the end goal is release, not cooperation.
Building trust step by step
Trust-building has a clear sequence. You are essentially teaching the bird that your presence predicts good things and never forces bad things. Move through these stages in order and do not rush to the next one until the bird is clearly relaxed at the current stage.
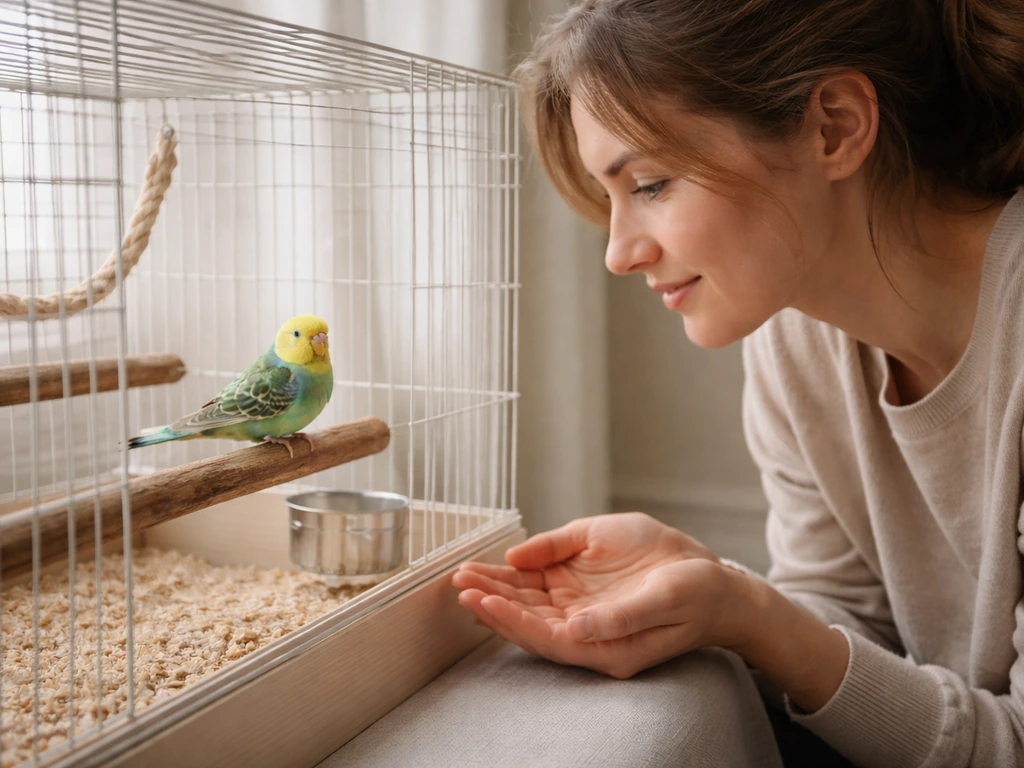
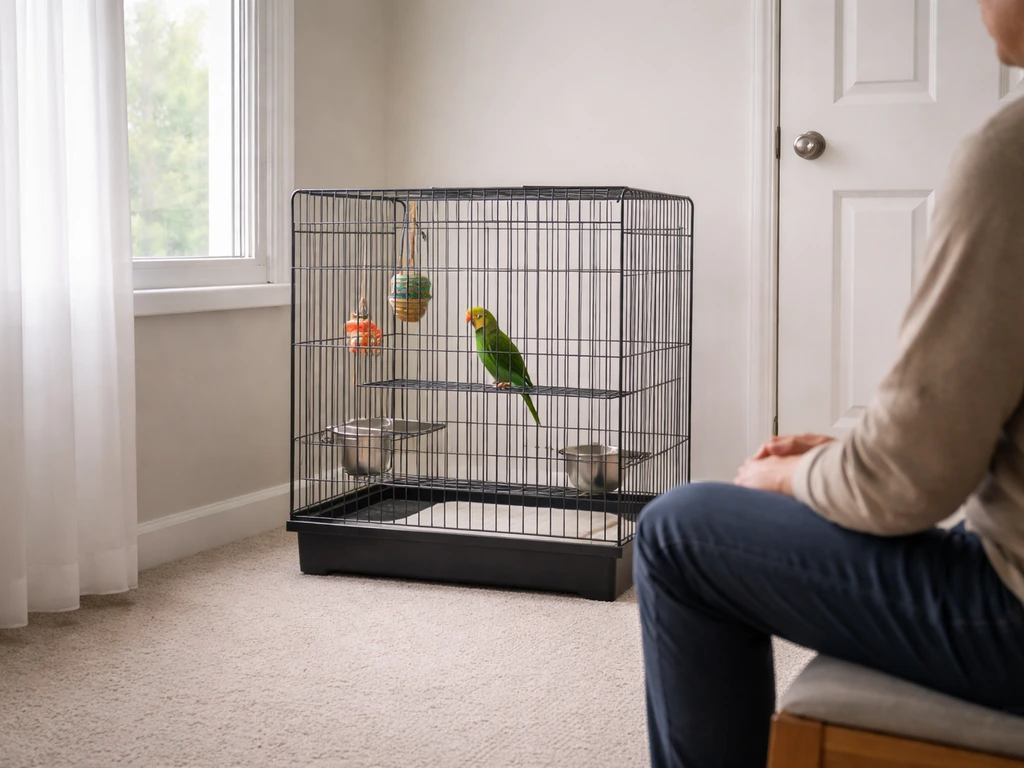
- Presence phase (days 1-3 minimum): Sit near the cage or enclosure, angled slightly sideways (less threatening than a straight-on approach), and do something calm — read, talk softly, eat a snack. Do not reach in. Just exist nearby without making demands.
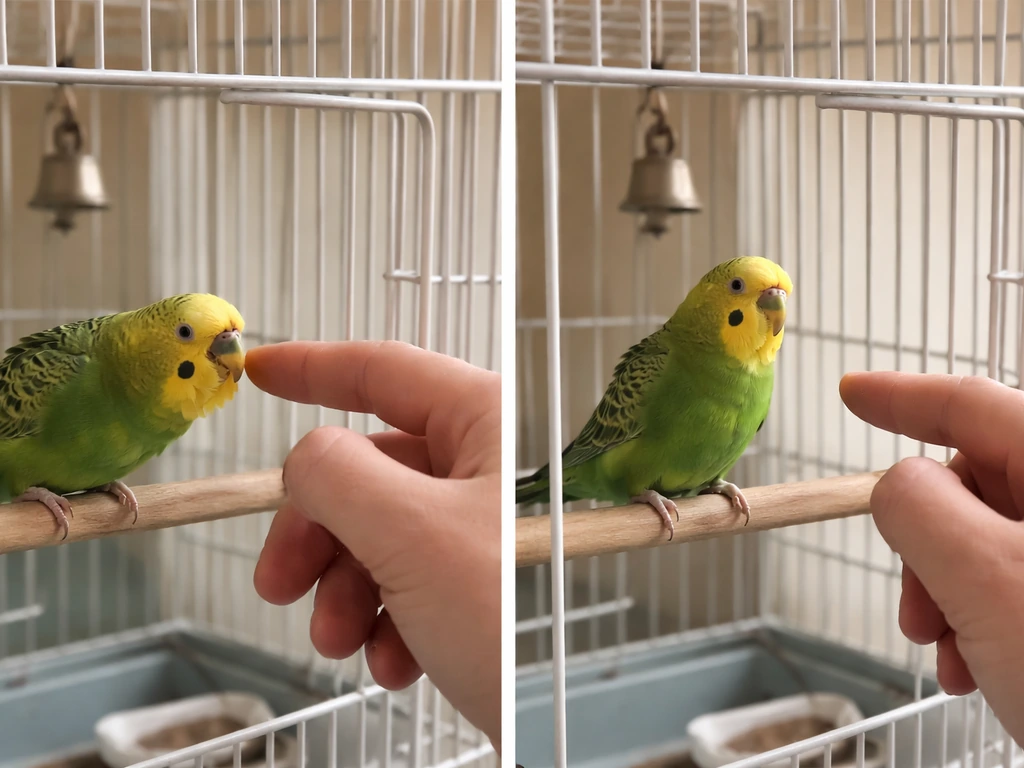
- Hand-near-cage phase: Begin bringing your hand close to the outside of the cage while offering a treat through the bars or mesh. No grabbing, no sudden movements. The bird gets the treat and you move your hand away. Repeat until the bird approaches your hand voluntarily.
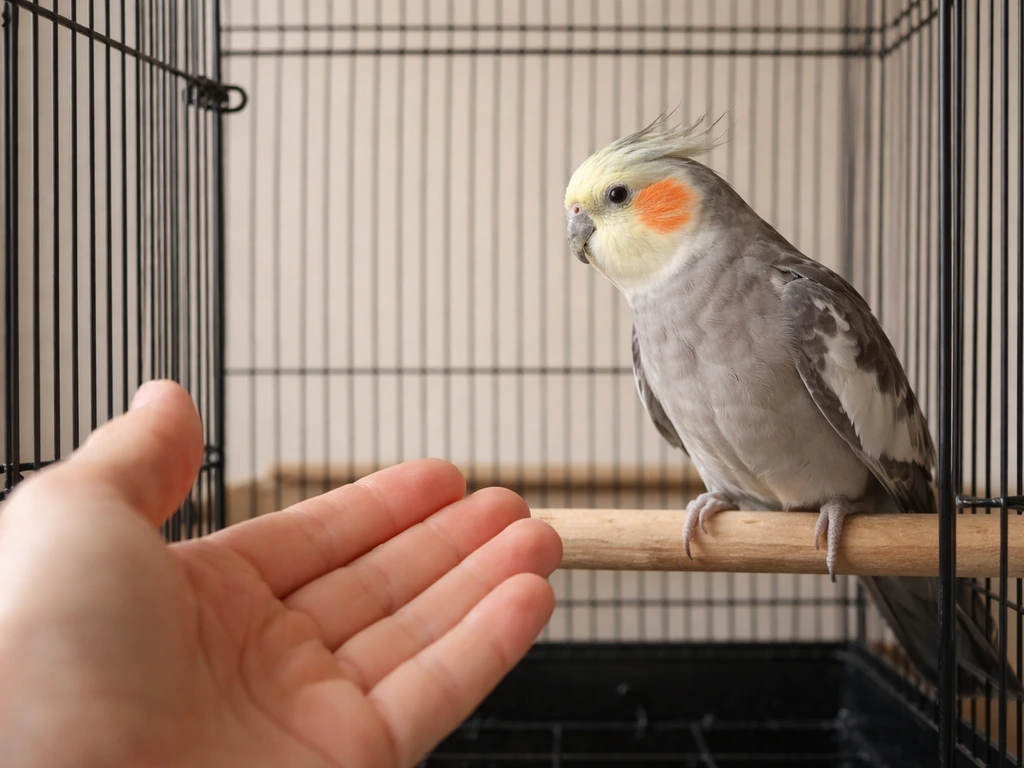
- Hand-inside-cage phase: With the cage door open, place your hand inside (palm up, fingers relaxed) at perch height — below the bird's feet, not above. Hold still. If the bird explores, great. If it retreats, that is fine too. Do this multiple sessions before expecting any contact.
- Treat at distance progression: Pamela Clark's approach for fearful parrots is practical here — offer the treat while your hand is still several inches from the bird, then gradually reduce that distance across sessions. The bird is learning that moving toward your hand produces good outcomes.
- Protected contact for very fearful or aggressive birds: If the bird lunges or bites the moment your hand is visible, use a short perch or T-stand outside the cage. Offer treats from across the perch. You are building positive associations without direct hand contact until the bird's stress level drops enough to try closer work.
Systematic desensitization and counterconditioning are the technical terms for what you are doing in this sequence. Avian Behavior International distinguishes between the two: desensitization is gradually reducing the fear response by controlled, low-level exposure; counterconditioning pairs the scary thing (your hand) with something the bird already loves (the treat) to change the emotional association. In practice, you are doing both at once, and both are well-supported by scientific research on animal behavior consulting.
Lighting and environment matter more than most people realize. The Global Federation of Animal Sanctuaries recommends dimming systems and visual barriers to prevent stress from sudden bright light or direct visual exposure in birds held in sanctuary settings. At home, this translates simply: avoid harsh overhead lighting during early sessions, consider a partial cage cover to give the bird a visual retreat, and never approach from directly above, that mimics a predator and triggers an instant fear response.
Teaching the three core cooperative behaviors
Once the bird is tolerating your hand near or inside the cage without strong fear displays, you can start working on three practical behaviors that make day-to-day life much easier: stepping up, stationing, and targeting (which also forms the basis of recall).
Step up
Learning how to get a bird to step up is the single most useful skill in bird handling. Position your hand or a short training perch at the bird's lower chest/feet level, not swooping in from above. Apply gentle forward pressure just below the toes. Many birds will step up reflexively. Mark the behavior (a click or a short verbal cue like "good") the instant the foot lifts, then deliver the treat within a few seconds. Keep early step-up sessions to three to five repetitions maximum so the bird does not get bored or start refusing.
Stationing
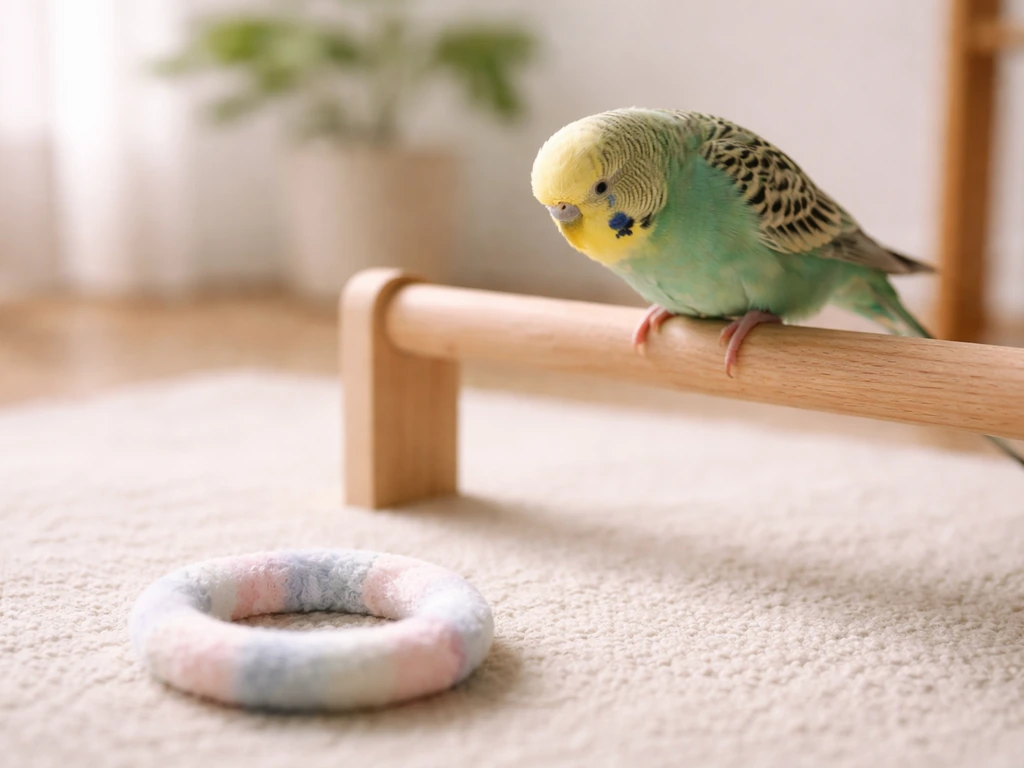
Stationing means the bird goes to a specific spot (a perch, mat, or T-stand) and stays there on cue. It is incredibly useful for vet visits, cage cleaning, and preventing the bird from wandering into dangerous areas. Start by luring the bird to the station with a treat, marking the moment it lands there, and rewarding. Add a cue word once the bird is doing it reliably. Stationing gives the bird a clear job and a clear payoff, which reduces a lot of ambient anxiety.
Targeting and recall
Target training is teaching the bird to touch its beak to a target stick (a chopstick, pencil, or commercial target stick). Once the bird reliably touches the target, you can use it to guide movement, including recall. Recall is one of the most important safety behaviors you can teach, and it ties directly into flight safety. If you are working toward outdoor or free-flight activities, reading up on how to free fly your bird will give you a full picture of what comes after these basics. For now, practice recall across short distances indoors: hold the target on the far side of a room, cue the bird, and reward when it flies or walks to it.
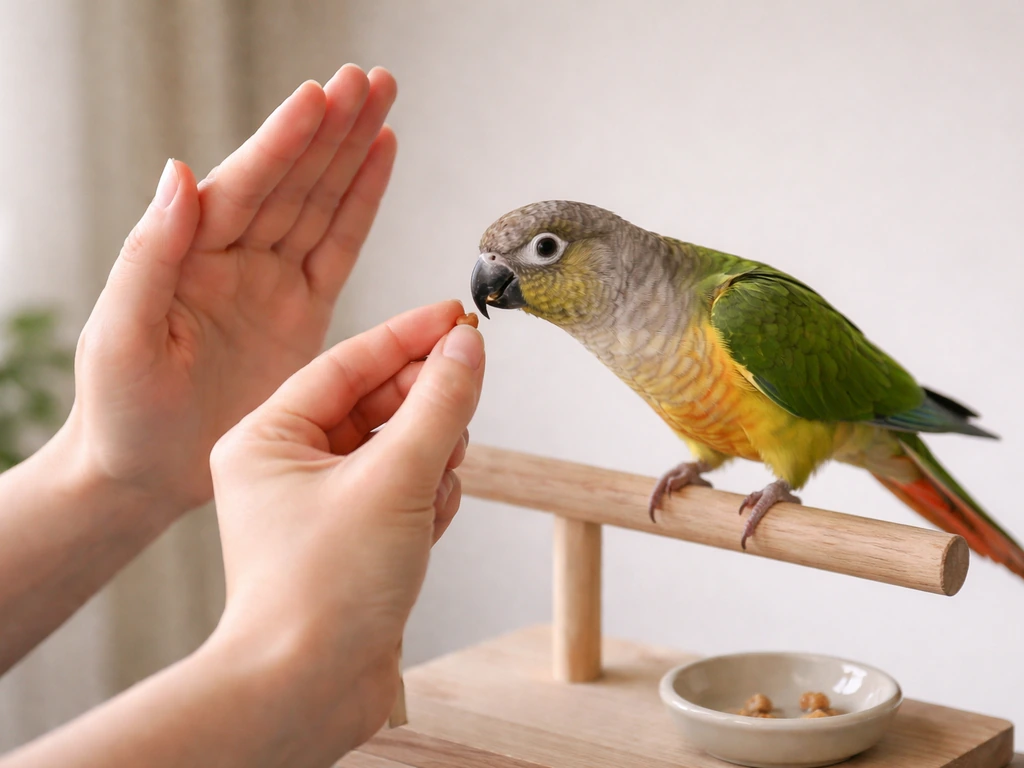
Positive reinforcement: what to do and what to avoid
Timing is everything. Four Paws International's guidance on marker training is clear: the marker signal (click or verbal) must happen at the exact moment the behavior occurs, and the treat must follow within seconds. If you mark three seconds late, the bird is learning whatever it was doing three seconds after the good thing happened, usually nothing useful. Practice your timing before you practice with the bird. Click-then-treat, not treat-then-click.
| Do this | Avoid this |
|---|---|
| Mark the exact moment the correct behavior happens | Marking after a delay or before the behavior is complete |
| Deliver the treat within 2-3 seconds of the marker | Fumbling for treats while the bird waits and loses the association |
| End sessions on a success, even a small one | Pushing through refusals until the bird shuts down |
| Use the bird's highest-value treat for new or hard behaviors | Using boring treats for behaviors the bird finds difficult |
| Keep training sessions to 5-10 minutes | Running long sessions that tire or bore the bird |
| Ignore unwanted behavior where safe to do so | Scolding, tapping the beak, or any physical correction |
| Step back to an easier version if the bird fails twice in a row | Repeating the same failing cue hoping the bird will eventually comply |
The International Association of Animal Behavior Consultants confirms that scientific research supports positive reinforcement as the best-practice foundation for animal training. This is not just ideology, it produces faster, more durable results than punishment-based methods, and it does not damage your relationship with the bird.
One practical note on species choice: if you are at the very beginning and selecting a bird to train, some species are simply more naturally predisposed to cooperative handling than others. Checking out guidance on what is the easiest bird to train can help you set realistic expectations based on your specific bird's species and personality.
Troubleshooting the most common problems
The bird bites every time you reach in
Biting is communication, not defiance. A bird that bites every approach is telling you the approach is too fast, too close, or too unpredictable. Go back to hand-outside-the-cage treat delivery. Watch for warning signals (the feather puffing, the tail fan, the open beak posture) and withdraw your hand before the bite happens. Withdrawing after a bite accidentally rewards biting as an effective strategy. Withdrawing when you see warning signals teaches the bird that its warnings work, which reduces biting, because the bird does not need to escalate.
The bird screams constantly
Contact calling (loud repeated screaming) is often a response to anxiety about your location or about unpredictable schedules. Establish a consistent daily routine: same feeding time, same training time, same "flock call" response from you (a short, calm verbal answer so the bird knows you heard it). Do not rush in to the cage the moment the bird screams, wait for even a two-second pause, then approach. You are reinforcing quiet, not noise.
The bird flies away the instant you open the cage
Flight away from your hand is a fear response, not stubbornness. This bird is not ready for hands-on work yet. Set up a room perch or T-stand and let the bird fly to it freely, then work on stationing and targeting from a distance before trying step-up again. For longer-term solutions, especially if you want to work with a bird outside, understanding how to make your bird not fly away covers the recall and flight management side in much more detail.
The bird refuses to step up no matter what
Refusal almost always means one of three things: the approach angle is wrong (try coming in lower and slower), the treat is not valuable enough, or the bird is not yet trusting enough for that level of proximity. Split the behavior into smaller pieces. Can the bird tolerate your hand at six inches without stress signals? Reward that. Then five inches. Build the distance down gradually rather than asking for the full step-up before the bird is ready.
Progress stalls completely
If you have been consistent for two or three weeks and nothing is improving, it is worth getting a professional behavior consultant involved. Avian Behavior International advises watching for red flags in consultants: anyone using terms like "flock leader" or "dominance," or recommending restraint or force-based compliance strategies, is not working from a welfare-centered framework. A good consultant will observe, ask questions about your routine, and offer a concrete adjusted plan, not a dominance narrative. If your bird is wild or rescued and showing no signs of settling, that may also simply be the nature of wild birds, contact a licensed rehabilitator rather than pushing further.
A note on the "item asylum" step-up question
If you arrived here searching for something like item asylum how to get bird up in the context of a game mechanic, the practical bird-handling techniques in this guide will not apply. But if you are working with a real bird and the phrasing just came out that way, every step above is exactly what you need.
Where to go from here
Start today with the assessment: sit near your bird, watch its body language, and identify where it sits on the fear scale. Set up the environment safely, prepare your treats, and commit to five-minute sessions. Do not skip stages to get to step-up faster, the birds that seem to progress the slowest in week one often end up the most reliably cooperative by week four, because the foundation is solid. Trust is not a trick. It is a relationship built in small, consistent moments, and every calm session you have today is interest compounding toward an easier, safer bird tomorrow.
FAQ
How long should I train each day to make a bird easy?
Plan for progress to be measured in short, repeatable sessions, not daily “big training” pushes. A practical default is 3 to 5 minutes, 1 to 2 times per day, and stopping mid-session while the bird is still willing. If you notice more fear signals after training than before, reduce session frequency or move back a stage (closer to the start of the fear scale) instead of forcing the behavior.
What should I do if my bird shows fear during training? (Should I keep going?)
If the bird freezes, panting or trembling starts, eyes lock on you, or feathers look fluffed with heavy eyelids, pause and treat it as a “no training” moment. Reassess later from a distance where the bird can relax, then rebuild gradually. Continuing in that state teaches that your presence reliably leads to overwhelming stress, which can erase trust gains.
My bird won’t respond to treats. How do I fix that?
A common mistake is using treats the bird can tolerate but does not strongly want. Use something the bird actively hunts for and consumes quickly, and keep treats small so you can reward often without reducing motivation. If treats become ignored within a few sessions, rotate options and confirm the bird is hungry enough for that time of day, not full from the last meal.
I keep getting the timing wrong. How can I improve marker training quickly?
Marker timing is a skill you practice before you add complexity. Record yourself doing one clean trial, then check whether the click or cue happens at the exact moment of the behavior (for step-up, when the foot actually lifts, not when you expect it). If you are inconsistent, reduce repetitions and go back to simpler behaviors, like stationing onto a mat, before returning to step-up.
Can I train a bird outside the cage, like on a perch in a room?
Yes, but only when the bird can experience it without extra stress. Avoid approaching from above, reduce harsh overhead light, and give a visible retreat option (partial cover or back-of-cage hiding space). If a cage location change increases fear signals, freeze training until the bird stabilizes, then resume from the same proximity you last succeeded at.
My pet bird screams when I approach. How do I reduce contact calling without rewarding noise?
Do not use towel or force-based restraint, and do not “wait until it stops screaming” by giving attention only when the bird escalates. Instead, reward quiet recovery periods (even brief ones), keep approaches slower and more predictable, and use a consistent routine for feeding, training, and your calm response to contact calls. Over time, you are shaping the bird to associate you and handling with predictability, not sudden interruptions.
What if my bird steps up sometimes but refuses at other times?
Many birds need a gradual approach to step-up, especially if they have a history of being surprised or handled poorly. Start with hand near the lower chest/feet level but without asking for stepping up. If the bird shows stress, increase distance or reduce closeness, reward tolerance, then progress in small increments until stepping up becomes the easy, safe next choice.
When should I get professional help for bird taming progress problems?
Failure to improve after consistent effort is a cue to troubleshoot systematically. Check the obvious variables first: wrong approach angle, session length too long, low-value treats, too-bright lighting, or skipping the relaxation cues step. If those are fixed and there is no meaningful improvement across 2 to 3 weeks, get help from a welfare-centered behavior consultant.
Does “making a bird easy” mean the same thing for wild or rescued birds?
Yes, and it changes the goal. With wild or rescued birds, the aim is minimal, necessary contact for health and eventual release, not bonding or “cooperation.” For these birds, use more distance and less handling, prioritize vet or rehabilitation guidance, and only apply cooperative training as far as it improves safety and care quality.
How should I respond the moment my bird starts to bite or lunge?
Biting often indicates the approach is too fast or too close, even if you think you are being gentle. The safety rule is to withdraw before a bite happens when you see early warning signals (puffed feathers, tail fanning, open-beak posture). Withdrawing after a bite can accidentally reward biting because it reliably ends the approach.
My bird flies away whenever I try step-up. What should I do instead?
If the bird flies away from your hand, it is not a willpower problem, it is likely fear and escape behavior. Return to stationing and targeting from a distance, then try step-up only after the bird tolerates your presence near the environment. If you want outdoor work later, focus on recall and flight management training separately rather than rushing hands-on work.
Can target training help with birds that are afraid of hands?
Targeting can reduce hand-related fear because the bird learns to choose movement toward a neutral object rather than directly toward a hand. Use a stick or similar target, reward any approach to touch, and once reliable, use the target position to guide direction. This often helps with recall and movement control without requiring early close contact.
Next Articles
How to Teach a Bird to Fetch Step by Step Guide
Humane, step-by-step training to teach your bird to fetch safely, with targets, rewards, troubleshooting, and gradual re
How to Teach Your Bird: Calm, Positive Training Steps
Step-by-step humane training to bond, reduce stress, and teach behaviors with positive reinforcement for parrots and sma
How to Teach a Bird to Wave: Step-by-Step Training
Humane step-by-step training to teach your bird to wave on cue, with shaping, safety, troubleshooting, and proofing tips